


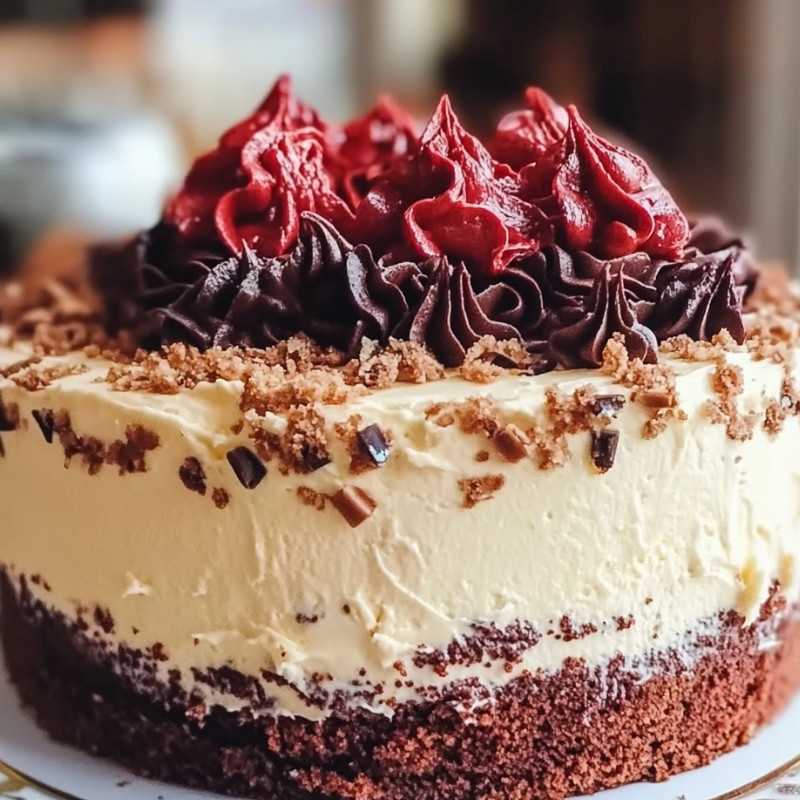
Red Velvet Cheesecake Cake: A Festive Indulgence
December is here, and there’s no better way to embrace the holiday spirit than with a slice of Red Velvet Cheesecake Cake! This luscious, two-tiered dessert combines the rich, velvety flavor of red velvet cake with the smooth creaminess of cheesecake, making it the ultimate festive treat. Whether you’re gathering with family or celebrating with friends, this cake is sure to impress!
Before we dive into this delightful recipe, I invite you to subscribe for more delicious offerings sent straight to your inbox. Let’s spread the joy of baking together!
Why You’ll Love This Recipe
What makes this Red Velvet Cheesecake Cake truly special is its magical blend of flavors and textures. The moist, tender layers of red velvet cake contrast beautifully with the rich, creamy cheesecake. Imagine the aroma of baking cakes that bring warmth to your home and the smiles on your loved ones’ faces when they take that first bite! Plus, this recipe is straightforward enough for bakers of all skill levels. Perfect for holiday gatherings, birthdays, or just a cozy night in!
Ingredients
For the Cheesecake Layer:
– 450g cream cheese, softened
– 150g granulated sugar
– 3 large eggs
– 2 tsp vanilla extract
– 120ml sour cream
For the Red Velvet Cake Layers:
– 300g all-purpose flour
– 300g granulated sugar
– 1 tsp baking soda
– 1 tbsp cocoa powder
– 1/2 tsp salt
– 2 large eggs
– 300ml vegetable oil
– 240ml buttermilk
– 2 tbsp red food coloring
– 1 tsp vanilla extract
– 1 tsp distilled white vinegar
For the Cream Cheese Frosting:
– 225g cream cheese, softened
– 115g unsalted butter, softened
– 300g powdered sugar
– 1 tsp vanilla extract
Necessary Tools
– 23cm springform pan
– Two 23cm round cake pans
– Mixing bowls
– Electric mixer
– Rubber spatula
– Toothpick or cake tester
– Cooling racks
Ingredient Swaps and Additions
Feel free to customize your Red Velvet Cheesecake Cake! For a gluten-free option, substitute all-purpose flour with a gluten-free blend. You can also switch up the red food coloring for natural alternatives, or even add a hint of orange zest to the cream cheese frosting for a zesty twist!
Step-by-Step Instructions
1. Preheat the oven to 160°C (320°F). Grease your springform pan.
2. For the cheesecake layer: In a large bowl, beat the softened cream cheese until it’s velvety smooth. Mix in the sugar, then incorporate the eggs one at a time, followed by vanilla and sour cream. Pour the mixture into the prepared pan and bake for about 45-50 minutes. Allow it to cool completely in the pan.
3. Then, increase the oven temperature to 175°C (350°F) and prepare your two round cake pans by greasing and flouring them.
4. For the red velvet layers: Sift together flour, sugar, baking soda, cocoa powder, and salt in a bowl. In a separate bowl, whisk together the eggs, oil, buttermilk, red food coloring, vanilla, and vinegar. Gently mix the wet ingredients into the dry ingredients until just combined.
5. Divide the red velvet batter evenly between the two prepared pans and bake for 30-35 minutes. Check for doneness with a toothpick and allow to cool for about 10 minutes before transferring to wire racks.
6. To prepare the cream cheese frosting, beat the cream cheese and butter together until fluffy. Gradually mix in the powdered sugar and vanilla, achieving a smooth texture.
7. Assemble the cake: Place one layer of red velvet on a platter, spread a thin layer of frosting, then add the cheesecake layer on top, followed by more frosting. Finally, place the second red velvet layer on top and frost the whole cake with the remaining frosting.
8. Chill in the refrigerator for at least one hour before serving to set the layers beautifully.
Serving Suggestions
This magnificent cake pairs wonderfully with a cup of hot cocoa or a glass of sweet dessert wine. You can also serve it with holiday cookies or a fresh fruit salad for a balanced treat!
Pro Tips for Success
– Make sure all ingredients are at room temperature for the best consistency.
– Don’t rush the cooling process; letting each layer cool completely will make assembly much easier.
– Use a heated knife to slice through the frosting smoothly.
Storing and Reheating
If you have leftovers (which is unlikely, but just in case!), store them in the refrigerator in an airtight container for up to 4 days. To savor the flavors again, allow it to come to room temperature before enjoying!
FAQ Section
What can I use instead of red food coloring?
You can try beet juice or pomegranate juice for a natural coloring option!
Can I freeze the cake?
Yes! You can freeze this cake unassembled for up to 3 months. Just ensure it’s well wrapped.
Conclusion
In summary, the Red Velvet Cheesecake Cake is not just a feast for the eyes but also a delicious treat for the taste buds. With its rich flavors and stunning presentation, it’s the perfect centerpiece for your holiday celebrations. I encourage you to give this recipe a try and share your experience! I’d love to see your creations on Pinterest or Instagram, so don’t forget to tag me!
Nutritional Information
Approximate nutritional information per serving:
Calories: 450
Fat: 25g
Carbohydrates: 54g
Protein: 6g
Sugars: 35g
Happy baking!
Leave a Reply