


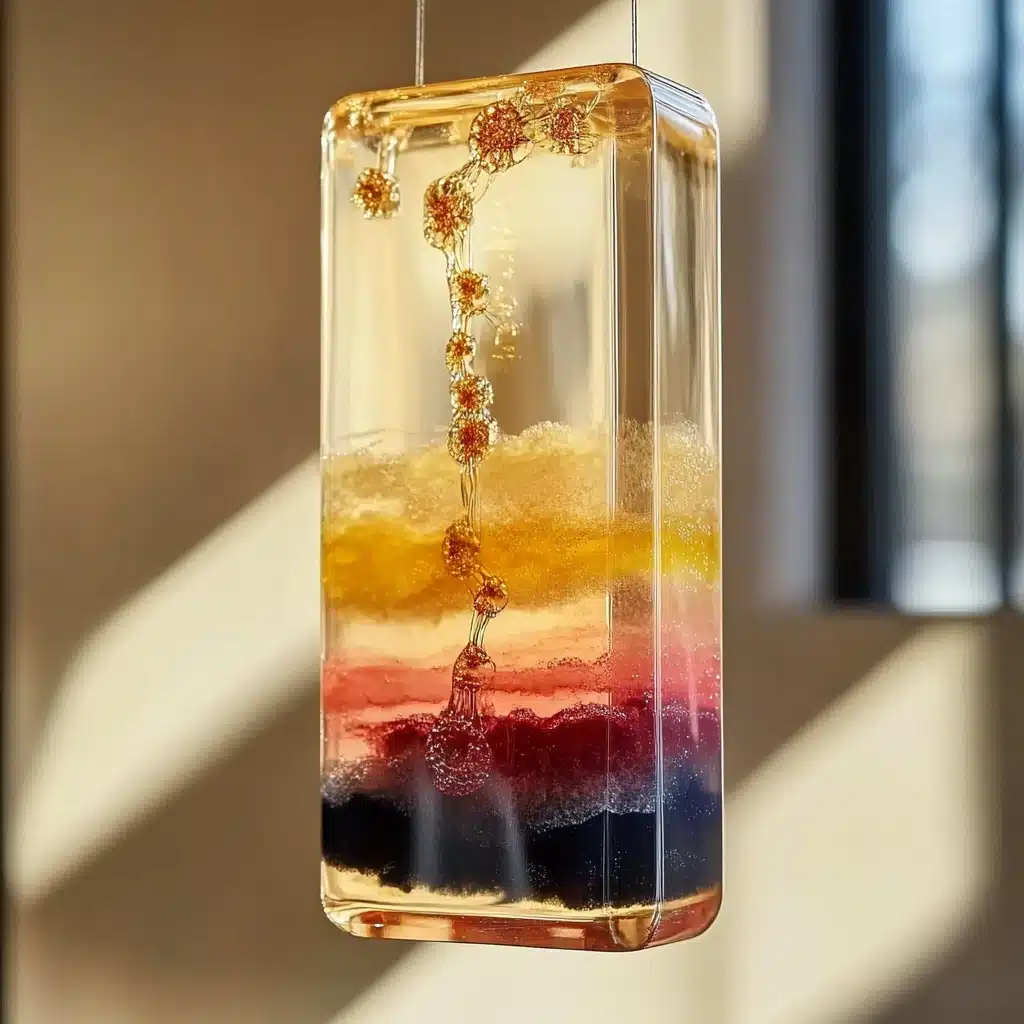
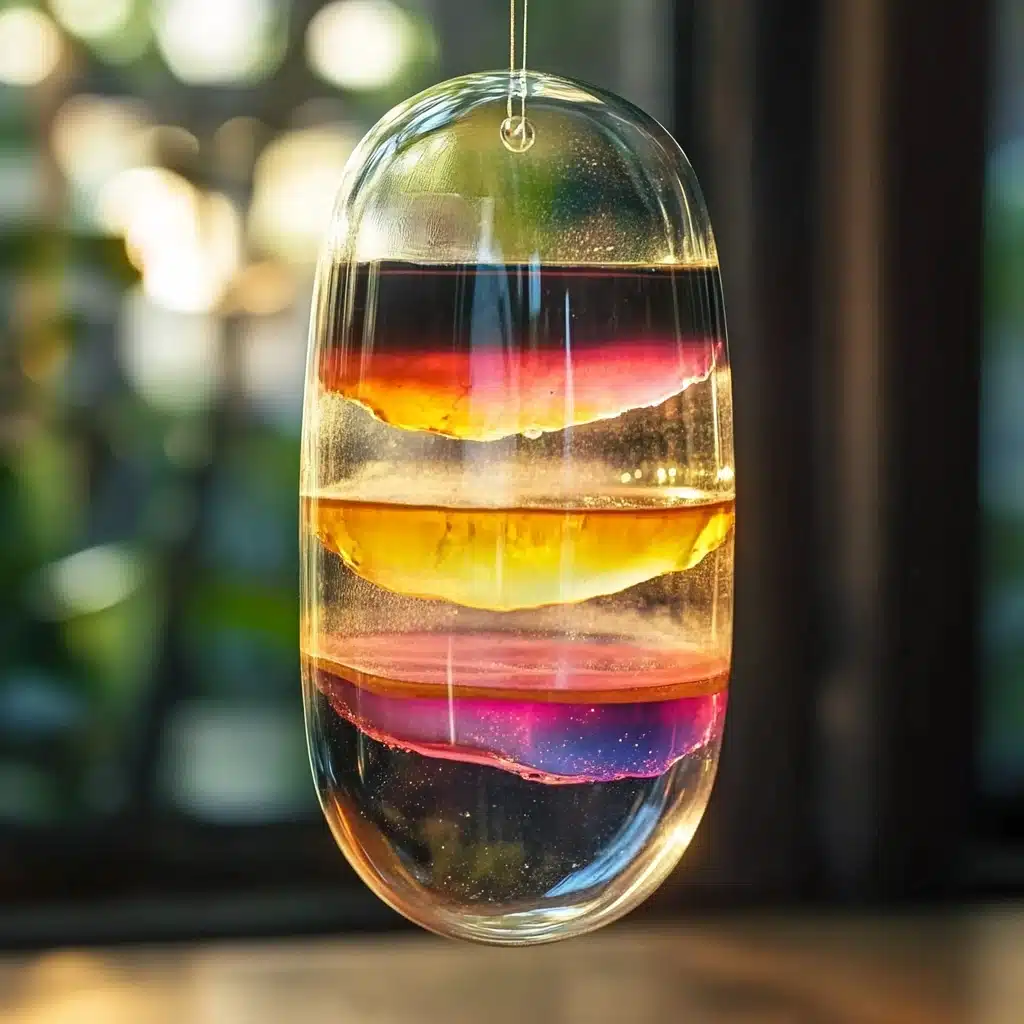
There’s something truly magical about watching colorful liquids float effortlessly atop one another, creating a mesmerizing rainbow of layers. Our Layered Liquid Density Activity is more than just a fun craft—it’s a vibrant, hands-on science experiment that ignites curiosity and wonder in kids and adults alike. Whether you’re a parent, teacher, or just someone eager to explore the basics of density, this activity offers hours of educational entertainment with materials you probably already have at home.
Why You’ll Love This Layered Liquid Density Activity
What sets this experiment apart is its perfect blend of science and art. Kids get to mix and layer different colored liquids while learning about density—the measure of how compact a substance is. As each liquid floats or sinks, they witness firsthand how density impacts the behavior of liquids and objects.
The use of bright food coloring and optional glitter or sparkles adds an extra element of sensory delight, making science colorful and exciting. Plus, tossing in random items to see which float or sink turns it into a captivating guessing game, encouraging observation, hypothesis testing, and critical thinking. This project is ideal for classroom demonstrations, homeschool lessons, rainy-day indoor fun, or family science nights.
You don’t need a science lab or fancy equipment—just a few simple ingredients and a tall, clear container. It’s a fantastic way to introduce children to STEM concepts, build patience, and inspire creativity. The best part? It’s easy to clean up and customizable to suit different age groups and skill levels.
Ingredients You’ll Need for the Layered Liquid Density Experiment
To get started, gather these colorful, everyday ingredients:
- Honey mixed with red, pink, or purple food coloring (for a rich, thick base layer)
- Corn syrup (a dense, sticky liquid)
- Maple syrup combined with red, pink, or purple food coloring (to add depth and color)
- Hand soap (adds a unique texture and density)
- Water mixed with red, pink, or purple food coloring (lighter and transparent)
- Vegetable oil (floats on top due to its low density)
- Random small items to test sinking or floating behavior, such as pennies, pompoms, marbles, or conversation hearts
Each ingredient plays a special role, layering on top of one another due to their differing densities, creating a visually stunning liquid rainbow.
Necessary Tools for This Experiment
Apart from the ingredients, you’ll want a few simple tools to make the process smooth and enjoyable:
- A tall, clear container like a glass vase or a large clear plastic cup to observe the layers
- Measuring cups or small pouring containers to handle liquids carefully
- Food coloring droppers or small spoons for mixing color into your liquids
- A spoon or small stick (optional) for gentle stirring
- Towels or paper towels for any spills or drips
These household tools ensure precision in pouring and layering, helping you create the distinct layers without mixing.

Ingredient Swaps and Fun Additions to Customize Your Experiment
Feel free to get creative! Here are some ideas for ingredient swaps or additions:
- Use agave syrup or golden syrup instead of corn syrup for a different texture or scent.
- Try different food coloring shades like blues and greens for an ocean-themed twist.
- Swap hand soap for dish soap to see if the layering changes with a different viscosity.
- Add biodegradable glitter or edible sprinkles for extra sparkle that’s safe and fun.
- Instead of vegetable oil, experiment with baby oil or mineral oil to explore variations in density.
- Use different objects—like small plastic toys, beads, or shells—to expand the sinking and floating tests.
Always supervise younger kids, especially with small items, and ensure all materials are safe for your household.
Step-by-Step Instructions: Creating Your Layered Liquid Density Rainbow
Step 1: Prepare Your Colored Liquids
Start by mixing your honey and maple syrup with drops of food coloring. Stir well until the color is even. Mix water and food coloring separately in another cup.
Step 2: Set Up Your Container
Place your tall, clear container on a steady surface with paper towels nearby for quick cleanups.
Step 3: Pour the Honey Mixture
Slowly pour the colored honey into the bottom of the container. Aim for a layer about 1 to 2 inches deep. Pouring slowly helps prevent bubbles and mixing.
Step 4: Add Corn Syrup Layer
Carefully layer corn syrup on top of the honey by pouring over the back of a spoon or the container’s side. This technique reduces mixing and keeps layers distinct.
Step 5: Layer Maple Syrup
Next, add the colored maple syrup gently, again pouring slowly and steadily.
Step 6: Add Hand Soap
Pour the hand soap slowly, creating the next layer. The soap’s unique density and texture create a visible divide.
Step 7: Add Colored Water
Add the colored water carefully. It’s lighter than syrup and soap, so it will float on top of them.
Step 8: Finish with Vegetable Oil
Top the entire mixture with a thin layer of vegetable oil. It will float on top because it is less dense than water and syrup.
Step 9: Test with Objects
Gently drop your random items into the container and observe their behavior. Which sink to the bottom? Which float on top? Watch as each object finds its place based on density.
Step 10: Observe and Discuss
Encourage questions about what’s happening and why. Try gently stirring and then letting the layers settle to see if they stay separate or mix.
Pro Tips for a Perfect Layered Density Experiment
- Use a clear, tall container to best observe the layers and sinking behavior.
- Pour liquids very slowly over the back of a spoon or container wall to prevent mixing.
- Use warm liquids like honey and syrup for easier pouring but ensure the container isn’t hot to avoid cracking.
- Let the layers settle completely before adding the next layer for clear separation.
- Experiment with different colored food dyes for a personalized look.
- Encourage children to predict which items will sink or float before dropping them in to build scientific thinking skills.
- Take photos at each step for a fun visual record of the process.
Serving Suggestions: How to Make This Experiment a Memorable Learning Experience
- Turn it into a science party activity for birthdays or classroom events.
- Pair it with a simple lesson on density and buoyancy using age-appropriate explanations.
- Use it as a rainy-day STEM activity to engage kids indoors.
- Challenge kids to design their own layered liquids with different densities and colors.
- Combine the experiment with a story about oceans, layers of the Earth, or lava lamps to integrate cross-curricular learning.
Storing and Reheating: Tips for Preservation and Reuse
This experiment isn’t meant to be stored long-term because the layers may eventually mix, and the food coloring can stain. However:
- You can cover the container with plastic wrap and refrigerate for a few hours to slow down mixing.
- If layers mix, simply stir and start again—it’s part of the learning process!
- Discard the liquids responsibly, especially if you added glitter or non-edible decorations.
- Rinse your container thoroughly to prevent sticky residue buildup.
Nutritional Information (If Relevant)
Since this is a science experiment and not food, nutritional info isn’t applicable. However, the ingredients like honey, syrup, and oil are food-grade but should not be consumed in this mixture due to the mixing of non-food items.

Frequently Asked Questions (FAQs)
Q1: Can I use other liquids instead of honey and syrup?
Yes! You can try substitutes like molasses, agave syrup, or even yogurt, but expect differences in layering and density.
Q2: How long does it take for the layers to fully set?
Each layer settles instantly if poured slowly, but waiting a few minutes between layers helps maintain separation.
Q3: Can I use glitter in this experiment?
Eco-friendly glitter works well and adds sparkle, but avoid anything that could clog drains or harm the environment.
Q4: What age is this experiment suitable for?
With supervision, kids ages 4 and up can enjoy it, while older children will appreciate the science concepts more deeply.
Q5: Why do some objects float and others sink?
Objects float if they are less dense than the liquid they are placed in and sink if denser. The layers create different density zones where objects settle accordingly.
Conclusion
The Layered Liquid Density Activity is a fantastic blend of science, creativity, and sensory fun. It invites kids and adults alike to observe, hypothesize, and explore physical science principles in a colorful and interactive way. This simple experiment requires everyday materials but yields rich learning experiences and visual delight. Whether at home or school, it’s a perfect project to spark curiosity, encourage questions, and inspire future scientists.
Ready to try this experiment? Gather your ingredients, get your container ready, and watch the magic of liquid density unfold right before your eyes!
Leave a Reply