


Introduction
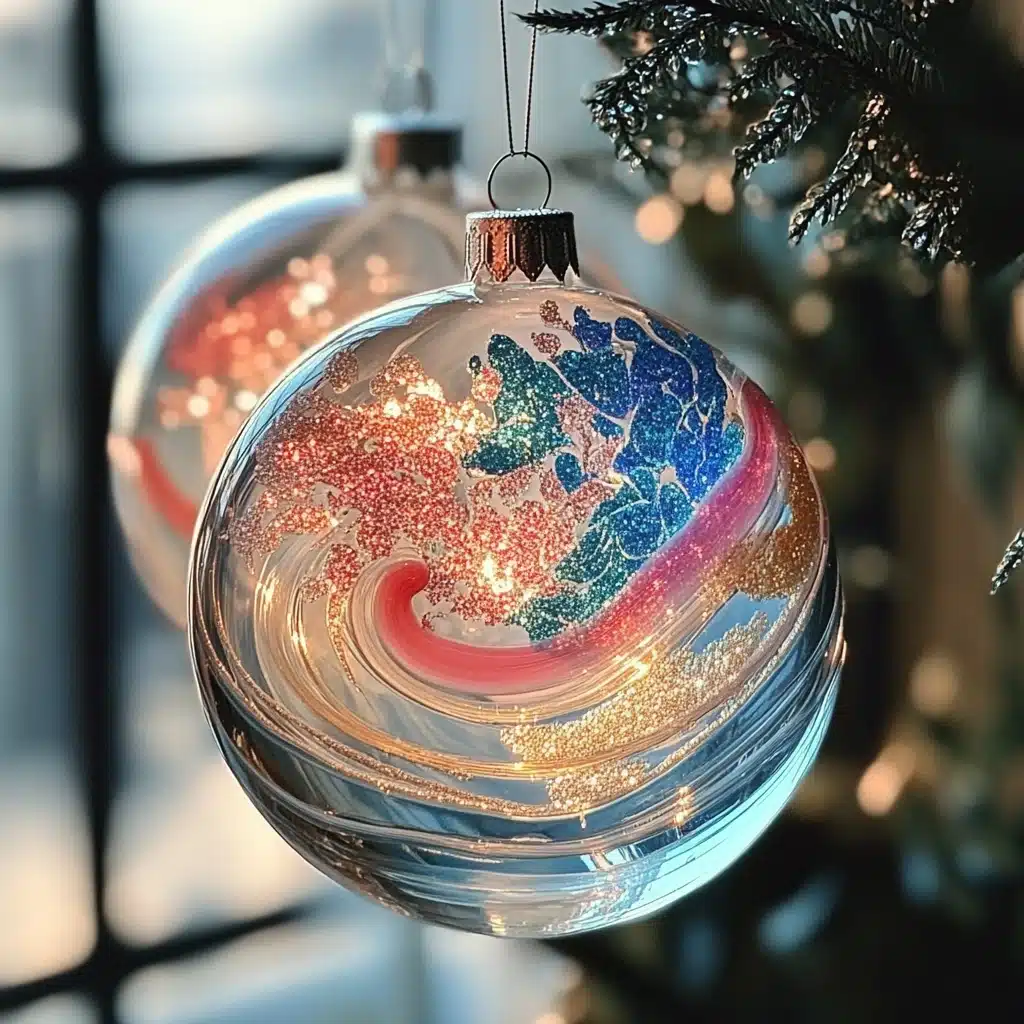
Imagine lights twinkling on the tree, soft holiday music in the background, and in your hand, a swirling ornament that looks like a piece of modern art. Hydro dipped ornaments bring joy, color, and creativity to your holiday decor. With just paint, water, and imagination, you can transform plain glass or plastic baubles into mesmerizing gifts or artful keepsakes.
This craft offers endless creative possibilities—great for family crafting sessions, festive gift-making, or a fun DIY afternoon with friends. The technique yields unique results every time, making each ornament a personalized work of art. Ready to add a swirl of beauty and a burst of color to your holidays? Let’s dive in!
Why You’ll Love This Craft
Hydro dipping is special because it fuses creativity, simplicity, and personalization into one easy activity:
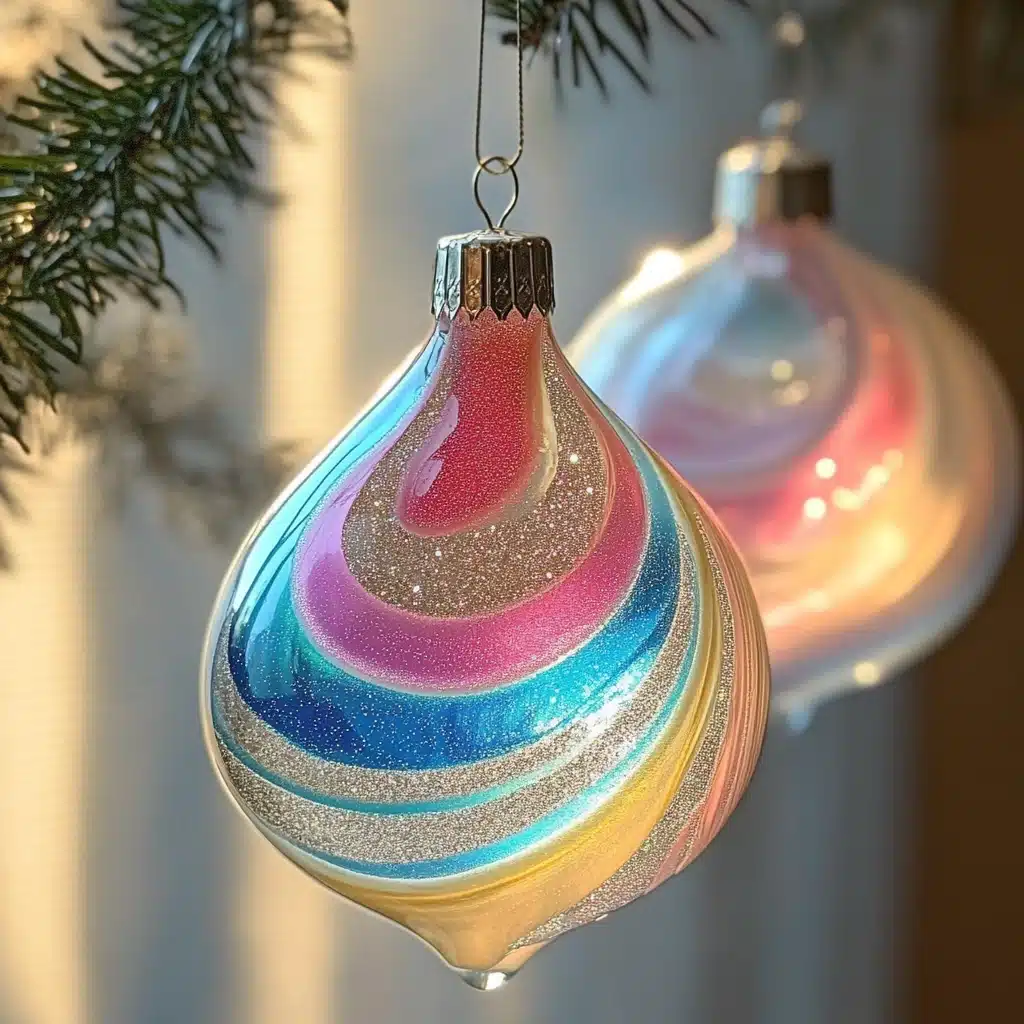
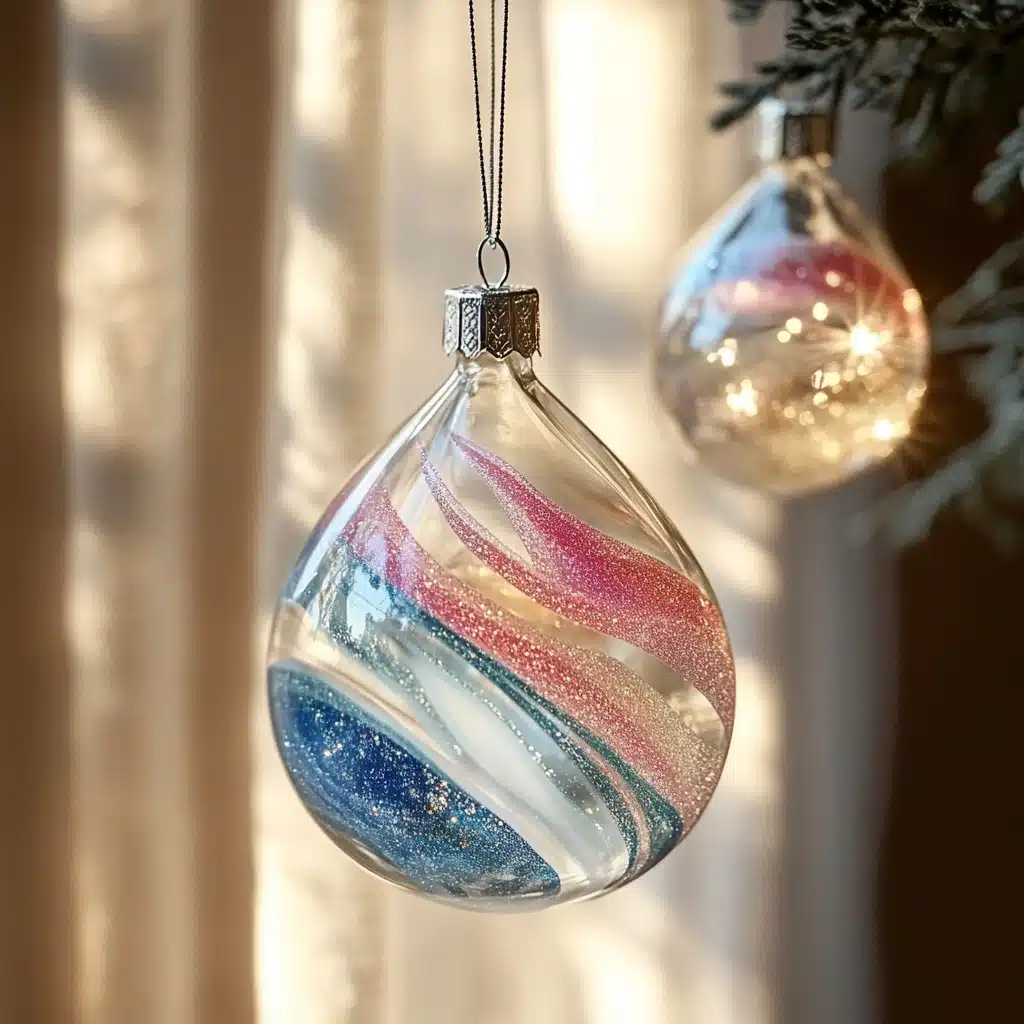
- Unmatched visual appeal: The marbling effect makes every ornament a one-of-a-kind show-stopper.
- Beginner-friendly: Anyone, from first-time crafters to veteran makers, can do it.
- Versatile: Customize with your favorite colors, metallics, or even glitter.
- Perfect as gifts: Handmade ornaments carry emotion and thoughtfulness unmatched by store-bought items.
- Family fun: Kids and adults alike can take part. No special skills required.
- Quick drying: Acrylics dry fast, so you can move on to hanging and gifting without delay.
With minimal tools and maximum visual impact, hydro dipping fits all your holiday craft needs—whether you’re decorating or gifting.
Ingredients
Here’s what you’ll need to get started:
- Clear ornaments – glass or sturdy plastic, plain and clean
- Acrylic paint – whites, blues, reds, metallics—choose 2–4 colors
- Disposable container – larger than your ornament, filled with lukewarm water
- Paper towels or a cloth – for cleanup
- Paint palette or lids – to mix colors
Optional Enhancements
- Glitter or mica powder for extra sparkle
- Metallic acrylics for a luxurious finish
- Glaze spray sealant to protect the paint when done
Necessary Tools
You’ll also need a few tools to make the process smooth and mess-free:
- Disposable gloves – to keep paint off your hands
- Toothpick or bamboo skewer – to swirl paint on the water
- Drying rack or egg carton – to let ornaments dry undisturbed
- Protective covering for your work surface – newspaper or plastic tablecloth
Ingredient Swaps and Additions
Want to customize your ornaments further? Try these creative variations:
- Paint pens or sharpies: Add hand-drawn designs post-dip
- Epoxy or resin coating: Seal and add a glossy, durable finish
- Spectrum shift: Use holiday colors like gold, silver, deep green
- Pattern layering: Allow first color to dry, then repeat dipping for layered effects
- Ombre effect: Drip colors from top to bottom before dipping for gradient marbling
These swaps add personalization, sheen, and design control for more advanced crafters.
Step‑by‑Step Instructions
1. Set Up Your Station
Protect your table with a cloth. Fill your container ~¾ full with lukewarm water, which helps the paint spread more easily.
2. Prepare Your Paints
Squeeze small dots of each acrylic color onto lids or palette. You need just a few drops per color for one ornament.
3. Drizzle Paint on the Water
Gently drop the paint onto the water’s surface. The thinner your drizzle, the more delicate the marble effect.
4. Swirl Gently
Using a toothpick, lightly swirl colors. Keep movements shallow to avoid mixing into muddy hues.
5. Dip the Ornament
Holding the top, dip the ornament at a slight angle. Rotate slowly to coat completely in swirling pattern.
6. Drain and Dry
Lift ornament out and let extra paint drip. Place it on your drying rack or egg carton, turning stationarily to let it dry evenly.
7. Repeat and Customize
Clean your container for the next color or combination. Experiment with new palettes, swirl patterns, and finishes.
8. Optional Seal
For durability or outdoor use, spray with clear glaze once fully dry.
Pro Tips for Success
Here are pro tips to ensure you get the best results:
- Use room-temperature or lukewarm water; cold water shrinks the marble effect.
- Start with a smaller paint amount; too much can clump or slip.
- Use toothpicks to gently swirl—fast movements will muddy the mix.
- Dip at an angle to wrap paint around more smoothly.
- Work in small batches—dip one ornament at a time for cleaner results.
- Let paint air dry fully (4–6 hours) before handling or sealing.
- Store paints in airtight containers to keep them fresh for next time.
Serving Suggestions
These ornaments make great seasonal accents and thoughtful hosted companions:
- Tree décor: Hang as statement pieces among twinkling lights
- Gift toppers: Tie to a wrapped gift for an instant upgrade
- Window accents: Add ribbon loops to brighten sunny windows
- Vase/Centerpiece adds: Place in a glass bowl or on decorative branches
- DIY gifts: Personalize by naming or dating each with paint pen
Storing and Reheating
Ornaments aren’t edible, but here’s how to keep them looking fresh:
- Pre-store: After drying or sealing, keep in a sturdy box with padding (tissue paper or bubble wrap).
- Long-term care: Cleans gently with a dry cloth. Avoid water.
- Reuse as keepsakes: Store properly each year and they’ll dazzle for many seasons.
Nutritional Information
(For what they provide in joy and creativity)
- Creativity: 100%
- Personalization: 100%
- Cost: Low-to-moderate
- Time investment: 30–60 mins per set
- Environmental impact: Minimized using reusable supplies
FAQs
1. Can I use heated or cold water for dipping?
Cold water leads to a tight, brittle finish. Warm water allows better paint floatation and swirl.
2. Are acrylic paints safe for ornaments?
Yes—non-toxic, fast-drying, and long-lasting. Optionally seal for outdoor conditions.
3. How many colors should I use?
2–4 provides good swirl contrast. Using more may make colors muddy if over-mixed.
4. Can I dip plastic and glass together?
Yes—but clean thoroughly between dips for the next color batch to avoid contamination.
5. How long does it take paint to cure?
Dry it overnight (4–6 hours) before handling. Sealant requires an additional 12–24 hours.
Conclusion
With little prep and heaps of creativity, Hydro Dipped Ornaments will elevate your holiday season and crafting repertoire. These radiant, colorful ornaments are keepsakes plus gifts, heirlooms in the making that capture the spirit of the season with vibrant swirls and shimmering color. Perfect for DIY lovers, crafting gatherings, kids’ parties, or gifting, this craft brings joy, personalization, and creativity all in one.
So grab your clear ornaments, line your paints, and get swirly! Let your imagination swirl into the holiday season.
Leave a Reply