


Introduction
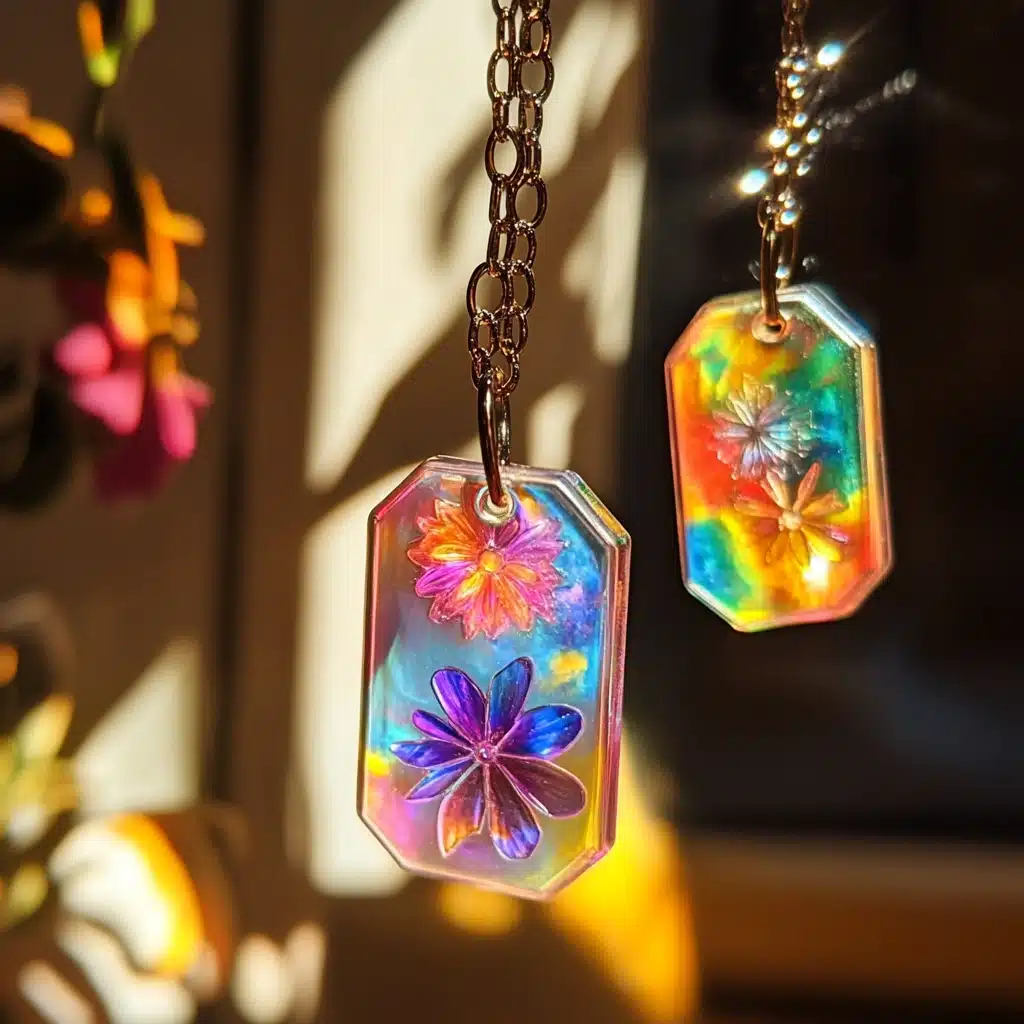
Looking for a bright, joyful, and hands-on project that’s perfect for kids, teens, and creative adults? DIY Tie-Dye Shrinky Dink Keychains are a fantastic craft that blends creativity, color, and science. Using shrink plastic sheets, permanent markers, and a few household tools, you can create custom, one-of-a-kind accessories that are as functional as they are fun. Whether you’re crafting solo, with your kids, or hosting a DIY party, this project guarantees hours of entertainment and gorgeous results.
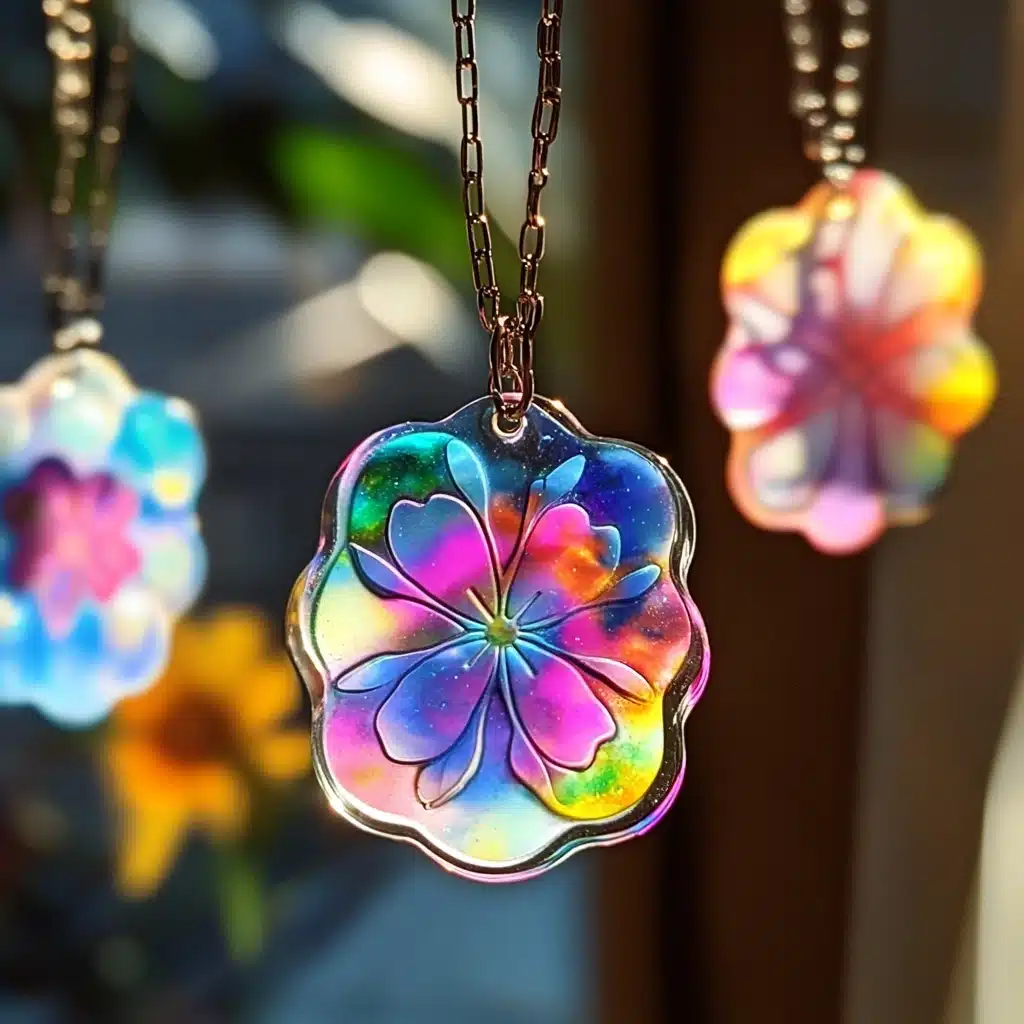
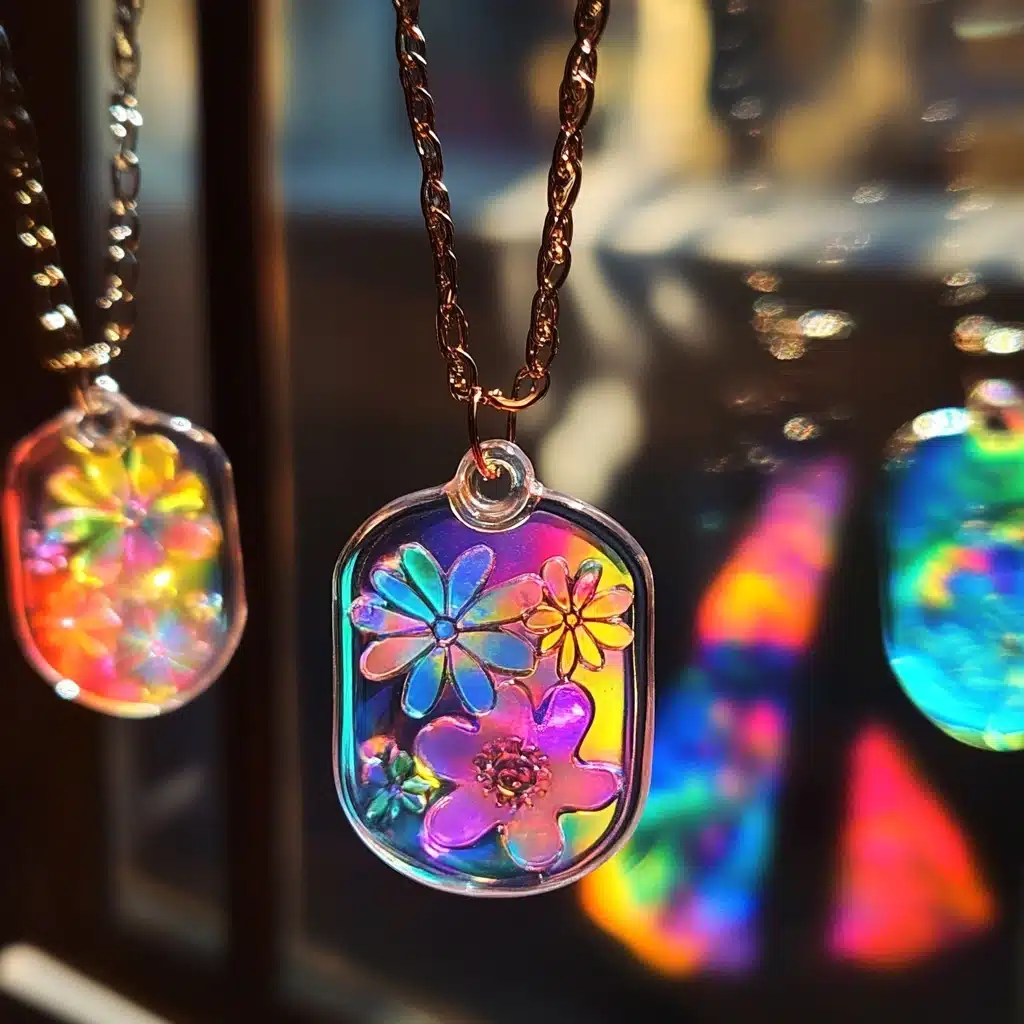
These keychains start large, then shrink dramatically in the oven, transforming into sturdy, miniature versions of your designs. The magic? It lies in the tie-dye effect created with rubbing alcohol, making each piece vibrant and unique. In this guide, we’ll take you through everything you need to know to make your own tie-dye Shrinky Dink keychains—from materials and steps to pro tips and FAQs.
Why You’ll Love This Craft
- Easy and Beginner-Friendly: No prior crafting experience needed. Just trace, color, bake, and assemble.
- Great for All Ages: Safe and fun for kids (with adult supervision), but also super satisfying for adults.
- Customizable: Choose your favorite colors, shapes, and designs.
- Gift-Worthy: Perfect for birthday gifts, party favors, or DIY gifts with a personal touch.
- Upcycled Fun: Reuse plastic sheets or packaging for an eco-conscious craft experience.
This craft is also a wonderful mix of science and art—watching the plastic shrink and the colors blend is an exciting visual treat.
Materials (Ingredients)
- Clear shrink plastic sheets (brand name Shrinky Dinks or similar)
- Permanent markers (like Sharpies)
- Rubbing alcohol (99% isopropyl recommended)
- Cookie cutters (3″+ wide for traceable shapes)
- Scissors
- Eye dropper
- Single hole punch
- Aluminum foil
- Baking sheet
- Oven or toaster oven
- Spatula
- Split key ring with chain and jump ring
- Needle nose pliers
Necessary Tools
- Oven or toaster oven
- Parchment paper (optional alternative to foil)
- Protective gloves or spatula for flattening
- Heat-safe workspace
Ingredient Swaps and Additions
- Markers: Use alcohol inks for a more painterly, watercolor look.
- Plastic Sheets: Recycle #6 clear plastic containers (like salad boxes)—just clean and cut flat.
- Shapes: Instead of cookie cutters, print templates and trace them underneath the plastic.
- Decorations: Add metallic sharpies, glitter pens, or stickers before shrinking.
- Hooks: Turn these into bag tags, backpack charms, or zipper pulls with different hardware.
Step-by-Step Instructions
1. Trace Your Shape
Place a cookie cutter or paper template onto your shrink plastic and trace the outline with a gel pen or permanent marker. Choose shapes with bold outlines like hearts, stars, circles, or animals.
2. Cut the Shape
Use sharp scissors to cut out your traced shape. Smooth out any jagged edges.
3. Color with Markers
Color the shape with 3–4 different permanent markers. Fill most of the surface area, but don’t worry about being perfect—imperfections add to the tie-dye charm.
4. Add Rubbing Alcohol
Using an eye dropper, carefully drop rubbing alcohol onto the colored surface. The colors will start to blend and swirl. Add drops slowly and avoid over-soaking.
5. Let It Dry
Allow the piece to dry for at least 20 minutes. It should feel dry to the touch before baking.
6. Punch a Hole
Use a single hole punch to create a hole near the edge of your shape. This is where the keyring will go after baking.
7. Bake the Shape
Preheat your oven to 325°F (163°C). Place your shape on a foil-lined baking sheet. Bake for 1–3 minutes. The shape will curl up, then flatten. Once flat, let it sit 30 seconds before removing.
8. Flatten and Cool
If the shape isn’t completely flat, gently press it with a spatula while it’s still hot. Let it cool completely before touching further.
9. Assemble the Keychain
Use needle nose pliers to open the jump ring. Insert it into the punched hole, add the keychain chain, and close securely.
Pro Tips for Success
- Don’t over-soak with rubbing alcohol—it can make colors muddy.
- Use a silicone baking mat instead of foil to reduce static and sticking.
- If using recycled plastic, test a small piece in the oven first to check shrinkability.
- Color on the rough side of the plastic for better adhesion.
- Use fine-tip markers for detailed designs.
Serving Suggestions (Creative Uses)
- Use as backpack charms for kids.
- Make personalized gift tags that double as keepsakes.
- Create matching family keychains.
- Design themed sets for holidays or parties.
- String on twine to make colorful garlands.
Storing and Reheating
These keychains are durable and long-lasting, but here are a few care tips:
- Store in a dry, cool place away from direct sunlight to prevent fading.
- Wipe gently with a damp cloth to clean.
- Avoid bending or excessive pressure to maintain shape.
Nutritional Information (Just for Fun!)
While not edible, here’s a fun breakdown:
- Creativity: 100%
- Color: 120%
- Fun Factor: Off the charts
- Sugar: 0g 😄
FAQs
1. Can I use other types of plastic?
Yes! Clear #6 plastic (like takeout containers) often works well. Clean it thoroughly and test it first.
2. What if my shapes curl and don’t flatten?
They may need a gentle press with a spatula right after removing from the oven.
3. Can I use water-based markers?
Not recommended—permanent markers or alcohol inks work best for lasting, vibrant colors.
4. Are Shrinky Dinks safe for kids?
Yes, with adult supervision for baking and scissors. The shrinking process is safe and non-toxic.
5. How long do they last?
Years! They’re waterproof, durable, and colorfast when stored properly.
Conclusion
DIY Tie-Dye Shrinky Dink Keychains are an inspiring, hands-on craft for people of all ages. Whether you’re a parent looking for a weekend activity, a teacher planning a classroom project, or a DIYer seeking your next colorful creation, this project is a guaranteed hit. Each finished keychain is a piece of pocket-sized art, bursting with color and personality. Let your creativity shine and make your accessories as unique as you are!
Ready to try more fun crafts? Check out these ideas below.
Leave a Reply