


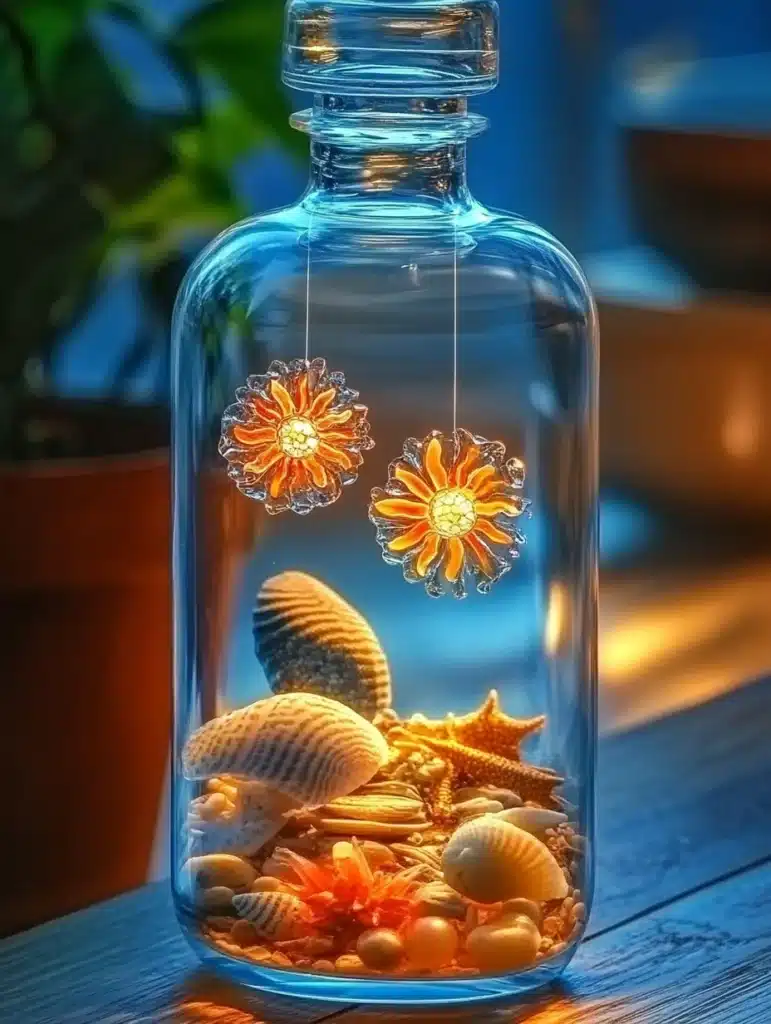
There’s something inherently soothing about the ocean—the soft lapping of waves, the gentle swirl of seafoam, the glint of shells scattered across the sand. Now, imagine bottling up that peaceful feeling and keeping it close, anytime you need a moment of calm or a spark of creativity. Enter: the DIY Sea in a Bottle Sensory Craft.
This delightful project is the perfect blend of beauty, science, and relaxation. Whether you’re crafting with young kids, looking for a mindful moment as an adult, or teaching sensory regulation in the classroom, this activity is fun, customizable, and wonderfully low-effort.
Why You’ll Love This Craft
The Sea in a Bottle Sensory Bottle isn’t just a pretty decoration—it’s a calming, hands-on experience that offers:
- Sensory Engagement: Watch floating beads, shells, and glitter gently roll in a mesmerizing display.
- Stress Relief: Great for fidgeting, deep breathing, or mindful breaks.
- Kid-Friendly Fun: Easy to make, safe to handle, and endlessly customizable.
- Educational Value: A wonderful way to introduce early science concepts like density, liquids, and color blending.
- Year-Round Ocean Vibes: Bring beachside peace into your classroom, home, or therapy room, no matter the season.
Whether you’re decorating a calming corner, preparing for a beach-themed party, or just want a quick weekend craft, this DIY sensory bottle is an instant win.
Ingredients You’ll Need
- 1 lightweight plastic bottle (clear with a tight-sealing lid, 8–16 oz works well)
- Water (tap or distilled)
- 1 drop of blue food coloring (gel or liquid)
- Small seashells (washed and dried)
- Mini starfish (real or plastic, optional)
- Glass beads or aquarium gravel
- A bit of clean sand (decorative or play sand)
- Optional: glitter, tiny sea creature toys, or glow-in-the-dark accents
Necessary Tools
- Funnel (or a rolled piece of paper)
- Glue gun or strong craft glue (to seal the lid securely)
- Bowl or plate (to catch spills during assembly)
- Optional: tweezers for precise placement of small items
Ingredient Swaps and Additions
Feel free to personalize your bottle with what you have on hand. Some fun swaps and additions include:
- Baby oil or clear hair gel in place of water for a thicker, slower-moving liquid
- Vegetable glycerin for more controlled movement
- Blue glitter glue instead of food coloring for sparkle and color in one step
- Color-changing beads for temperature-sensitive fun
- Glow-in-the-dark pebbles for nighttime magic
Just make sure that all items are waterproof and non-toxic.
Step-by-Step Instructions
Step 1: Prepare Your Workspace
Lay out all your materials. Cover the surface with a towel or tray to catch any spills. Gather your ingredients and tools.
Step 2: Fill the Bottle
Using a funnel, fill your bottle about ¾ full with clean water. Add a single drop of blue food coloring and swirl gently to distribute the color evenly. This gives your bottle the ocean-blue base.
Step 3: Add Your Ocean Treasures
Carefully drop in the shells, gravel, mini starfish, and any extra decorations you’ve chosen. If needed, use tweezers for precision. You can layer these items at the bottom for a sandy seafloor look.
Step 4: Add Sand
Using your funnel again, pour in a small amount of clean sand. This adds a lovely base and gives a beachy feel. Be careful not to overfill—less is more.
Step 5: Seal the Bottle
Top off the bottle with a bit more water if needed, leaving a small air gap. Then, apply glue around the inner rim of the lid before tightly sealing it. Let the glue dry completely.
Step 6: Shake & Enjoy
Gently turn the bottle upside down and swirl it around. Watch as the ocean scene comes alive—glitter sparkles, shells dance, and the water soothes.
Pro Tips for Success
- Choose a clear, smooth plastic bottle for best visual effect—ribbed or tinted bottles obscure the view.
- Less is more when it comes to sand and coloring. A single drop of food dye is plenty!
- Glue the cap to avoid leaks and make the bottle toddler-proof.
- Let it settle: The sand may cloud the water at first but will settle with time.
- Shake gently for a slow, meditative experience—or shake harder for a stormy sea!
Creative Ways to Use Your Sea in a Bottle
- Mindful Minutes: Use during breaks to help kids (and grownups!) reset.
- Themed Playtime: Pair with ocean toys, books, or music for immersive sensory play.
- Classroom Decor: Add to a nature or water-themed corner.
- Party Favors: Make mini versions for beach or mermaid-themed parties.
- Therapy Sessions: Use as a calm-down tool for emotional regulation.
Storage and Longevity
- Keep upright when not in use.
- Check for leaks occasionally.
- Avoid prolonged heat or direct sun exposure, which may discolor or warp the bottle.
- Replace water and reseal if it becomes cloudy over time.
Nutritional Information
This craft isn’t edible, but it nourishes creativity, focus, and calm:
- 🧠 Stimulates sensory development
- 🧘 Encourages mindfulness
- 🎨 Inspires artistic expression
- 👨👩👧 Supports bonding through crafting
FAQs
1. Can I use glass bottles instead of plastic? It’s not recommended, especially with kids. Plastic is lightweight and safer for play.
2. How long does the bottle last? With proper sealing and storage, it can last for months—even longer!
3. What if the water gets murky? You can carefully unseal and refresh the water and decorations if needed.
4. Can I use oil instead of water? Yes! Baby oil or mineral oil creates a slower-moving, lava-lamp effect.
5. Are there educational uses for this craft? Absolutely! Teach about ocean habitats, buoyancy, water density, and more.
Conclusion
There’s something magical about creating your own miniature ocean. With just a few simple ingredients, a little imagination, and a bottle, you can bring the calming, colorful world of the sea right into your hands. This DIY Sea in a Bottle Sensory Craft is more than just a fun project—it’s a beautiful, hands-on way to foster creativity, calm, and connection.
So go ahead—gather your shells, swirl your sea, and dive into the joy of crafting something peaceful.
Leave a Reply