


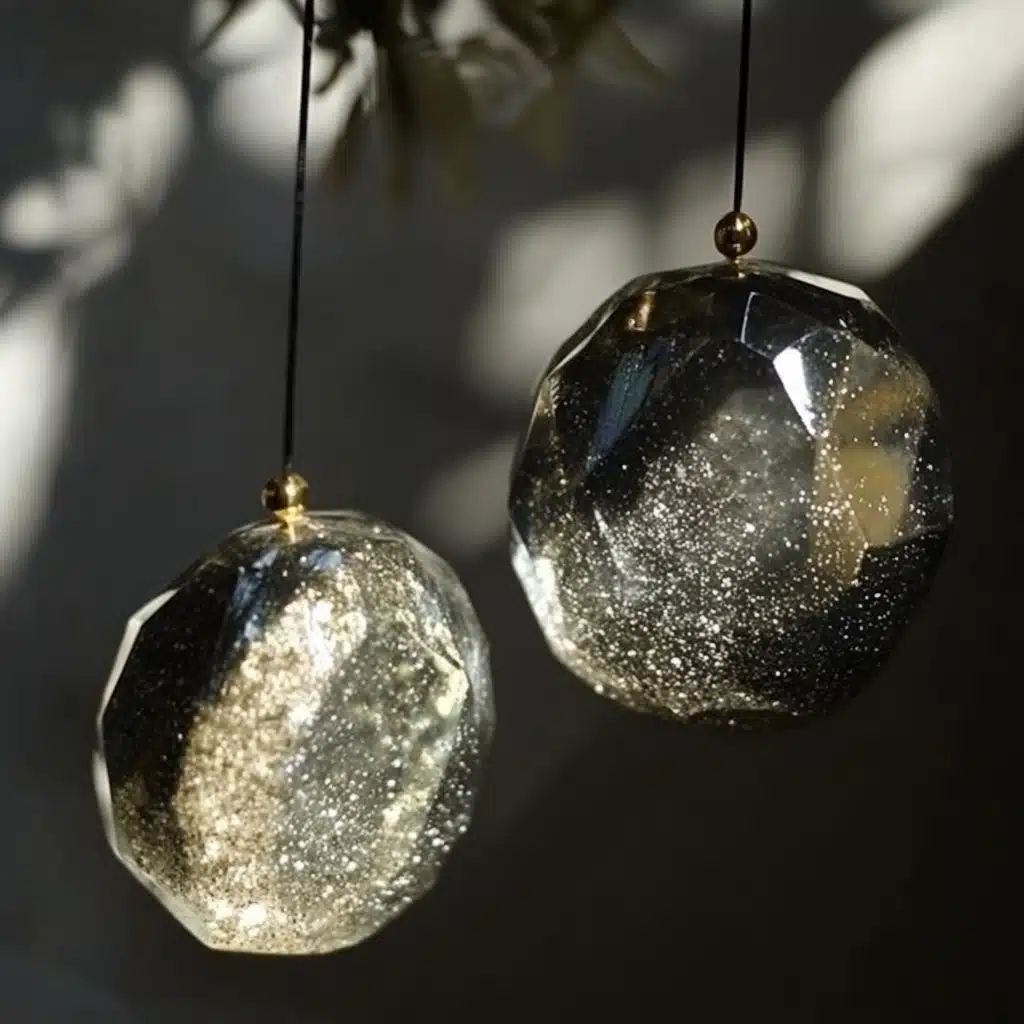
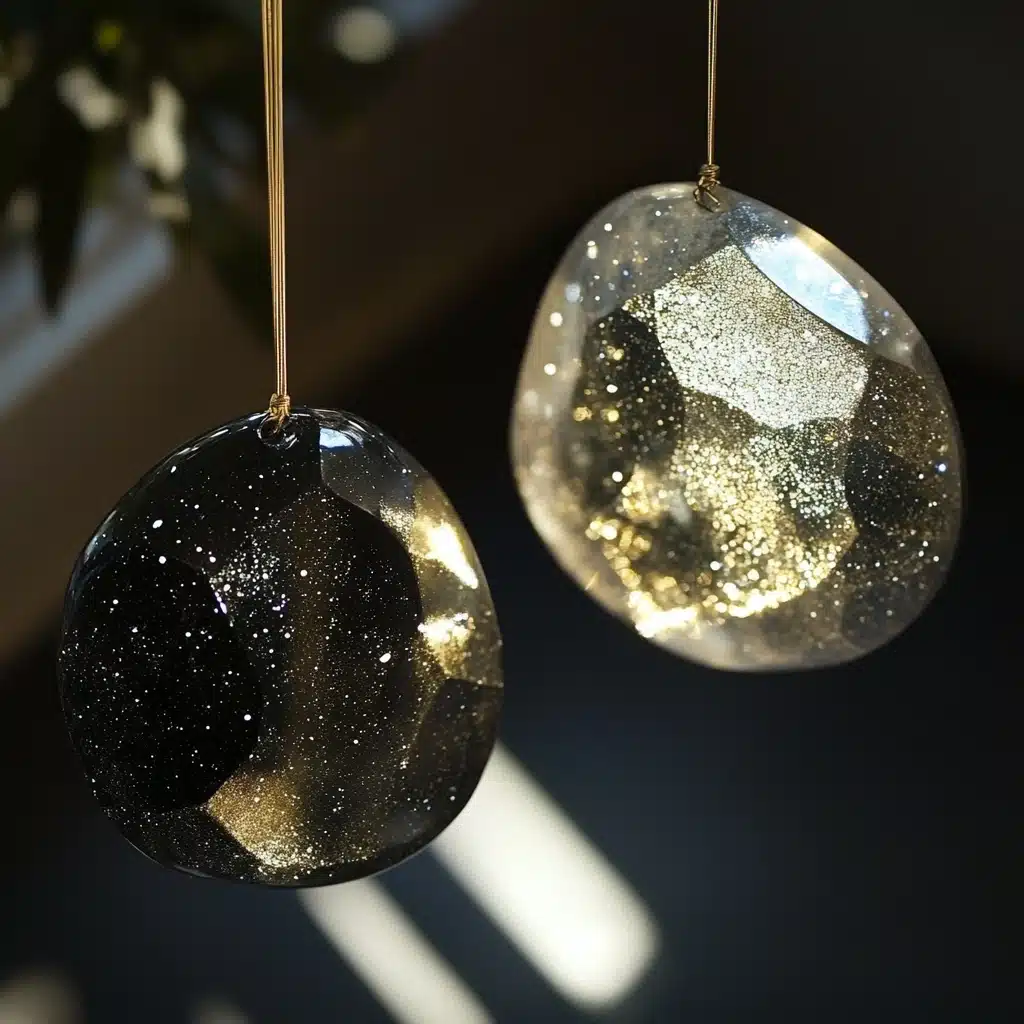
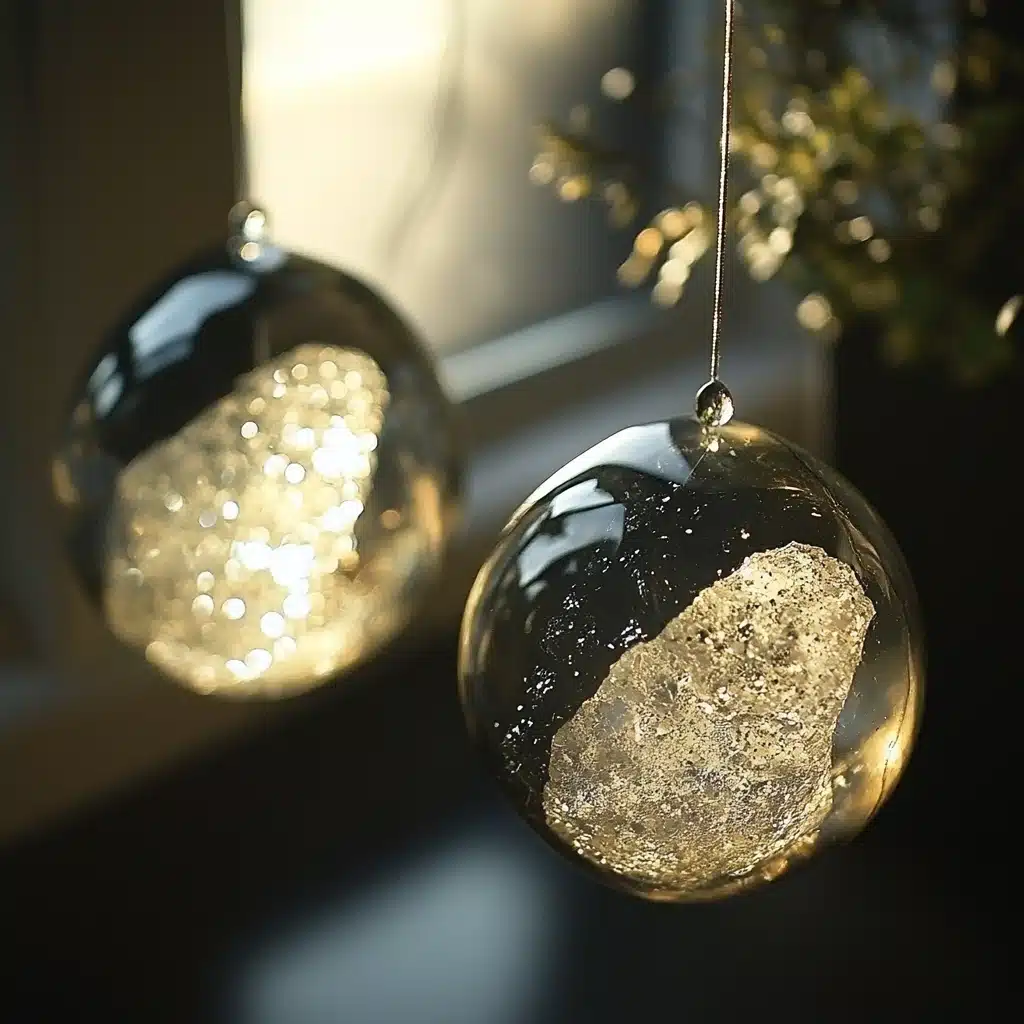
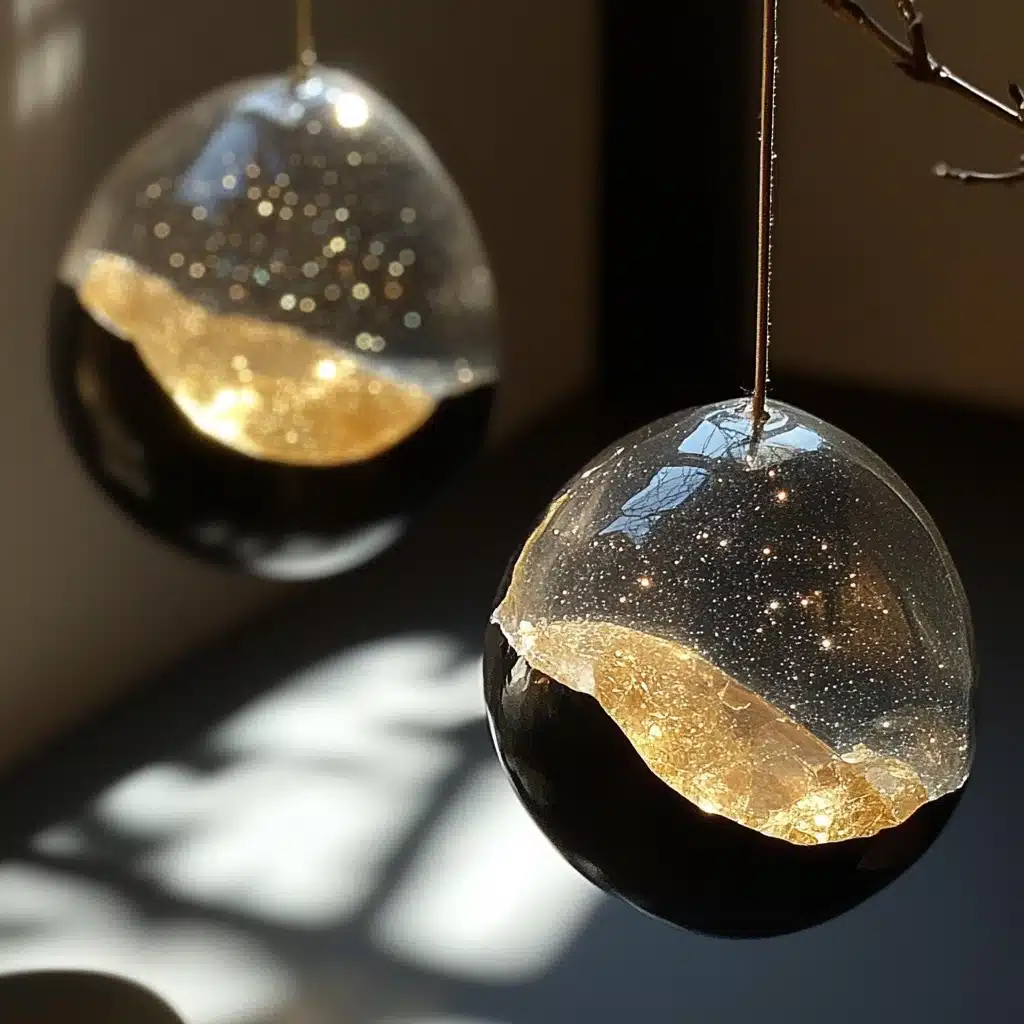
If your child loves space, sparkle, and sensory play, this DIY Moon Rocks Sensory Activity is the perfect at-home adventure. With a few simple ingredients and a sprinkle of imagination, your kids can craft their own galaxy-inspired moon rocks that glitter like the stars. Not only is this project visually stunning and super fun, but it’s also packed with opportunities for learning through play. Let’s take a deep dive into this out-of-this-world experience!
Why You’ll Love This DIY Moon Rocks Recipe
This moon rocks activity is a showstopper for so many reasons:
- Hands-On Sensory Fun: The squishy, moldable texture provides a rich sensory experience for kids.
- Creative and Educational: It’s a fantastic way to spark curiosity about space and science.
- Customizable: Use any glitter or coloring to personalize your moon rocks.
- Budget-Friendly: Most of the ingredients are common pantry items.
- Family Bonding: It’s the perfect craft for quality time with your little ones.
Whether you’re homeschooling, planning a birthday party, or just looking for a weekend craft, this project checks all the boxes.
Ingredients
To make your own batch of shimmering moon rocks, you’ll need:
- 4 cups baking soda
- 1/4 cup water
- Gold glitter
- Silver glitter
- Black food coloring (gel or liquid)
Necessary Tools
- Large plastic bin or bowl for mixing
- Measuring cups
- Spoons or craft sticks for stirring
- Gloves (optional for less mess)
- Airtight container (for storing leftover moon sand)
Ingredient Swaps and Additions
Make this project your own with these ideas:
- Glitter Substitutes: Try adding small beads, colored sand, or mica powder.
- Color Variations: Swap black food coloring for dark blue or purple for a nebula effect.
- Essential Oils: Add a drop of lavender for a calming sensory twist.
- Texture Boost: Mix in a little cornstarch for a finer, drier texture.
These swaps help tailor the activity to different ages, preferences, and sensory needs.
Step-by-Step Instructions
Step 1: Mix the Base
Pour 4 cups of baking soda into your large mixing bin. Slowly add 1/4 cup of water, stirring continuously until the texture resembles moldable dough or wet sand. Add more water by the tablespoon if needed.
Step 2: Add the Sparkle
Now, it’s time for magic! Sprinkle in generous amounts of gold and silver glitter. Kids love this part—it’s where the rocks start looking galactic!
Step 3: Add the Color
Add several drops of black food coloring to the mixture. Gel food coloring produces a deeper hue, while liquid is easier to blend. Stir until the mixture turns a spacey, dark gray or black.
Step 4: Mold Your Moon Rocks
Scoop up a handful of the mixture and mold it into round shapes. Pinch and press to form craters, cracks, and moon-like textures.
Step 5: Dry Overnight
Let the moon rocks sit out on a tray or paper towel overnight. By the next morning, they’ll be firm and ready for exploration.
Pro Tips for Success
- Use Gloves: If you’re worried about staining from the food coloring.
- Mix Slowly: Gradually add water to avoid overly wet or sticky moon sand.
- Engage the Kids: Encourage your kids to describe the texture, color, and shapes—it builds language skills!
- Science Boost: Explain how baking soda and water create the moldable base, and how craters form on real moon surfaces.
Serving Suggestions (aka Play Ideas!)
- Moon Landing Station: Add astronauts and toy rockets to create a play scene.
- Space Excavation: Hide small gems or marbles in the sand for a digging activity.
- STEM Extension: Talk about gravity, moon phases, or meteorite impacts while playing.
- Glow Fun: Use glow-in-the-dark glitter or UV-reactive paint for night-time play.
Storing and Reheating (Reviving the Fun!)
- Storage: Place leftover moon sand in an airtight container or ziplock bag. It stays fresh for up to a week.
- Reviving Texture: If it dries out, spritz with a little water and mix to restore the consistency.
- Mold Prevention: Store in a cool, dry place and use clean hands when playing.
Nutritional Information (Not Edible!)
Since this is a craft, not a snack, here’s what it fuels:
- Creativity: ✅
- Fine motor skills: ✅
- Sensory development: ✅
- Imaginative play: ✅
- Scientific curiosity: ✅
FAQs
1. Is DIY moon sand safe for toddlers? Yes, but always supervise younger children to prevent accidental ingestion.
2. Can I use regular sand instead of baking soda? Not for this recipe—it won’t mold the same way. Baking soda is key for the texture.
3. What if my moon rocks crumble? Add a little more water or press the shapes firmly before drying.
4. Can I bake the moon rocks to dry them faster? Yes! Bake at 200°F (93°C) for 15–20 minutes to speed up the process.
5. Will food coloring stain skin? Possibly, but it’s temporary. Using gloves or washing hands immediately helps reduce staining.
Conclusion
This DIY Moon Rocks Sensory Activity is more than just a sparkly craft—it’s a journey through imagination, sensory learning, and interstellar fun. Perfect for kids of all ages, this cosmic project combines science, art, and play in one galactic experience. Whether you’re homeschooling, planning a themed party, or just looking for something magical to do on a rainy day, moon rocks are your go-to solution for sensory joy!
Let your little astronauts explore the stars—right from your kitchen!
Leave a Reply