


Introduction
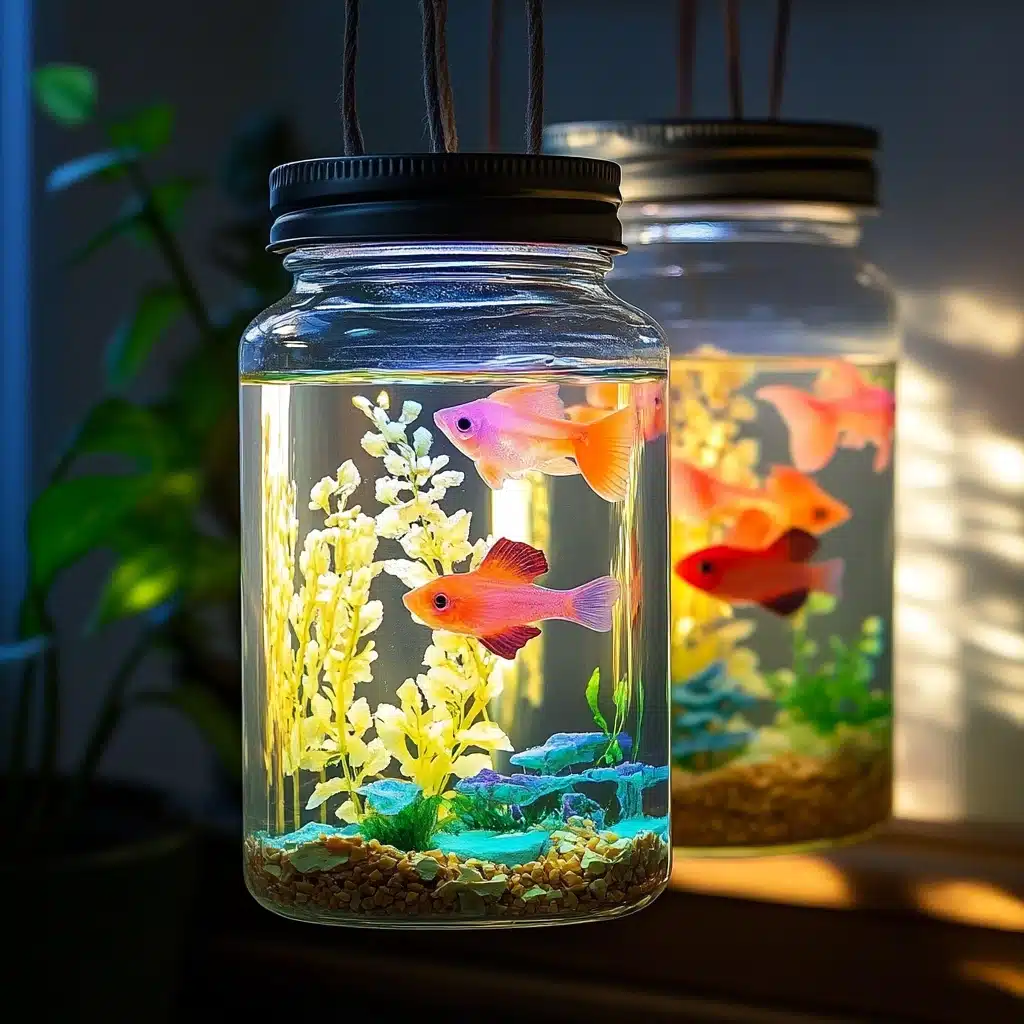
Have you ever dreamed of bringing the ocean indoors? Imagine capturing the tranquility of the sea and sealing it in a jar—calming, colorful, and oh-so-magical. Welcome to the world of DIY Mason Jar Aquariums, where creativity meets serenity in a fun, hands-on activity for kids and adults alike. Whether you’re crafting a calming corner for your child, adding a whimsical nightlight to a bedroom, or creating the perfect ocean-themed party favor, this project is simple, affordable, and mesmerizing. In just a few steps, you’ll have your very own underwater paradise.
Why You’ll Love This Craft
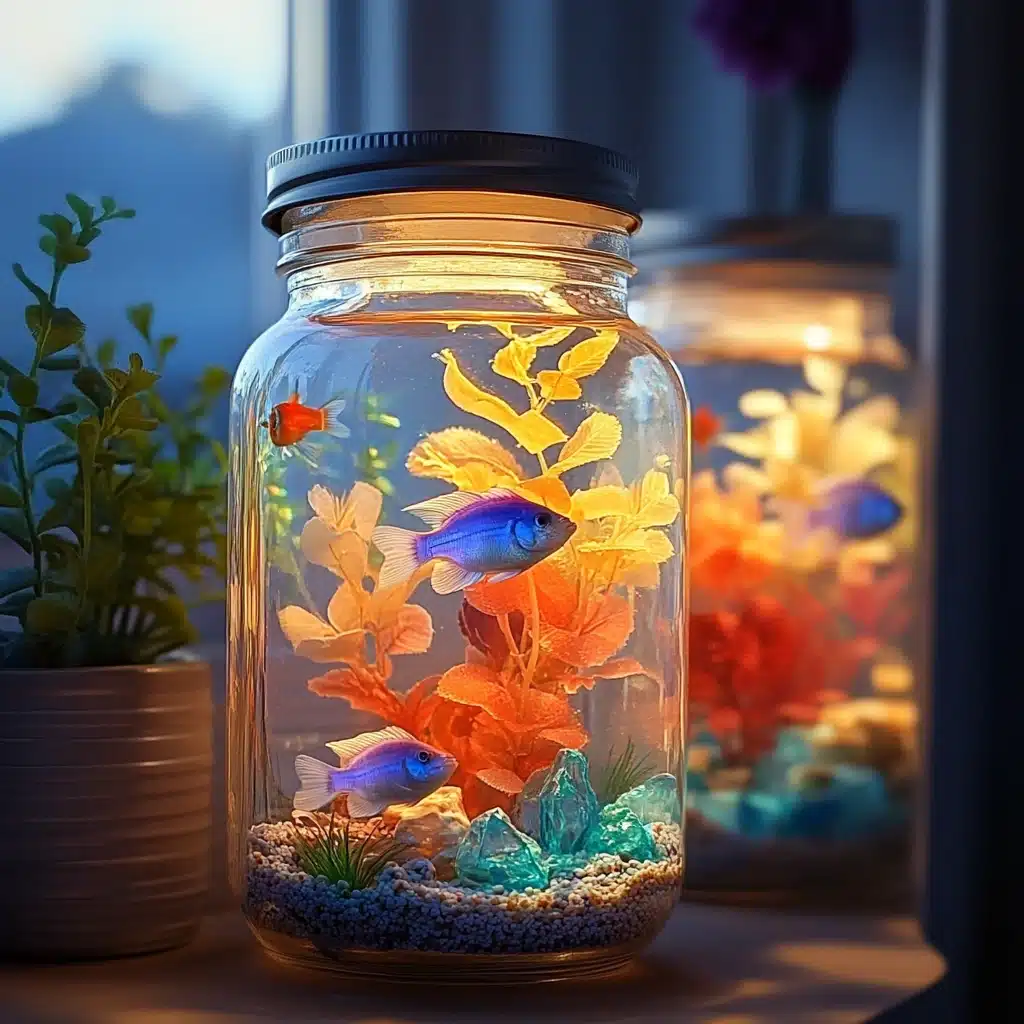
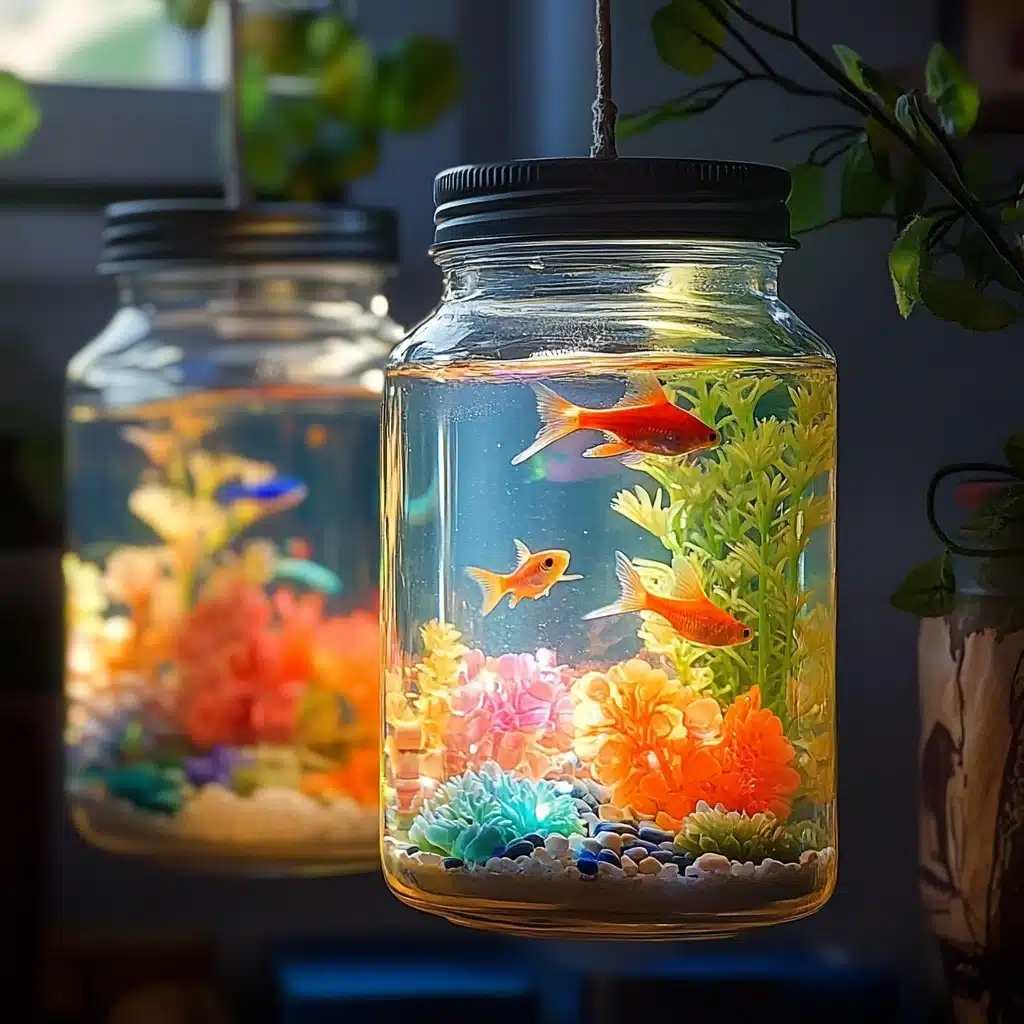
There’s something inherently soothing about water, sea creatures, and tiny undersea worlds. The DIY Mason Jar Aquarium is not only a feast for the eyes but also a fantastic way to engage little ones in sensory play and imaginative exploration. Unlike traditional aquariums, these require zero maintenance—no feeding, no cleaning, and no worrying about the fish. Plus, it doubles as a lovely decorative piece or nightlight if you include a submersible LED. With its vibrant colors, tiny ocean figurines, and customizable design, this craft brings joy, relaxation, and creativity into your home.
Ingredients/Supplies
- One 16 oz plastic mason jar with lid (glass can be used for older kids)
- Filtered water (tap water may appear cloudy)
- Aquarium gravel (small stones in bright or neutral tones)
- Plastic aquarium plants
- Small plastic fish, mermaids, sea animals, or themed figurines
- Mini seashells or starfish (plastic or real)
- Optional: submersible LED light (for nightlight effect)
- Optional: blue food coloring (for ocean effect)
Necessary Tools
- E6000 industrial-strength glue
- Scissors (for trimming plants or figurines)
- Spoon (for placing gravel)
Ingredient Swaps and Additions
Want to get creative? Here are some fun ways to customize your mason jar aquarium:
- Colorful Beads: Swap gravel for blue, green, or iridescent beads.
- Glitter: Add a pinch of fine glitter for a sparkly sea shimmer.
- Glow-in-the-Dark Elements: Use glow beads or glow-in-the-dark fish for nighttime magic.
- Scented Water: Add a drop of ocean-themed essential oil (like eucalyptus or sea breeze) for a multi-sensory experience.
Step-by-Step Instructions
- Prepare the Jar: Clean the mason jar and let it dry completely. If you’re using the LED light version, glue it to the inside of the lid using E6000 and allow it to dry for several hours.
- Add the Plant: Place a small plastic aquarium plant into the jar. If it’s too tall, trim it with scissors.
- Add Gravel: Use a spoon to pour in enough gravel to cover the base of the plant.
- Place Ocean Friends: Add plastic fish, mermaids, seashells, and any themed trinkets you like.
- Color the Water (Optional): Add one or two drops of blue food coloring to filtered water and stir.
- Fill the Jar: Carefully pour the water into the jar, leaving a little space at the top.
- Seal the Lid: Screw the lid on tightly. For extra safety (especially for younger kids), you can use glue to seal the lid permanently.
- Turn on the Light: If using a nightlight, simply unscrew the lid to switch it on or off.
Pro Tips for Success
- Use filtered water for the clearest appearance.
- Don’t overfill with gravel or figurines—balance is key.
- Want to avoid leaks? Use a waterproof sealant around the rim.
- Let kids create themed jars: undersea castles, pirate coves, mermaid lagoons, or coral gardens!
Serving Suggestions (Display Ideas)
- Nightlight: Use it as a calming nightlight for children’s bedrooms.
- Party Decor: These make adorable centerpieces or take-home favors at beach-themed parties.
- Calm Corner Prop: Perfect for classrooms or sensory-friendly spaces.
- Gift Idea: A unique handmade gift for birthdays or summer celebrations.
Storing and Reheating (Not Applicable)
Since this is a non-edible craft project, there are no reheating instructions. However, here’s how to maintain it:
- Storage: Keep it out of direct sunlight to avoid algae or fading colors.
- Longevity Tip: Check the seal occasionally to make sure no leaks are forming.
- Refill: Top off with clean water if you notice evaporation.
Nutritional Information (Not Applicable)
While there’s nothing to eat here, the sensory and developmental benefits are worth highlighting:
- Encourages fine motor skills
- Boosts imagination and storytelling
- Provides calming sensory input
- Great for STEM-inspired learning through exploration
FAQs
1. Can I use glass jars instead of plastic? Yes, but they are better suited for older children or decorative purposes only.
2. How long will the mason jar aquarium last? With good care and a tight seal, it can last several months or more.
3. What if the water gets cloudy? Swap it out for fresh filtered water, and rinse the figurines if needed.
4. Is the E6000 glue safe? Yes, once fully cured. Be sure to follow all safety instructions on the label.
5. Can I reuse the decorations? Absolutely! Carefully open the jar, clean the items, and reuse them for another aquarium or craft.
Conclusion
The DIY Mason Jar Aquarium is more than a craft—it’s a tiny underwater escape that brings joy, calm, and creativity into your life. Whether you’re lighting up a child’s nightstand, planning an ocean-themed party, or just crafting for fun, this project is sure to spark smiles and imagination. Ready to dive in? Gather your supplies and make your own ocean in a jar today!
Leave a Reply