


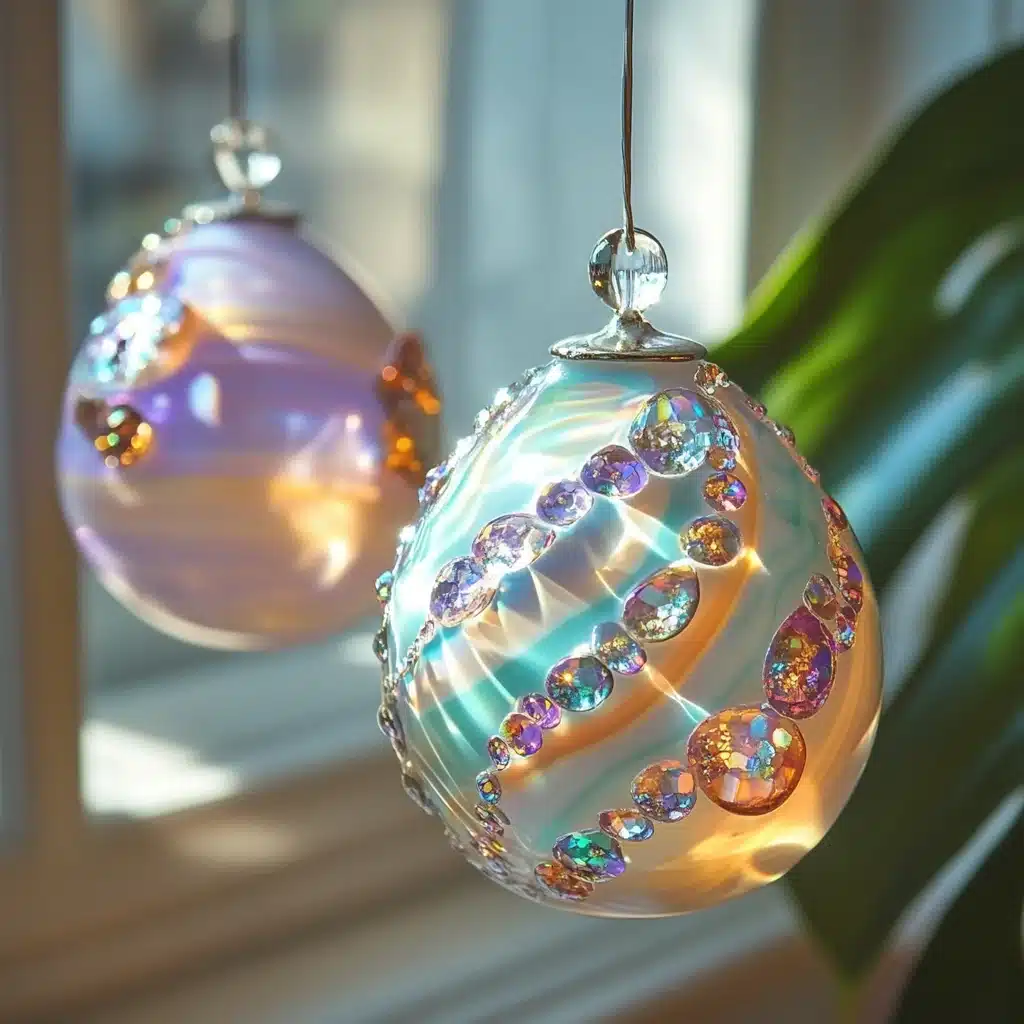
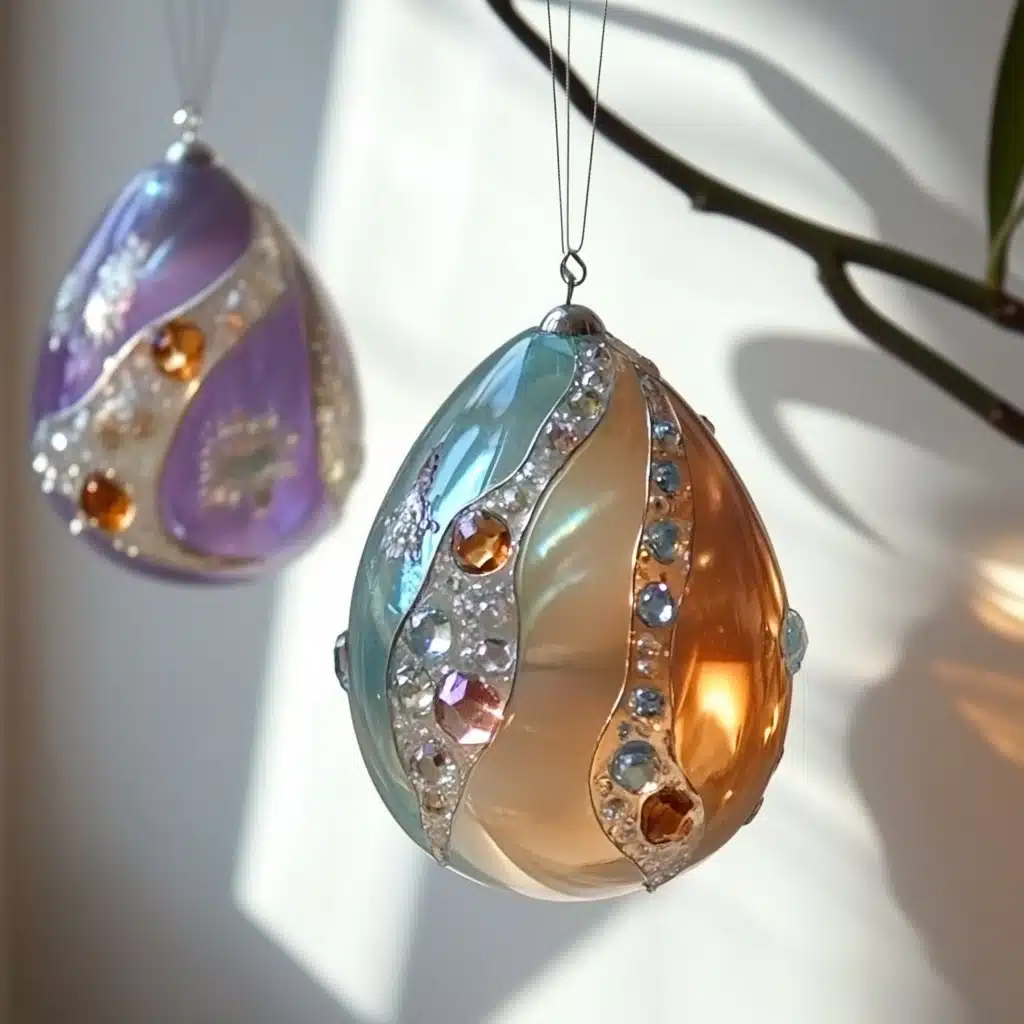
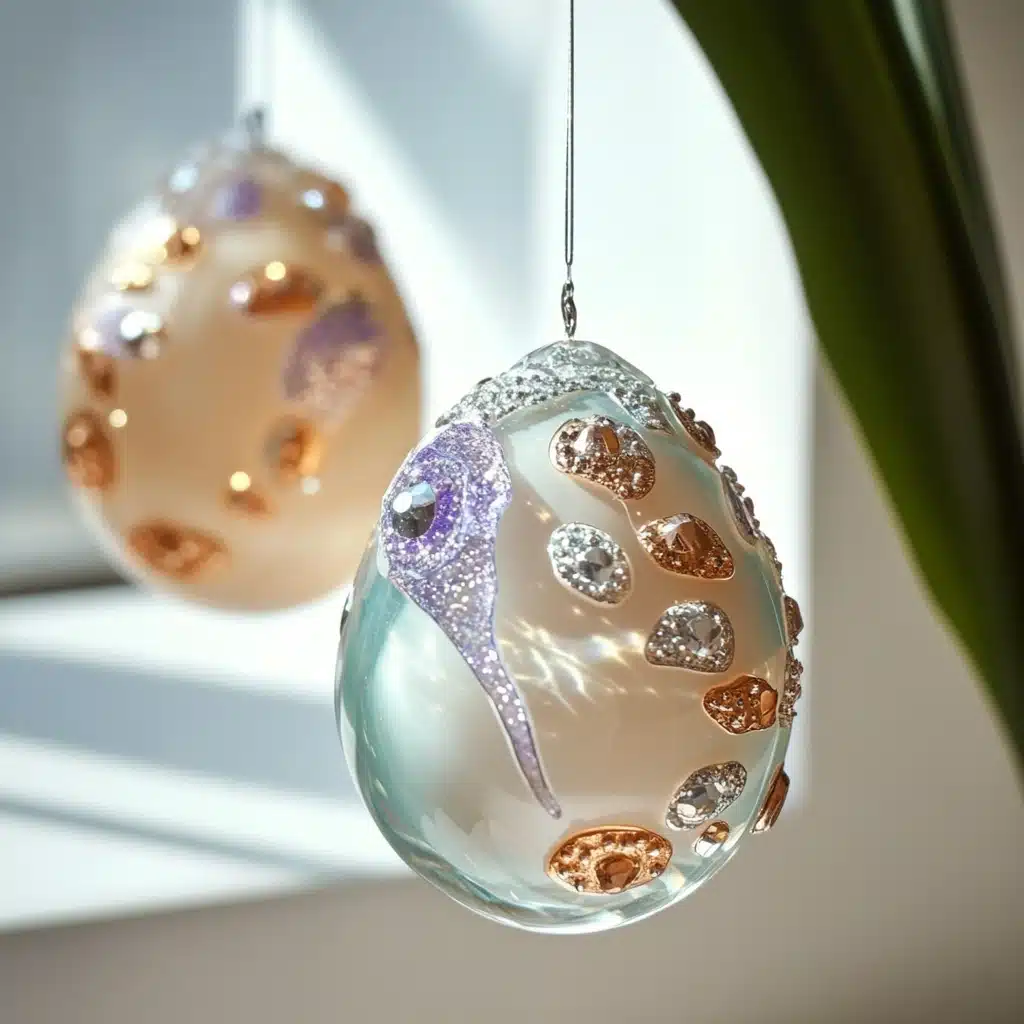
Looking for a craft that unleashes your inner dragon-tamer? ✨🐉 DIY Dragon Eggs are the perfect blend of imagination, artistry, and fun. Whether you’re decorating a mystical bedroom, creating a fantasy-themed party favor, or crafting an enchanting gift, these glittering eggs are sure to inspire awe.
This colorful project uses simple supplies like aluminum foil, air-dry clay, and dazzling embellishments to bring fantasy to life. In this detailed guide, you’ll learn how to make dragon eggs that look like they were pulled straight from a storybook—or the treasure hoard of a mighty dragon!
Why You’ll Love This DIY Dragon Egg Craft
- Perfect for Fantasy Fans: Inspired by mythical worlds like Game of Thrones, Dungeons & Dragons, and magical fairytales.
- Great for All Ages: Kids, teens, and adults alike can customize this craft to suit their style.
- Stress-Relieving: The hands-on process is calming, creative, and screen-free.
- Home Decor Magic: Display them in a bowl or on a bookshelf for an instant decor boost.
- Unique Gift Idea: Create one-of-a-kind keepsakes for birthdays or themed parties.
This is not just a craft—it’s a journey into imagination.
Materials You’ll Need
Gather these materials to get started:
Ingredients & Supplies:
- Aluminum foil
- Air-dry clay (white or colored)
- Liquid watercolors or food coloring (optional for dyeing clay)
- Acrylic beads
- Faux jewels
- Decorative stones, seashells, or beach glass
- Small rocks
- Sculpting tools or toothpicks (optional)
- Paintbrushes (optional)
Pro Tip: You can find most embellishments at craft stores or dollar stores for affordable bulk options.
Step-by-Step Instructions
Step 1: Color Your Clay
If using white air-dry clay, mix in a few drops of liquid watercolors or food coloring before beginning. Knead the clay until evenly colored. Wear gloves if you’re concerned about staining your hands.
Step 2: Form the Foil Core
Roll a sheet of aluminum foil into a ball, then shape it into an egg form. This helps save clay and adds structure.
Step 3: Cover the Egg in Clay
Take pieces of your colored clay and carefully flatten and smooth them over the foil core. Mold it with your fingers, blending seams so the entire egg is evenly coated.
Step 4: Add Embellishments
Now the fun begins! Press acrylic beads, jewels, stones, seashells, and beach glass into the clay. You can create a pattern or go wild with a mix of textures and shapes. Lightly press each item so it sets into the clay surface.
Step 5: Let It Dry
Place your dragon eggs on a clean tray or plate and allow them to dry for 24–48 hours, depending on humidity. Turn occasionally if needed to ensure even drying.
Step 6: Add Detail (Optional)
Once dry, you can enhance your eggs with acrylic paint, glitter accents, or a clear sealant for shine and protection.
Congratulations—you’ve created your very own dragon egg masterpiece!
Magical Variations and Themes
Want to give your dragon eggs an extra touch of fantasy flair? Try these creative spins:
- Metallic Touch: Use gold, silver, or bronze paint to give your egg a forged-in-fire look.
- Elemental Themes: Fire (reds, oranges), Ice (blues, silvers), Forest (greens, browns), Shadow (black, purple)
- Crystal Egg: Use only clear or colored stones to resemble an enchanted gem.
- Runes and Markings: Draw symbols or dragon language with a fine-tipped brush or marker.
- Glow-in-the-Dark: Add glow paint or glow-in-the-dark beads for a magical nighttime glow.

Educational Value
This isn’t just a fun craft—it also provides hands-on learning and development:
- Imaginative Play: Great for storytelling and world-building.
- Fine Motor Skills: Molding and decorating help improve hand-eye coordination.
- Sensory Exploration: The tactile nature of clay and embellishments is great for sensory development.
- Artistic Expression: Color choices, textures, and designs allow children to explore their creativity.
Add a reading activity with books like “How to Train Your Dragon” or fantasy-themed storybooks to round out the experience.
Display and Gift Ideas
Once complete, your dragon eggs can serve a variety of creative purposes:
- Decor Centerpieces: Arrange in a bowl or tray as a magical table centerpiece.
- Bookshelf Decor: Display near your fantasy books or gaming shelves.
- Gifts or Party Favors: Wrap in a small box with tissue paper for a handmade present.
- Easter Alternative: A great substitute for traditional eggs in spring crafting.
- Themed Party Activity: Use as a crafting station for dragon-themed birthdays.
Tips for Best Results
- Keep clay moist while working to avoid cracking.
- Use lightweight embellishments to prevent sagging.
- Don’t over-press decorations—light touches hold best.
- Let fully dry before painting or sealing to avoid smudges.
- Use a small rolling pin to flatten clay evenly before applying.
Frequently Asked Questions
Q: What’s the best clay to use?
A: Air-dry clay is ideal. It’s easy to work with, safe for kids, and dries without baking.
Q: Can I reuse the aluminum foil base?
A: Yes! If the clay cracks, you can peel it off and try again with fresh material.
Q: How long do they take to dry?
A: Typically 24–48 hours, depending on size and humidity.
Q: Can I use real gemstones or crystals?
A: Yes, but stick with smaller, lightweight stones for best adhesion.
Q: Is this craft messy?
A: It’s relatively clean, but it’s a good idea to use a tablecloth or crafting mat.
Conclusion: Let Your Inner Dragon Soar
Creating DIY Dragon Eggs is a magical experience that turns everyday supplies into mythical treasures. It’s the perfect mix of creativity, craft, and fantasy fun, giving both kids and adults a chance to escape into their imagination.
Whether you’re decorating your home, preparing for a fantasy-themed party, or simply looking for a unique afternoon activity, these glittering dragon eggs will enchant everyone who sees them.
So roll up your sleeves, gather your gems, and prepare to hatch a little magic. 🐲💎
Leave a Reply