


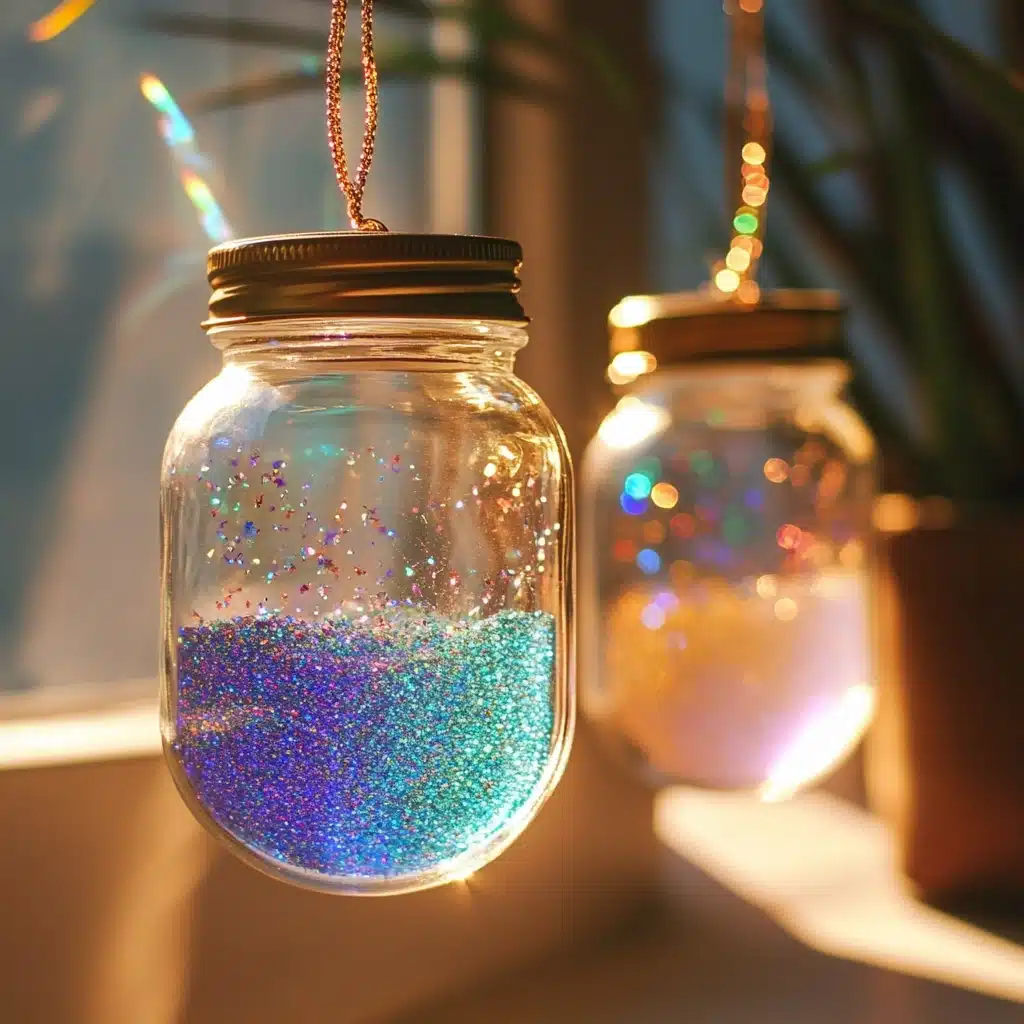
Looking for a beautiful way to slow down, refocus, or support your child’s sensory needs? These DIY Calming Glitter Jars are the perfect craft! With just a few simple ingredients, you can create a mesmerizing sensory bottle that helps soothe stress, spark mindfulness, and add a little sparkle to your day.
Whether you’re a parent, teacher, or just someone looking for a relaxing DIY, these glitter jars are a charming and therapeutic addition to any routine.
Why You’ll Love This Craft
These calming jars go beyond their glittery beauty. Here’s why crafters of all ages fall in love with them:
✨ Instant stress relief – Watching the glitter swirl slowly down helps calm an anxious mind and ease overstimulation.
🧠 Supports mindfulness – Perfect for grounding techniques, meditation, or mental resets.
🎨 Creative & customizable – Use your favorite glitter colors, shapes, and materials to make each jar uniquely yours.
👧🏽👦🏻 Kid-friendly – This craft is safe, mess-minimal, and ideal for sensory play.
🎒 Portable peace – Small enough to travel in a backpack, purse, or car.
🧘♀️ Encourages self-regulation – A wonderful visual cue to calm down before bed, after school, or during meltdowns.
Ingredients
To make one calming glitter jar, gather the following materials:
- 1 plastic travel bottle (about 100 ml or more)
- Mineral oil or a baby oil alternative (make sure it’s pure and unscented)
- Assorted glitter – Fine glitter, chunky glitter, glitter stars or hearts, etc.
- Optional: Small craft sequins, seed beads, or floating shapes
- Optional: Super glue or hot glue for sealing the lid
Necessary Tools
- A measuring cup (if needed for proportions)
- Funnel (optional, for easier pouring)
- Spoon or stir stick (to mix if needed)
- Paper towels or a tray (for spill prevention)
Ingredient Swaps and Additions
Don’t have mineral oil on hand? Try these alternatives:
🧪 Glycerin + Water – Mix 3–5 tablespoons of glycerin with warm water to get a similar slow-motion effect.
🫧 Clear Dish Soap + Water – Add a couple tablespoons of clear dish soap to water for a slightly thicker, bubbly swirl.
⚠️ Avoid using plain water alone. It’s too thin and often causes glitter to clump or sink quickly.
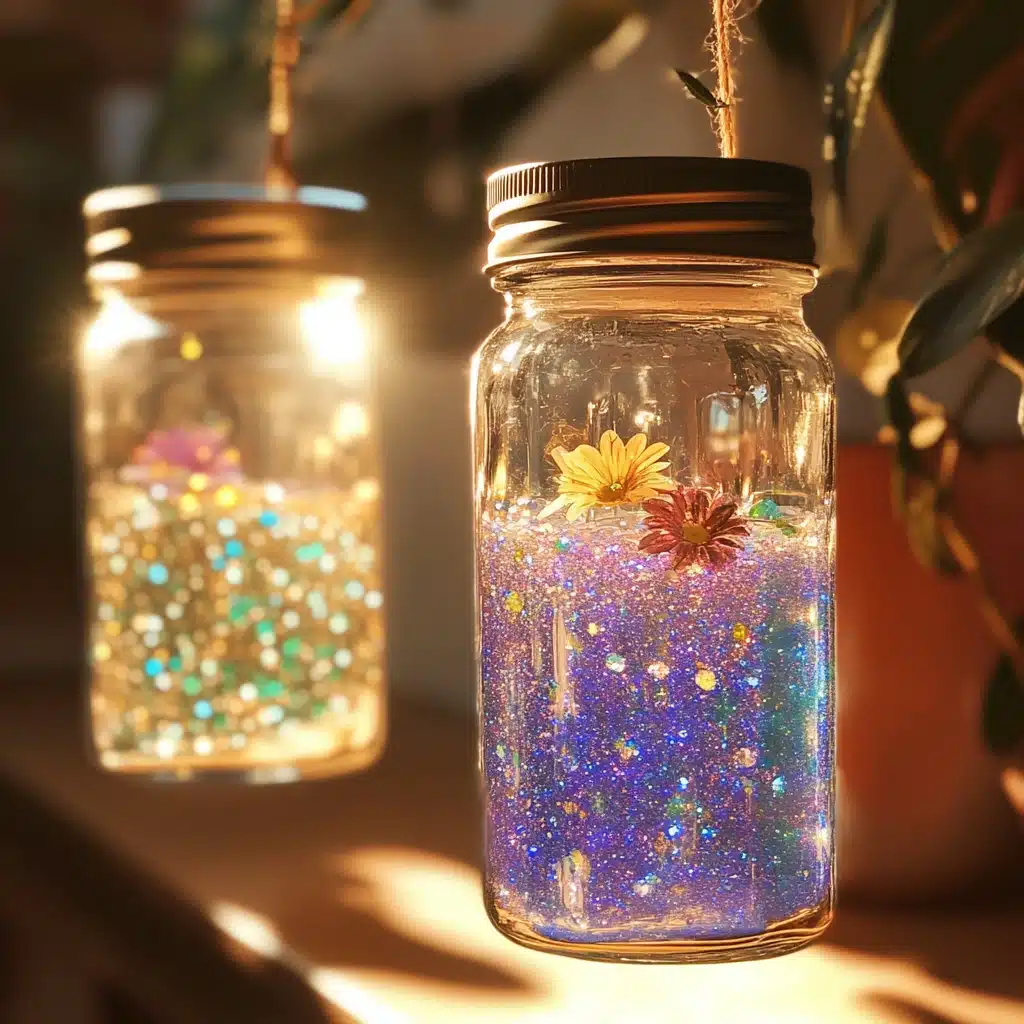
🎉 Want to personalize further?
- Add food coloring (a drop or two) for tinted liquid.
- Include tiny charms like stars, moons, or hearts.
- Use seasonal themes (red and green for holidays, pastel for spring, etc.).
Step-by-Step Instructions
Follow this easy process to make your own calming glitter jar:
Step 1: Fill the Bottle
Pour mineral oil into the travel bottle until it’s about 90–95% full. Leave a bit of room at the top for mixing and sealing.
Step 2: Add Your Glitter
Choose 2–3 types of glitter in complementary colors. Fine glitter will create a dreamy haze, while chunkier glitter or shapes will add movement. Pour them directly into the bottle.
Step 3: Add Sequins or Beads (Optional)
Drop in a few fun shapes, sequins, or small beads to add extra texture and slow-floating movement.
Step 4: Top Off the Bottle
Pour in a little more mineral oil to fill the bottle to the top. This helps reduce trapped air bubbles.
Step 5: Seal the Lid
Close the lid tightly. If the jar will be used by young children or thrown into a bag, use super glue or hot glue around the rim to keep it securely sealed.
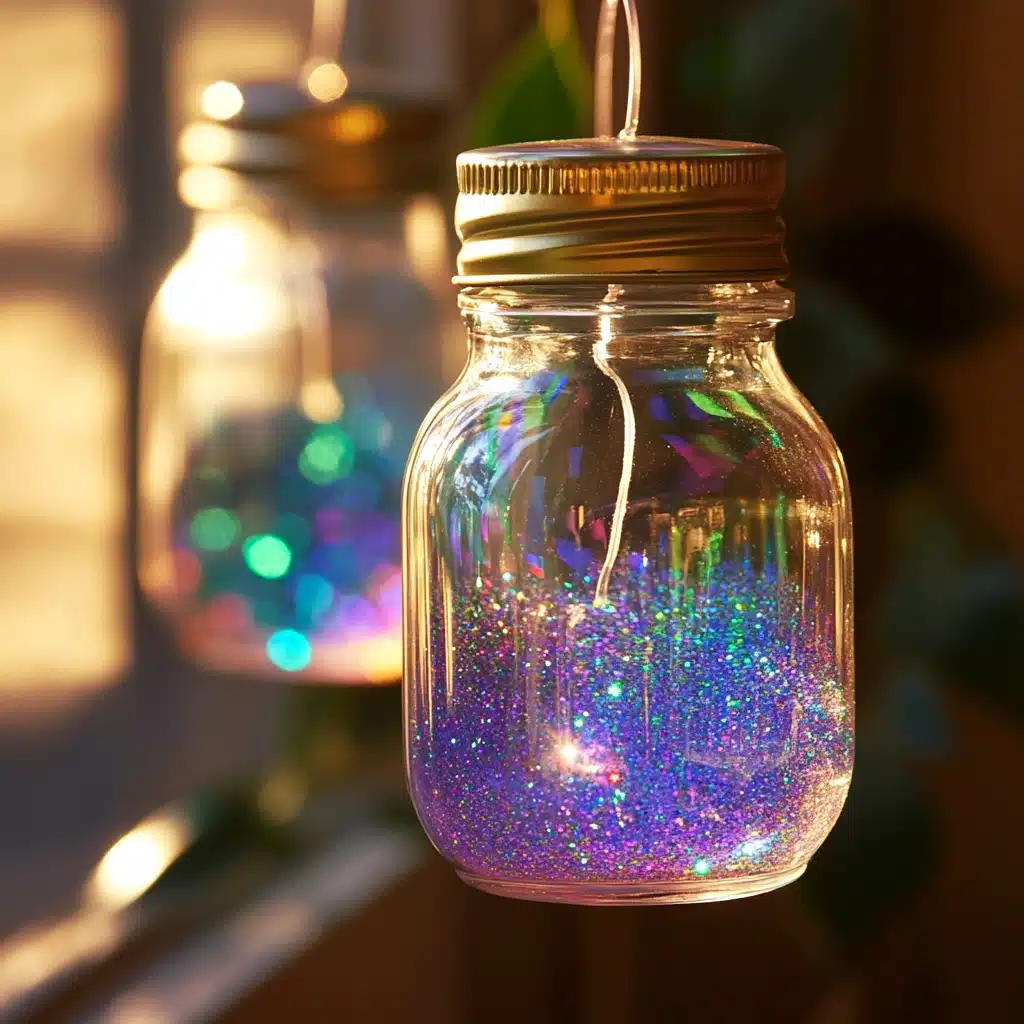
Step 6: Shake and Enjoy
Give your glitter jar a good shake and enjoy the peaceful swirl of sparkles drifting downward. Take a few deep breaths and let your mind slow down with the movement.
Pro Tips for Success
✔️ Test glitter beforehand. Some types may bleed color into the oil—test on a small sample first.
✔️ Mix glitter sizes for the best visual effect. Fine glitter creates flow, large glitter adds contrast.
✔️ Less is more. Don’t overfill with glitter—too much can clump or sink.
✔️ Warm oil works better. Slightly warming mineral oil (room temp or a little above) helps glitter move more freely.
✔️ Let bubbles settle. After mixing, bubbles may appear. Let the jar rest for 15–20 minutes if needed.
Creative Uses and Serving Suggestions
These calming glitter jars are more than just pretty—they’re purposeful! Try using them for:
- Mindfulness breaks at school or home
- Bedtime wind-down routines for kids
- Meditation or breathing exercises
- Quiet time bins or calm corners
- Gift-giving – Decorate the outside and tie with a ribbon!
- Therapy or counseling sessions
- Desk accessories for mini mid-day resets
Tip: Pair it with a mantra or affirmation card like “Breathe in calm, breathe out stress.”
Storing and Longevity Tips
🧴 Storage: Keep jars upright in a cool, dry place. Avoid direct sunlight, which can fade glitter or plastic over time.
🔒 Sealing: If giving to kids, seal the lid permanently using super glue or hot glue.
📦 Transport: Wrap in cloth or place in a small box for safe travel.
⏳ Longevity: Glitter jars can last for months or even years with minimal upkeep. If glitter clumps, give it a gentle swirl or replace the liquid.
Nutritional Information
Since this is a craft (not edible), here’s a fun twist on “nutritional” value:
- Mindfulness: 100%
- Stress Relief: 95%
- Creativity Boost: 85%
- Sensory Engagement: 90%
- Screen-Free Activity: 100%

FAQs
1. Can I use a glass jar instead of plastic?
Yes, but glass is more fragile and not ideal for young children. Plastic bottles are safer for portable or child-use crafts.
2. What happens if the glitter clumps?
This usually means the liquid is too thin. Try using glycerin or dish soap in your mix to add thickness and slow the glitter down.
3. Is baby oil the same as mineral oil?
Most baby oils are mineral oil with added fragrance. You can use baby oil if you don’t mind the scent, but make sure it’s clear and dye-free.
4. How much glitter should I use?
Start with about 1–2 teaspoons of glitter. Too much can block movement; experiment until you find your perfect mix.
5. Can I add essential oils?
Yes! Add a drop of calming essential oils like lavender for an added sensory experience. Just be careful with oil combinations.
Conclusion
DIY Calming Glitter Jars are a magical blend of creativity, mindfulness, and sensory fun. Whether you’re looking to ease anxiety, entertain your kids, or simply craft something beautiful, these jars deliver peace in a bottle.
With their dreamy swirls and sparkles, they remind us to slow down, breathe deeply, and enjoy the little things—like glitter drifting in oil.
Try making a few in different colors, and you’ll soon have a collection of calming companions ready for any moment you need to reset and reflect.
✨ Shake, breathe, and feel the calm. You deserve it.
Leave a Reply