


🎨✨ Want a craft that literally bounces with excitement? Get ready to roll up your sleeves and dive into a squishy, glittery world of DIY science fun. Making your own bouncy balls at home isn’t just a great sensory activity for kids—it’s also a cool way to introduce some early chemistry with everyday ingredients. Whether it’s a rainy day project or a weekend craft challenge, these homemade bouncy balls are guaranteed to deliver endless giggles and bounce-worthy fun.
Why You’ll Love This DIY Craft
There’s a reason this activity has become a favorite among parents, teachers, and crafty kids alike. It’s simple, safe, and sparks pure joy! Here’s why this homemade bouncy ball project deserves a place in your creative playbook:
- Easy and Affordable: Uses inexpensive household items—no need for special kits or fancy materials.
- Sensory-Rich Experience: Offers hands-on, squishy, colorful fun that engages multiple senses.
- Educational Twist: Demonstrates basic polymer science in a tangible, engaging way.
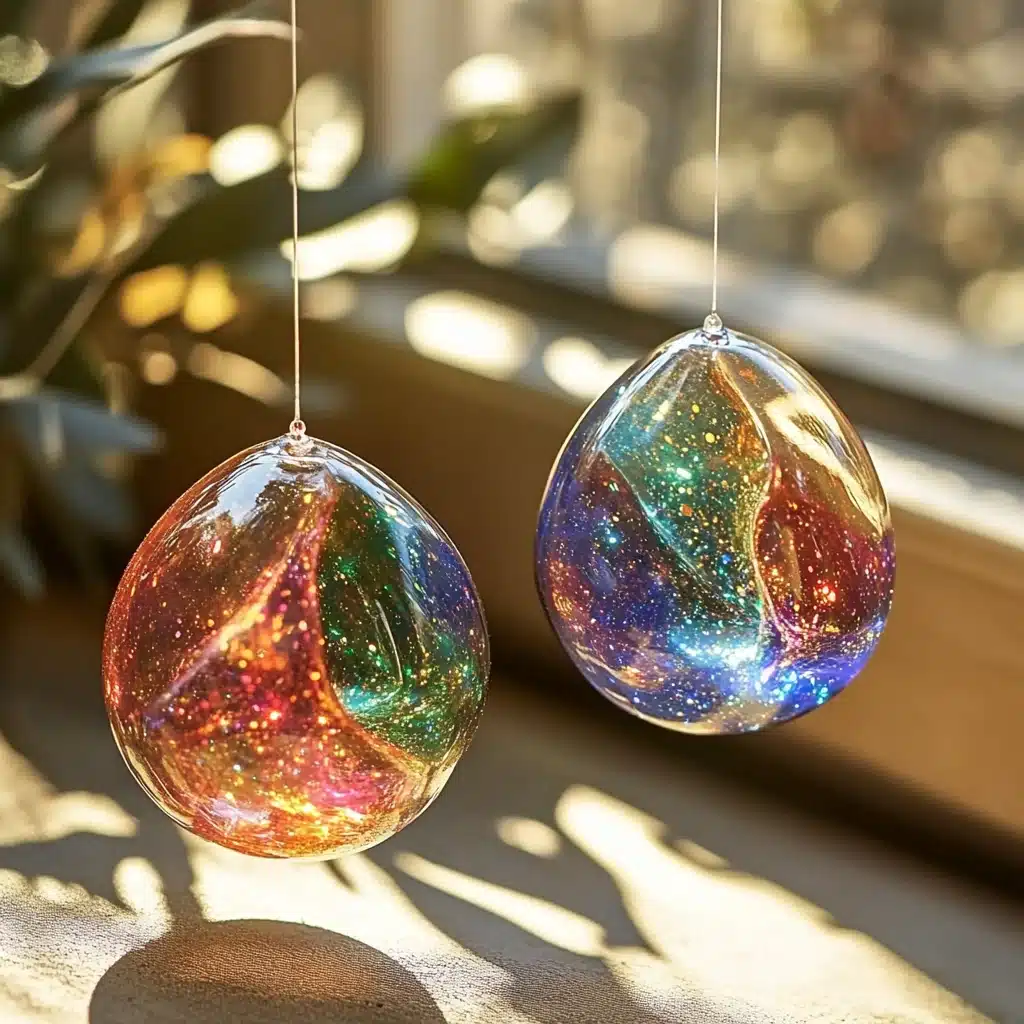
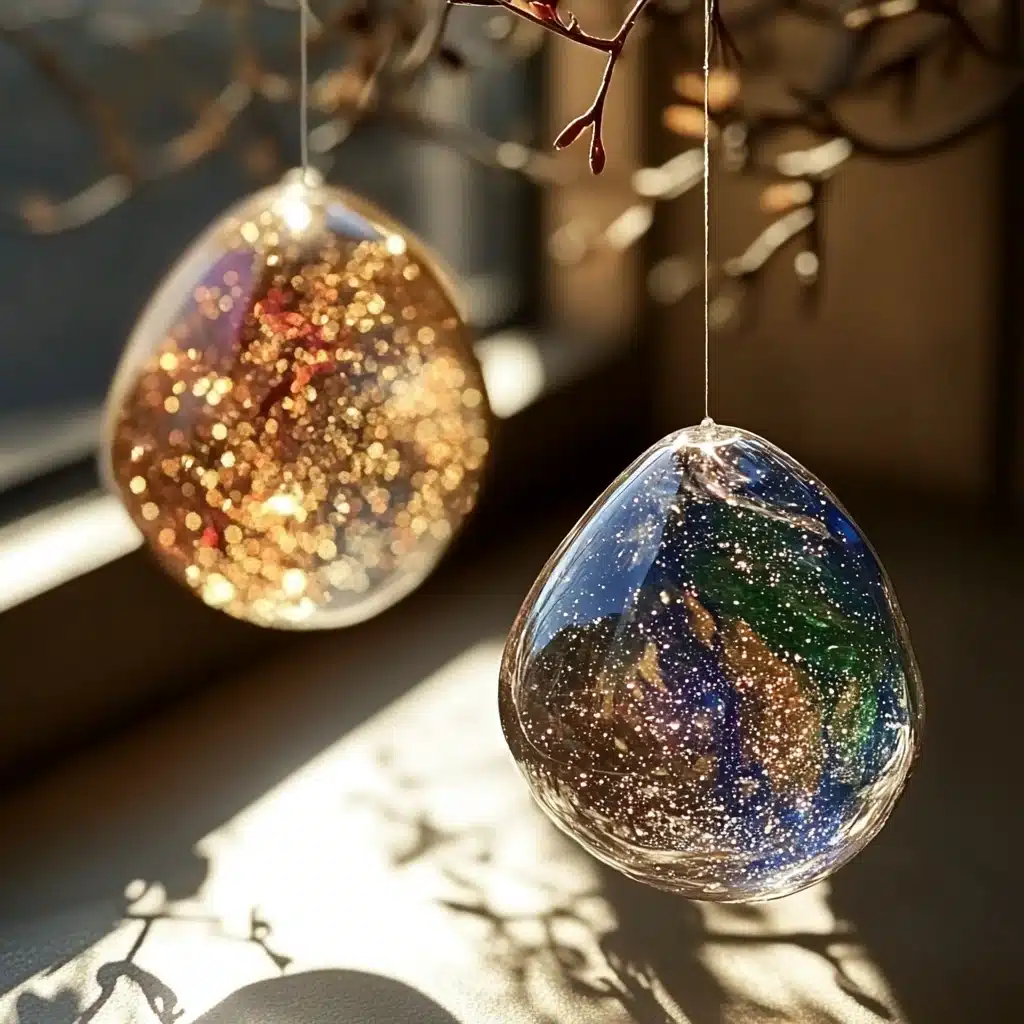
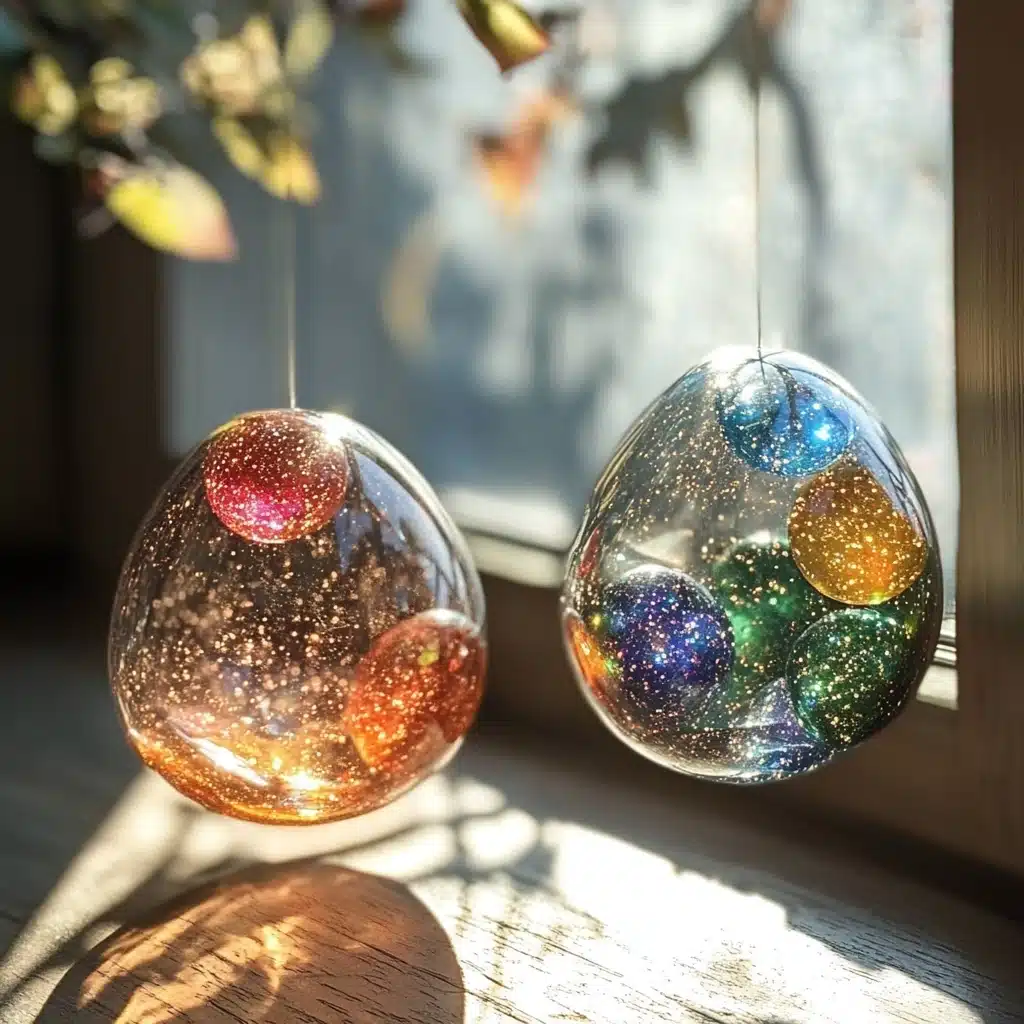
- Totally Customizable: Make them glow in the dark, mix colors, or go wild with glitter.
- Mess-Minimizing: A bit gooey at first, but easy to clean and quick to set.
Perfect for kids aged 5+, classrooms, parties, science fairs, or just a cozy afternoon at home, this craft balances fun and learning in a way that feels truly magical.
Ingredients – What You’ll Need
Here’s what you’ll need to make your very own sparkly DIY bouncy balls:
- 1/2 cup warm water
- 1 tablespoon Borax Detergent Booster (found in the laundry aisle)
- 2–3 tablespoons Elmer’s Glue (clear or white)
- Glitter (optional but fun!)
- Food coloring (gel or liquid, your choice)
Necessary Tools for the Project
Make sure you have these tools on hand before you start:
- Mixing bowl or cup
- Measuring spoons
- Craft stick or plastic spoon for stirring
- Disposable gloves (optional for easy cleanup)
- Paper towels or wax paper for drying
- Ziplock bags or airtight containers for storage
Ingredient Swaps and Creative Additions
Want to experiment or adapt the recipe to suit your supplies? Here are some fun and functional swaps:
- No Borax? Try liquid starch or saline solution with baking soda as a substitute—but results may vary.
- White Glue vs. Clear Glue: Clear glue gives a shiny, translucent finish while white glue creates a pastel effect.
- Add-ins: Mini foam beads, glow-in-the-dark paint, or even tiny confetti can add texture and flair.
- Scented Fun: Add a drop of kid-safe essential oil for a lightly scented experience.
🎨 Creative Idea: Combine two bouncy balls while still tacky to make a cool tie-dye or marble effect!
Step-by-Step Instructions
Let’s bounce into the fun! Follow these detailed steps to craft the perfect homemade bouncy ball:
1. Prepare the Borax Solution
Pour 1/2 cup of warm water into a bowl or cup. Add 1 tablespoon of Borax and stir until fully dissolved. This will be your activating solution.
💡 Tip: Make sure the Borax is fully dissolved to avoid grainy textures in your finished ball.
2. Add Sparkle and Color
Add a few drops of food coloring and a generous pinch of glitter into the Borax solution. Stir well to disperse the color and sparkle.
🧠 Science Insight: Food coloring binds to the glue’s polymers during the reaction, giving it vibrant color!
3. Add the Glue
Pour 2 to 3 tablespoons of Elmer’s glue directly into the colored Borax mixture. The more glue you use, the larger your bouncy ball will be.
✨ Note: Clear glue makes the ball see-through and extra sparkly, while white glue gives a cloud-like bounce.
4. Stir Until Slime Forms
Stir the mixture gently but continuously. You’ll notice a slime-like blob forming and pulling away from the sides of the bowl. This is the polymer reaction kicking in!
💬 Parent Tip: Kids love watching this transformation. Let them stir with a craft stick and see the magic happen.
5. Shape and Roll
Using your hands, scoop out the gooey slime and roll it between your palms. It may be sticky at first—just keep rolling! The more you shape it, the smoother and firmer it will become.
🧤 Optional: Wear gloves to keep hands clean and avoid food coloring stains.
6. Dip Again if Needed
If the ball remains too sticky, dip it back into the Borax solution and continue rolling. Repeat until the texture is smooth and not tacky.
📌 Craft Hack: Let the ball rest for 2–3 minutes between shaping—it firms up nicely!
Pro Tips for Success
Want pro-level bounce? Follow these bonus tips:
- Don’t over-stir once the glue and Borax mix; quick handling helps prevent crumbling.
- Avoid overexposure to Borax solution, which can dry out the ball.
- Let it cure for 10 minutes after shaping for maximum bounce!
- Add glitter last if you want it mostly on the surface instead of inside.
Serving Suggestions – Play Ideas!
Sure, you can just bounce them… but why stop there?
- 🎯 Bounce Challenge: See whose ball bounces the highest!
- 🎨 Color Mixing Game: Blend small balls of different colors to make multicolored mash-ups.
- 📦 Gift Idea: Wrap a few in a clear bag with a fun label for party favors.
- 🧪 Science Fair Display: Let kids explain the chemical reaction that forms the ball.
- 🌈 Rainbow Set: Make a full-color set for sorting and visual play!
Storing and Reheating (Yes, Really!)
How to Store:
Keep your bouncy ball in a ziplock bag or airtight container to prevent it from drying out.
Rehydrating Tip:
If it starts to dry out, dip it briefly in warm water, then roll it again to soften the texture.
⚠️ Safety Note: Always supervise young children and keep Borax out of reach.
Nutritional Information (for parents’ peace of mind 😉)
| Component | Info |
|---|---|
| Edible? | ❌ Not safe to eat (Borax is toxic) |
| Washable? | ✅ Yes – glue is washable |
| Shelf Life | 3–5 days in airtight storage |
| Allergen Info | Borax may cause irritation to some |
| Sensory Safe? | ✅ When supervised and properly used |

FAQs – Your DIY Bouncy Ball Questions Answered
1. Can I make this without Borax?
Yes! Try saline solution and baking soda or liquid starch, though bounce quality may vary.
2. Is this activity safe for toddlers?
With adult supervision, yes. Make sure they don’t ingest the ingredients or touch eyes during the process.
3. Why is my bouncy ball sticky?
It may need more time in the Borax solution or additional rolling to firm up.
4. How long do these bouncy balls last?
They can last several days if stored in a sealed container. After that, they tend to harden and crack.
5. Can I make glow-in-the-dark versions?
Absolutely! Use glow-in-the-dark paint or pigment powder with your glue for a nighttime twist.
Conclusion
There’s something truly joyful about making a toy with your own hands—especially one that sparkles and bounces! These DIY bouncy balls are more than just a craft—they’re a hands-on science experiment, a creative outlet, and a memory-making moment all rolled into one.
Whether you’re crafting with your kids, planning a rainy-day activity, or adding a fun twist to your homeschool curriculum, these homemade bouncy balls deliver. So grab your glue, stir up some sparkle, and get ready to bounce into fun!
Leave a Reply