


Introduction
Looking for a vibrant, easy, and eco-friendly craft to brighten your home? Say hello to Pringle Lids Suncatchers—the perfect fusion of creativity and sustainability. These colorful, light-catching creations are a brilliant way to recycle used plastic lids while engaging your child’s imagination.
Ideal for preschoolers, elementary kids, or even crafty adults, these DIY suncatchers are a simple and fun activity for any time of year. Whether it’s a rainy afternoon project or part of your homeschool art curriculum, this craft is as magical as it is mess-free.
In this article, we’ll walk you through a complete step-by-step guide on how to make suncatchers using clear Pringle can lids, along with creative design ideas, drying tips, variations, and educational value—all while keeping your content optimized for search with Rank Math.
What Are Pringle Lids Suncatchers?
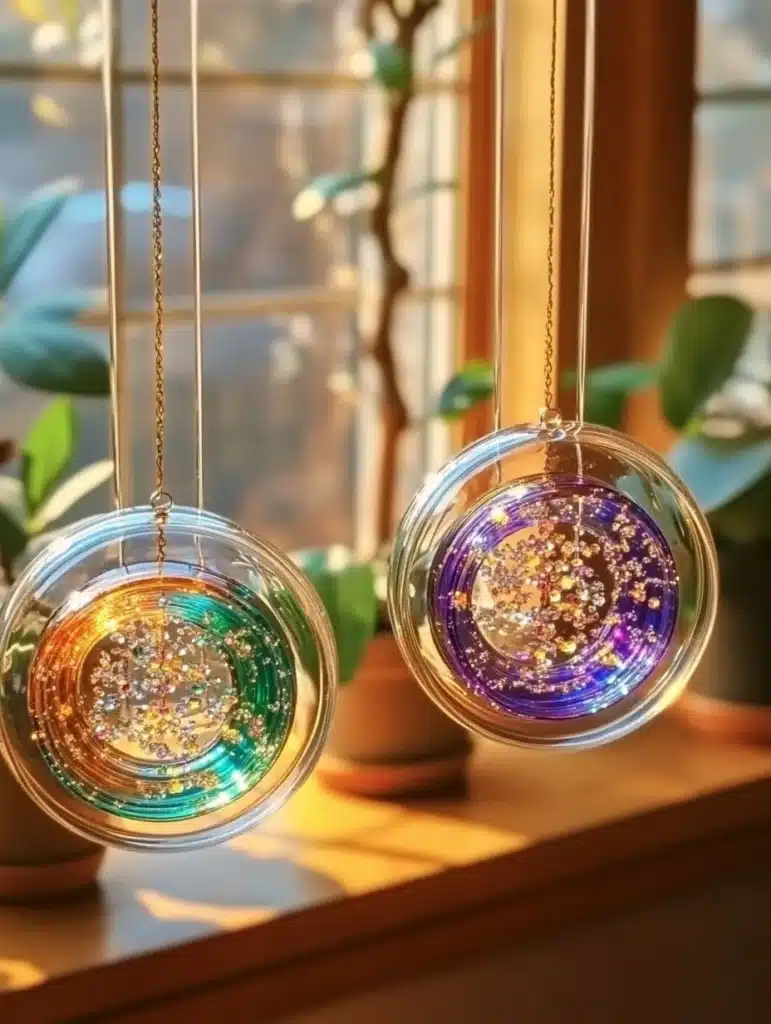
Pringle Lids Suncatchers are dazzling, lightweight decorative pieces made by filling clear Pringles can lids with clear school glue and embellishing them with glitter, tissue paper, sequins, or food coloring. Once the glue dries and hardens, the finished piece is translucent and captures sunlight beautifully—just like a mini stained-glass window.
And the best part? These suncatchers are low-cost, non-toxic, and made from recycled materials, making them perfect for both at-home crafting and classroom art stations.
Why You’ll Love This Craft
✅ Easy for All Ages
Kids as young as 3 can enjoy placing tissue paper and sequins in glue with minimal help.
✅ Eco-Friendly
You’re repurposing Pringle can lids that would otherwise end up in the trash!
✅ Great for Sensory & Fine Motor Skills
Handling small beads, glitter, and glue helps build hand strength and coordination.
✅ Customizable
Every suncatcher is different! Choose your colors, designs, and textures.
✅ Budget-Friendly
You only need a few basic materials—most of which you probably already have.
Supplies You’ll Need
Here’s what you need to make your own Pringle Lids Suncatchers (for 1–3 lids):
Main Materials:
- Clear Pringles can lids, cleaned and dried
- Clear school glue (like Elmer’s or washable gel glue)
Decorative Fillers:
- Tissue paper (cut or torn into small pieces)
- Sequins, glitter, tiny beads
- Food coloring (preferably dye-free or gel-based)
- Optional: Glow-in-the-dark paint for nighttime charm
Tools:
- Toothpick or wooden skewer (for swirling designs)
- Hole punch
- Yarn, string, or suction hooks (for hanging)
Workspace Prep:
- Wax paper, parchment paper, or tray (for drying)
- Paper towel or wipes (to clean sticky fingers)
🧼 Pro Tip: If you’re working with little ones, lay down a plastic tablecloth or old newspaper for quick cleanup.

Step-by-Step Instructions: How to Make Pringle Lids Suncatchers
Step 1: Set Up Your Work Area
Cover your surface with wax paper or place your lids in a tray to catch drips. Lay the clear Pringles lid flat with the inner surface facing up—it will act as the mold for your suncatcher.
Step 2: Pour the Glue
Squeeze enough clear glue into the lid to cover the bottom with an even layer—aim for about 2–3 mm thick. Gently tap the lid on the table to help level the glue and remove air bubbles.
Step 3: Add Color and Design
Now the fun begins! Add your colorful materials:
- Tissue Paper: Lay pieces across the glue to create a stained-glass effect.
- Glitter and Sequins: Sprinkle sparingly for sparkle.
- Beads or Confetti: Press lightly into the glue.
- Food Coloring: Add 1–2 drops and swirl with a toothpick to create tie-dye or watercolor patterns.
🎨 Optional: Outline a design on the lid using black glue to create a faux stained-glass frame.
Step 4: Let It Dry
Set the lid aside in a warm, undisturbed area. Drying can take 24–48 hours depending on humidity and glue thickness. The suncatcher is ready when:
- The glue is completely clear (not cloudy or tacky)
- You can gently peel it from the lid in one piece
Step 5: Punch and Hang
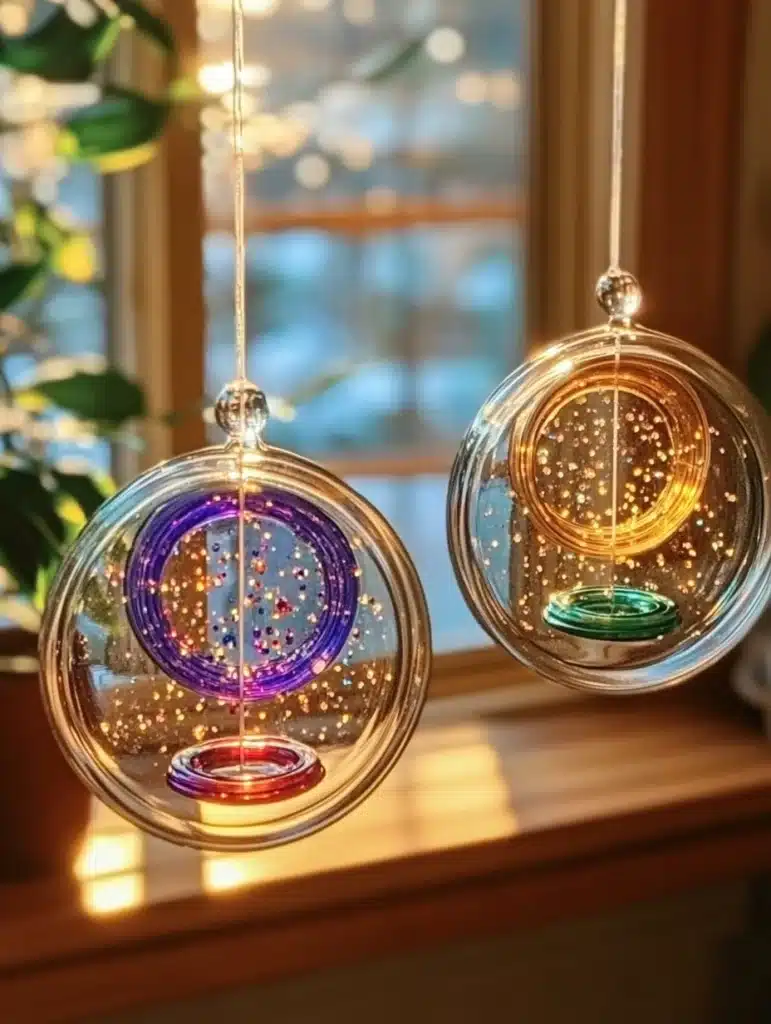
Once dry, carefully peel the suncatcher from the lid. Use a hole punch near the top, thread through yarn or string, and hang it in a sunny window using tape or a suction hook.
☀️ The sunlight will beam through the colors and glitter, turning your window into a glowing art gallery!
Creative Design Ideas
Here are some fun ways to customize your Pringle Lids Suncatchers:
🌈 Rainbow Swirl
Add dots of red, orange, yellow, green, blue, and purple food coloring, then gently swirl for a tie-dye effect.
🦋 Nature Inspired
Use pressed flower petals, leaf confetti, and earth-tone glitter for a natural, garden-themed look.
✨ Galaxy Vibes
Mix black, purple, and blue with silver stars and glitter to make a cosmic creation.
🎄 Seasonal Themes
- Spring: Flower sequins and pastel tissue
- Fall: Red/orange/yellow leaves and gold glitter
- Winter: White and silver with snowflake confetti
💡 Glow at Night
Add a few drops of glow-in-the-dark paint or glitter for nighttime visibility.
Educational & Developmental Benefits
This craft isn’t just pretty—it supports your child’s learning, too:
✋ Fine Motor Skills
Cutting tissue paper, squeezing glue, and placing tiny items improve dexterity.
🎨 Color Recognition
Mixing food coloring and tissue paper teaches how colors blend and interact.
🧠 Patience & Focus
Waiting for the glue to dry teaches delayed gratification and concentration.
🗣️ Language & Storytelling
Ask your child to describe their suncatcher’s design, encouraging verbal expression and imagination.
Age Guidelines and Safety Notes
- Best for ages 3 and up with adult supervision
- Non-toxic materials only; avoid small beads with toddlers
- Seal glue bottles after use to prevent spills
- Store unused Pringles lids for future crafts!
SEO Optimization Summary (for Rank Math)
✅ Focus Keyword: Pringle Lids Suncatchers
Included in:
- Page title (H1)
- Meta description
- URL slug
- Introduction
- Subheadings and body text
✅ Secondary Keywords:
- DIY stained glass lid art
- suncatcher crafts for kids
- recycled plastic lid crafts
- clear lid suncatcher DIY
- tissue paper window crafts
✅ Optimized Meta Description:
Turn trash into treasure with Pringle Lids Suncatchers! This colorful, eco-friendly craft is perfect for kids and adds a splash of rainbow light to any window. Easy, fun, and budget-friendly DIY.
✅ Internal Linking Suggestions:
- Link to other DIY crafts like “Neon Ocean Sensory Jar” or “Rainbow Lava Lamp DIY”
- Add to your “Window Crafts for Kids” or “Recycled Art Projects” blog categories
How to Store & Display Your Suncatchers
Once finished, your suncatchers can be displayed in a variety of creative ways:
🪟 Window Display
Hang them across a window with suction hooks or tape for a vibrant, light-catching mural.
✂️ Classroom Display
Great for art boards or as part of a sunlight science experiment.
🎁 Gift Them!
These make lovely homemade gifts for grandparents, teachers, or neighbors.
📦 Storage Tip:
If not in use, store flat between sheets of wax paper to avoid bending or scratching.
Final Thoughts: Let the Sunshine In With Colorful Pringle Lids Suncatchers
Crafting doesn’t have to be complicated or expensive to be meaningful. These Pringle Lids Suncatchers are the perfect example of how something as simple as a chip lid and glue can become a stunning piece of handmade window art.
They’re easy enough for kids, pretty enough for adults, and versatile enough to adapt for holidays, seasons, and educational themes. Best of all? You’re teaching sustainability, creativity, and mindfulness—all while having fun.
So, save those lids, grab some glue, and let the sunshine through your very own homemade masterpiece! 🌈✨
Leave a Reply