


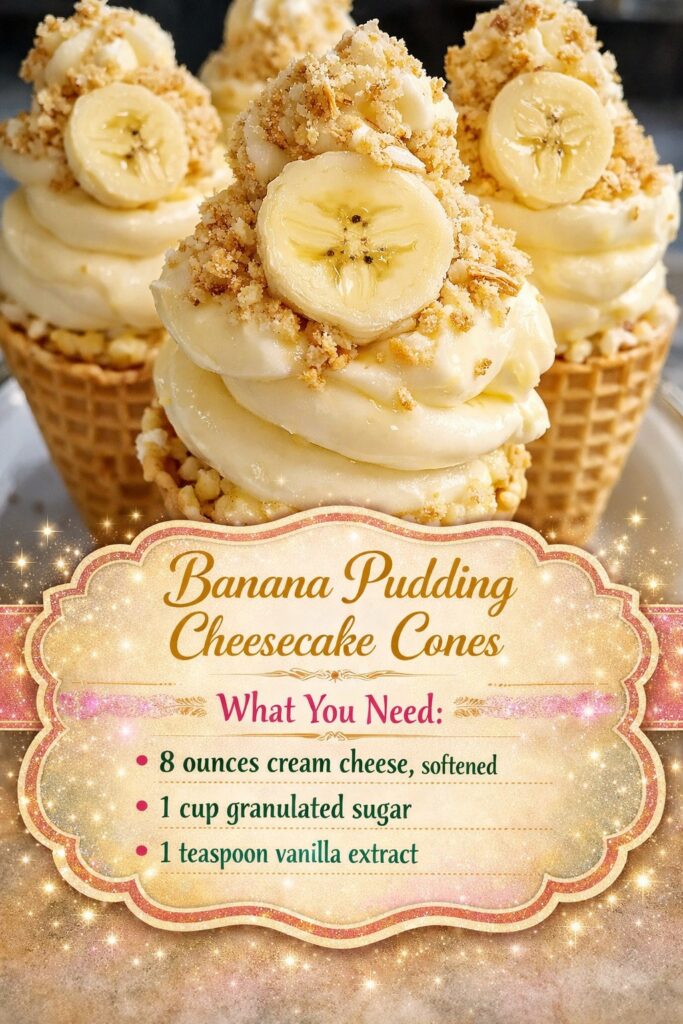
How to Make Banana Pudding Cheesecake Cones
Step 1: Prepare the Pudding
In a mixing bowl, whisk the vanilla pudding mix with milk until smooth. Continue whisking until the mixture thickens slightly.
Set the pudding aside so it can fully develop its creamy consistency.
Step 2: Make the Cheesecake Filling
In a separate bowl, beat softened cream cheese, powdered sugar, and vanilla extract until the mixture becomes smooth and creamy.
Use an electric mixer to ensure the filling remains lump-free.
Step 3: Fold in the Whipped Topping
Gently fold the whipped topping into the cream cheese mixture.
This step lightens the filling and gives it a fluffy cheesecake texture. Be careful not to overmix so the filling remains airy.
Step 4: Combine the Mixtures
Add the prepared pudding mixture to the cheesecake filling.
Mix gently until everything becomes smooth and well combined. The result should be a thick, creamy banana pudding cheesecake filling.
Step 5: Assemble the Cones
Place sliced bananas inside each waffle cone as the first layer.
Next, spoon or pipe the cheesecake filling into the cones. Fill each cone generously, leaving a small space at the top for garnishes.
Step 6: Add Toppings and Serve
Top each cone with whipped topping, banana slices, or crushed vanilla wafers.
Drizzle with chocolate or caramel sauce if desired.
Serve immediately to keep the cones crisp.
Fun Variations to Try
Chocolate Banana Cheesecake Cones
Chocolate lovers can easily transform Banana Pudding Cheesecake Cones into a richer dessert.
Mix cocoa powder into the cheesecake filling or drizzle melted chocolate over the finished cones.
Chocolate chips or chocolate wafer crumbs can also add extra texture and sweetness.
Nutty Banana Pudding Cones
Adding nuts introduces an extra layer of flavor and crunch.
Chopped pecans, walnuts, or almonds work especially well with banana desserts.
You can also mix a spoonful of peanut butter into the cheesecake filling for a creamy, nutty twist.
Tips for Perfect Cheesecake Cones
Chill the Filling Before Assembling
Allowing the filling to chill for about 30 minutes helps it thicken slightly, making it easier to pipe into cones.
Use Ripe Bananas
Ripe bananas offer the best sweetness and flavor for banana pudding desserts.
Assemble Just Before Serving
Filling the cones too early can cause them to soften. Assemble the cones shortly before serving to keep them crisp.
These small tips help maintain the best texture and flavor.
FAQ
Can I make Banana Pudding Cheesecake Cones ahead of time?
Yes, but store the filling separately and assemble the cones just before serving.
What can replace cream cheese?
Mascarpone cheese or Greek yogurt can serve as alternatives.
How should leftovers be stored?
Store leftover filling in an airtight container in the refrigerator for up to three days.
Can I freeze the filling?
Yes, but freezing may slightly alter the texture when thawed.
What other cones can I use?
Sugar cones or cookie cups can replace waffle cones if desired.
Conclusion
Banana Pudding Cheesecake Cones offer a delightful combination of creamy cheesecake, fresh bananas, and crunchy cones. By turning a classic banana pudding dessert into a handheld treat, this recipe adds both fun and elegance to any occasion.
Because the dessert requires no baking and minimal preparation, it is perfect for busy days or last-minute gatherings. With customizable toppings and rich flavor, Banana Pudding Cheesecake Cones are guaranteed to impress guests and satisfy sweet cravings.
Once you try them, these playful cones may quickly become one of your favorite desserts to share.
Leave a Reply