


Introduction: Celebrate with Sparkle and Calm
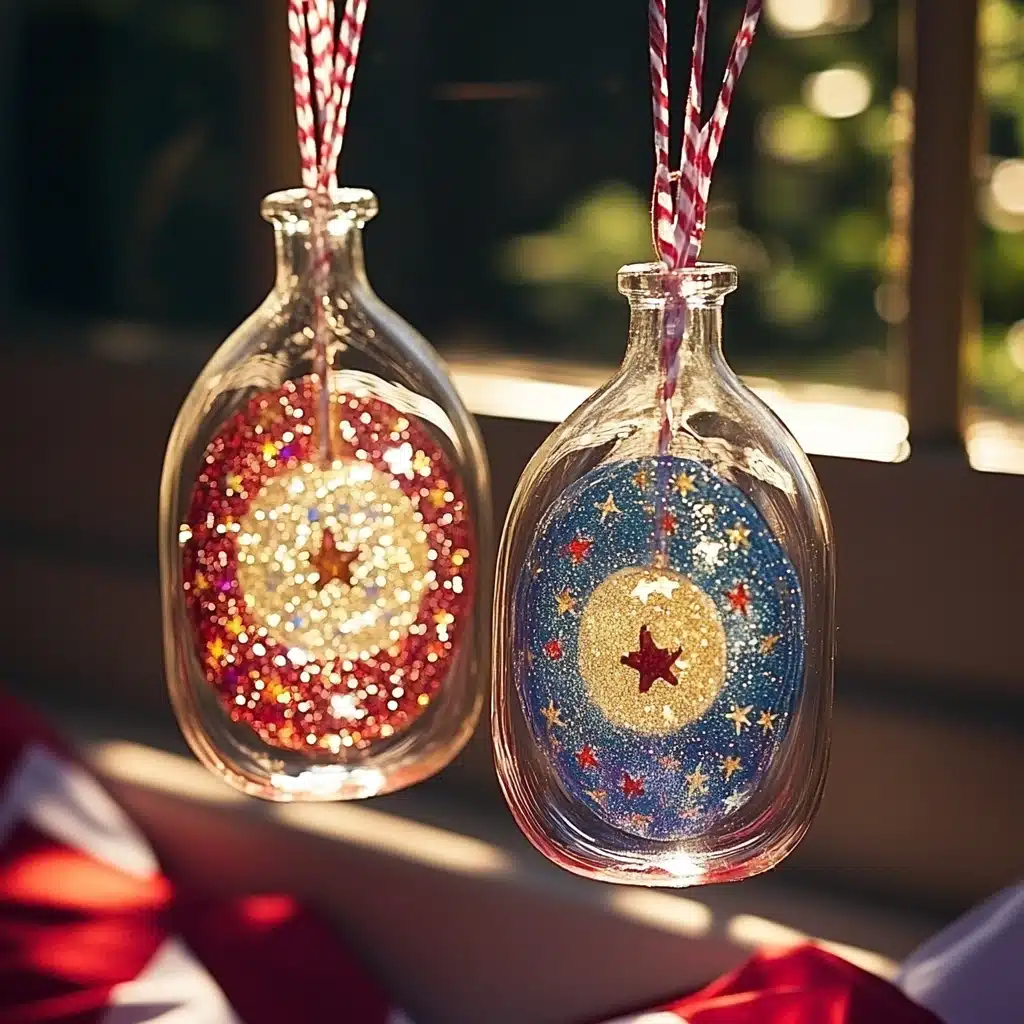
The 4th of July is all about fireworks, celebration, and patriotic spirit. But for kids and families, it can also be a whirlwind of excitement that sometimes needs a little calm. Enter: the 4th of July Glitter Jar—a stunning, sensory craft that doubles as a beautiful centerpiece and a calming tool. Whether you’re prepping for a backyard party or simply want a magical moment of mindfulness before the fireworks light up the sky, this glitter jar brings a swirl of red, white, and blue joy to your celebration.
With easy-to-find ingredients and minimal prep, this craft is perfect for all ages, making it a favorite for families, teachers, and DIY lovers. Let’s dive into this festive DIY that blends creativity, celebration, and calm in one sparkly bottle!
Why You’ll Love This Craft
This isn’t just glitter and glue—it’s a whole experience. Kids adore the swirling sparkle, parents appreciate the sensory benefits, and everyone loves how it adds magic to any table or picnic setup. Here’s why this DIY glitter jar stands out:
- Stress-relief in a jar: The slow movement of glitter can help soothe anxiety, making it a perfect sensory bottle for overwhelmed kids or anyone needing a quiet moment.
- Educational fun: This craft introduces basic science concepts like viscosity and density in a playful way.
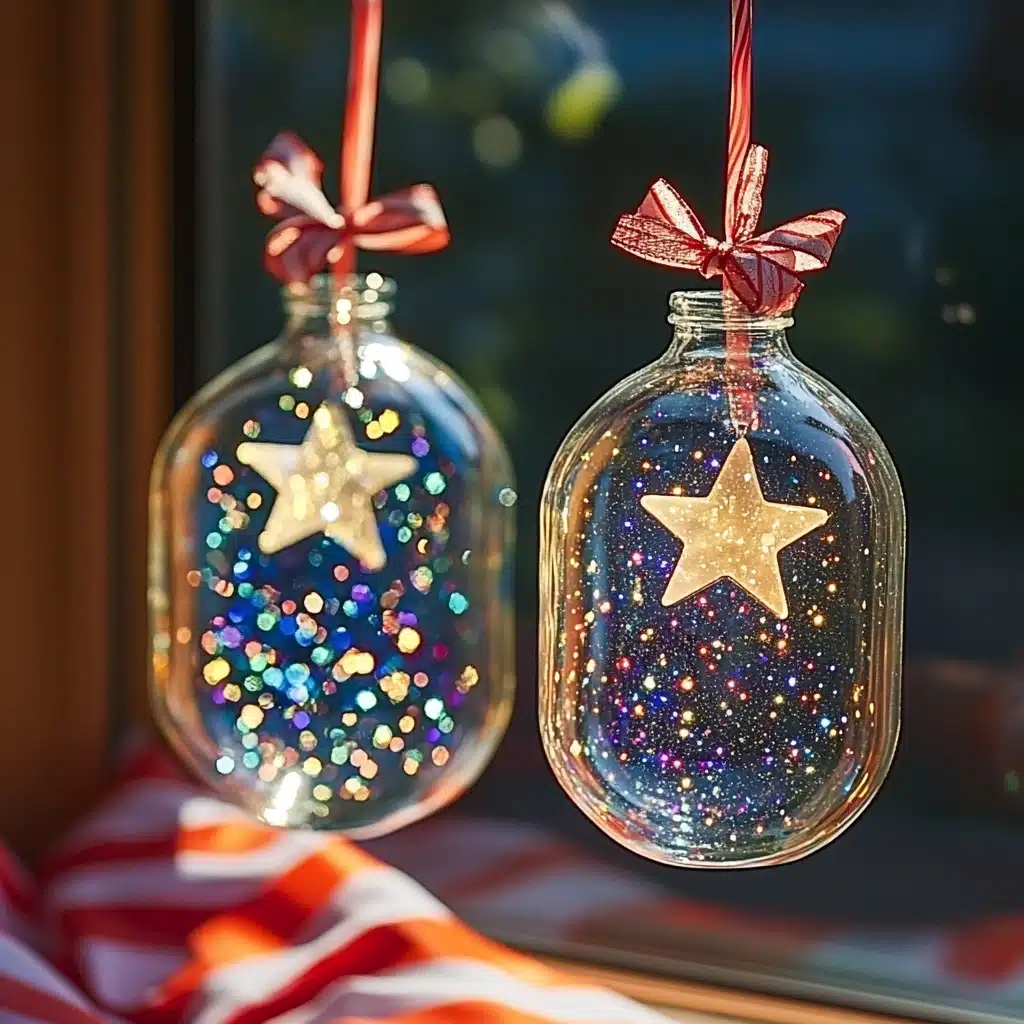
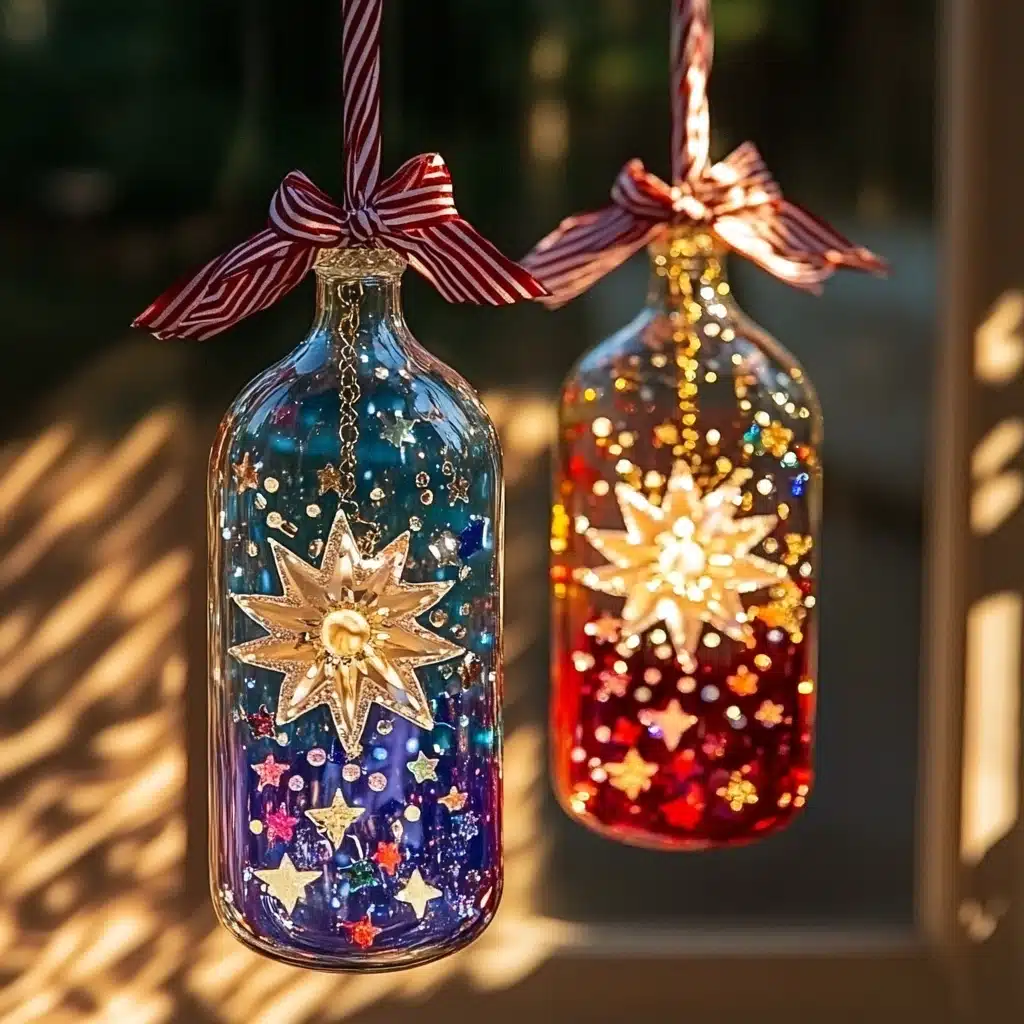
- Patriotic and pretty: With red, white, and blue glitter and star confetti, it perfectly captures the 4th of July spirit.
- Customizable and safe: Use plastic jars for younger children and let them pick their glitter colors for a personalized touch.
- A lasting keepsake: Long after the fireworks fade, this jar continues to enchant.
Ingredients
You only need a handful of simple, affordable items to bring this glitter jar to life. Here’s what to gather:
- 1 clear bottle or jar (glass or sturdy plastic, with tight-fitting lid)
- 1 part clear glue
- 2–3 parts warm water
- Red, white, and blue glitter
- Star-shaped sequins or confetti
- Red or blue food coloring (optional)
- Glycerin or baby oil (optional, for slower glitter movement)
- Hot glue gun or strong tape (to seal the lid securely)
Necessary Tools
To keep the process smooth and stress-free, make sure you have these tools on hand:
- Measuring cup (for glue and water proportions)
- Stirring stick or spoon
- Funnel (optional but helpful for pouring into small jar openings)
- Hot glue gun or duct tape (for sealing)
- Paper towels (for cleanup)
Ingredient Swaps and Additions
Want to customize your glitter jar for other holidays or sensory needs? Here are a few creative tweaks:
- Colors: Swap red, white, and blue glitter for pastel tones for spring or gold and green for St. Patrick’s Day.
- Glow-in-the-dark glitter: Perfect for nighttime viewing!
- Essential oils: Add a drop of lavender or peppermint for a calming or invigorating scent.
- Plastic stars or buttons: Add texture and movement beyond just glitter.
- Use hair gel instead of glue: A fun alternative that gives different viscosity.
Step-by-Step Instructions
Step 1: Prepare the Bottle
Start by thoroughly cleaning your bottle or jar and removing any labels. Fill it about ¾ full with warm water.
Step 2: Add Clear Glue
Pour in clear glue until you reach your desired consistency. A 1:3 ratio of glue to water gives nice, slow glitter movement. Mix well.
💡 Tip: The more glue you add, the slower the glitter will swirl.
Step 3: Add Glitter and Confetti
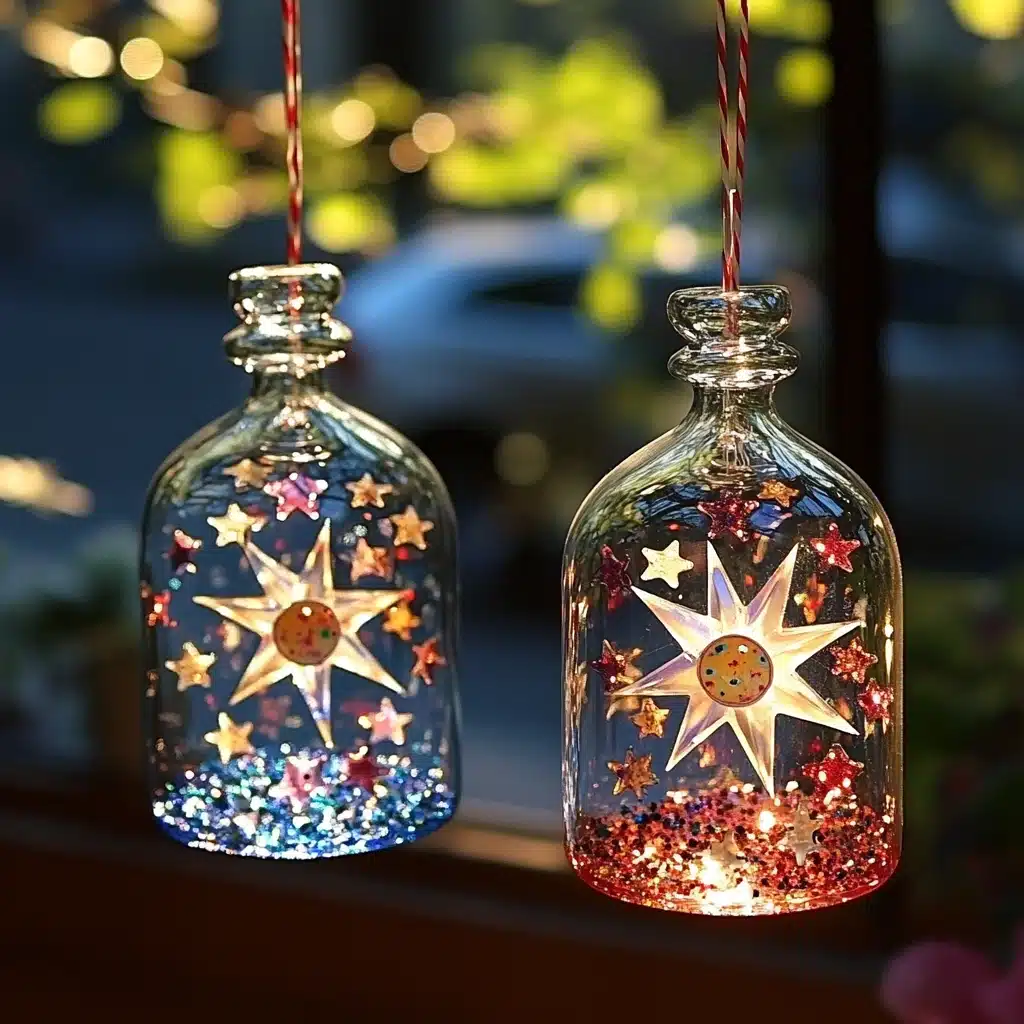
Now comes the fun part—glitter! Sprinkle in a combination of red, white, and blue glitter. Add star-shaped confetti or sequins to amp up the fireworks effect.
Step 4: Optional Additions
Want even more flair? Add a few drops of food coloring for a tinted base. For ultra-slow glitter movement, stir in a tablespoon or two of glycerin or baby oil.
Step 5: Seal the Jar
Top off the jar with water, leaving a small gap at the top. Seal the lid tightly. Use hot glue around the rim or tape it shut to prevent leaks.
Step 6: Shake and Shine!
Give your glitter jar a good shake and watch the sparkles spin and dance like a tiny fireworks show in a bottle. Enjoy as the glitter slowly settles—perfect for quiet time or sensory regulation.
Pro Tips for Success
- Warm water works best to dissolve glue and prevent clumping.
- Less is more when it comes to glitter—you want it to move, not clump.
- Shake before sealing to make sure you’re happy with the look.
- Let kids pick their colors to make it their own.
- Double up the fun by making a set of jars in different colors or themes.
Serving Suggestions
Though it’s not for eating, your glitter jar still deserves the spotlight! Here’s how to showcase it:
- Use it as a table centerpiece at your 4th of July barbecue or picnic.
- Line them along your porch for nighttime sparkle as the sun sets.
- Give each child a jar as a party favor or keepsake.
- Bring it along to fireworks shows for calm sensory play during loud booms.
- Incorporate it into a sensory table or quiet zone in the classroom or at home.
Storing and Reheating (or rather, Maintenance)
This craft doesn’t need reheating, but it does need proper care:
- Store upright with lid tightly sealed to avoid leaks.
- If glitter clumps after time, give the jar a good shake or open and stir.
- Keep away from extreme heat or direct sun to prevent warping (especially for plastic jars).
- Refresh over time by adding a bit more glitter, water, or glue.
Nutritional Information (Just for Fun!)
Of course, this craft isn’t edible—but here’s a playful “ingredient breakdown”:
- Creativity – 100%
- Patriotic spirit – 100%
- Sensory play – 100%
- Mess factor – Low (if sealed properly!)
- Reusability – High
FAQs
Q1: Can I use colored glue instead of clear glue?
Yes, but it will slightly cloud the water. For the clearest swirl, stick with clear glue.
Q2: How long does it take for the glitter to settle?
It depends on the glue-to-water ratio—usually around 1–2 minutes.
Q3: Can I make this in a mason jar?
Absolutely! Just be cautious with glass around younger kids. Plastic works great for little hands.
Q4: Is it safe for toddlers?
Yes, as long as it’s supervised and securely sealed. Opt for plastic jars with glued-on lids for safety.
Q5: Can I reuse the glitter jar next year?
Definitely! Just store it in a cool place. If needed, freshen it up with more glitter or glycerin.
Conclusion: Celebrate with Sparkles and Smiles
The 4th of July Glitter Jar is more than a festive DIY—it’s a celebration of creativity, calm, and connection. Whether you use it to delight your guests, calm overstimulated kids, or simply add a touch of handmade charm to your celebration, this craft is one you’ll want to make again and again.
So gather your glitter, fire up the glue gun, and let’s celebrate the red, white, and blue—one magical swirl at a time. 🇺🇸✨
Leave a Reply