


Introduction
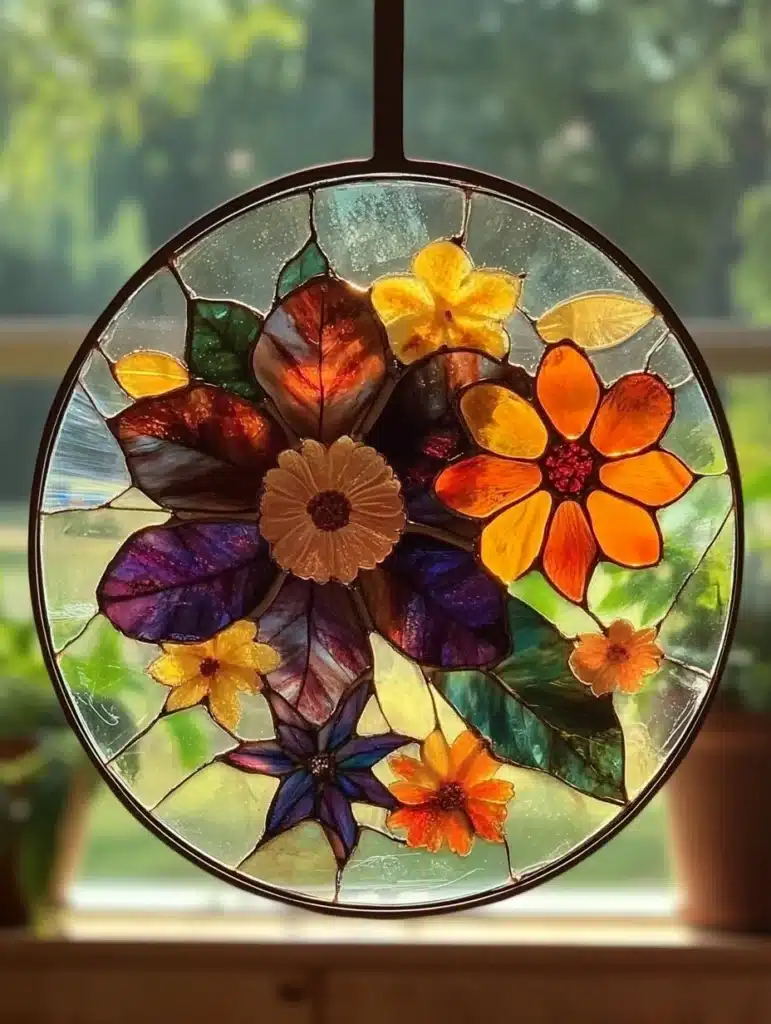
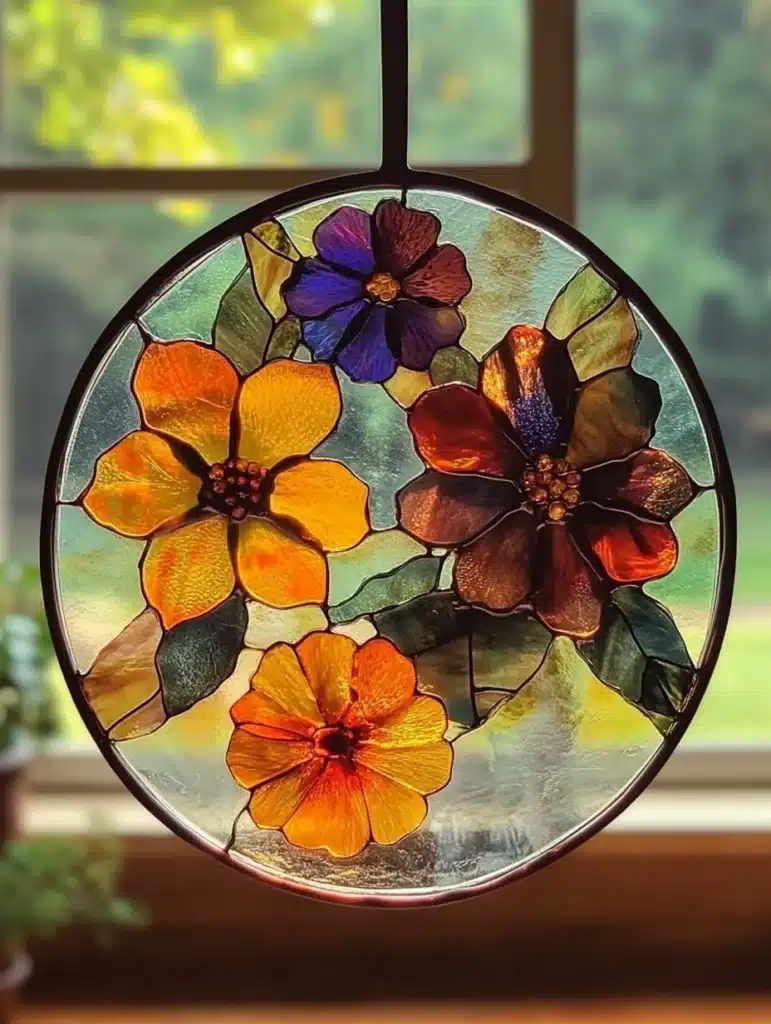
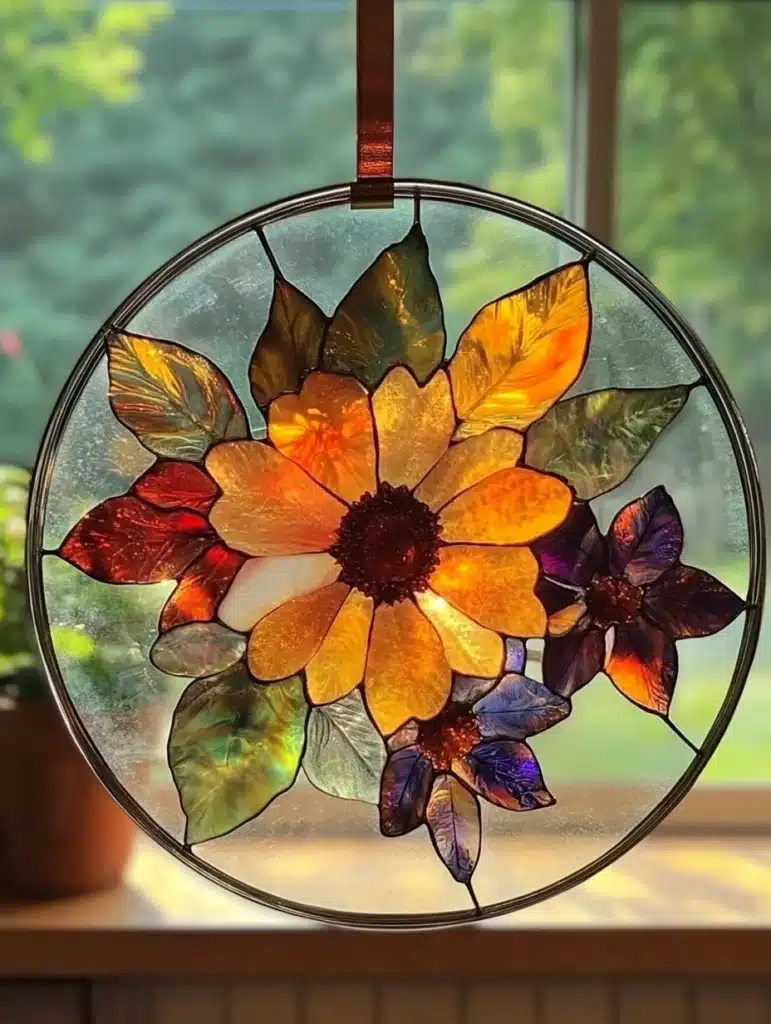
Bring the serene beauty of nature indoors with a Pressed Flower Stained Glass craft that doubles as framed artwork or shimmering window decor. By combining delicate pressed blooms with colorful crayon shavings sealed between wax paper, this project captures the elegance of stained glass with natural charm. It’s an ideal activity for springtime, Mother’s Day, or mindful creative sessions with children. Plus, it’s easy enough for beginners and rewarding enough for seasoned crafters.
What Is Pressed Flower Stained Glass?
Pressed flower stained glass is a handcrafted composition of flattened, dried flowers and plants arranged between layers of wax paper. A sprinkle of melted crayon wax mimics the beauty of stained glass. Once sealed and trimmed, the finished pieces glow in windows or shine from frames—capturing sunlight, glass, and floral grace.
Why Create Pressed Flower Stained Glass?
- Encourages appreciation for nature and seasonal changes
- Builds fine motor skills through careful placement and cutting
- Offers calming, mindful crafting—ideal for adults and children
- Creates lasting, unique home decor or thoughtful gifts
- Promotes eco-friendly upcycling of ephemeral plant material
Supplies Needed
| Item | Purpose |
|---|---|
| Fresh flowers & foliage | Pressed blooms as main decorative elements |
| Wax paper sheets | Translucent surface for embedding pressings and wax |
| Blue and/or white crayons | Provide wax binder and add decorative color |
| Iron and ironing board | Melts and seals wax layers |
| Protective towel | Prevents wax contact with the iron |
| Scissors | Trim edges and cut shapes |
| Hole punch | Prepares for hanging |
| Ribbon or string | For display hanging in a window |
| Optional glitter | Adds sparkle when sun hits the surface |
| Heavy books or press | For flattening freshly gathered flowers |
Flower Pressing Basics
- Choose flowers with low moisture (daisies, pansies, maple leaves).
- Place blooms between absorbent paper in a heavy book.
- Allow to press for 2–7 days, checking occasionally.
- Replace damp paper to prevent discoloration.
- Store fully dried flowers flat until crafting day.
Step-by-Step Craft Tutorial
Arrange Flowers on Wax Paper
Trim flowers and place on the non-waxy side of wax paper, leaving space around edges.
Add Crayon Shavings
Use a sharpener to create crayon shavings and sprinkle lightly around flowers for stained glass effect.
Sandwich and Seal
Cover with second wax paper sheet. Place a towel over and gently iron to melt the crayon and fuse the paper layers. Avoid overheating.
Trim and Shape
Allow to cool then trim to remove excess wax. Cut into desired shapes—rectangles, hearts, or freeform.
Add Hanging Loop
Punch a small hole at the top and thread ribbon or string for hanging.
Optional Shine
Add small glitter bits, then lightly re-iron to seal sparkle.
Creative Variations
- Seasonal Themes: Use autumn leaves, spring blossoms, or winter sprigs
- Colorful Frames: Use mixed crayon hues for multicolored stained glass
- Layered Petals: Create depth by layering flowers before sealing
- Framed Versions: Mount in inexpensive frames for lasting display
- Mini Art Series: Make a collection of shapes to hang as a window mobile
Educational and Developmental Benefits
- Botany Lessons: Learn about plant anatomy while collecting and pressing
- Science Exploration: Observe how heat melts wax and seals materials
- Fine Motor Practice: Improve precision with scissors, tweezers, and hole punch
- Mindfulness: Calm, repetitive tasks and use of nature promotes relaxation
- Artistry: Teaches design principles like color placement and composition
Troubleshooting Tips
- Paper wrinkling under iron? Use medium heat and iron slowly
- Flowers shift during ironing? Weight them gently until wax sets
- Dull shammy? Iron longer or add more crayon shavings
- Cracks in wax? Flip paper and re-iron more gently
- Sharp edges? Use decorative edge scissors for smooth finish
Display and Gift Ideas
- Create seasonal garlands or mobiles
- Frame for year-round botanical decor
- Make multiple shapes for group or class decorations
- Use as gift tags or bookmarks with botanical elegance
- Host a pressed-flower craft party for kids or recovery programs
Clean-Up and Sustainability
- Use scrap paper to catch wax drips
- Wash the iron surface before heat cools
- Compost pressed plant matter responsibly
- Recycle wax paper pieces or continue crafting
- Use eco-friendly crayons and re-use supplies
SEO Optimization Insights
- Focus Keyword: used in title, slug (
/pressed-flower-stained-glass), intro, headings - Meta Description: “Learn how to make pressed flower stained glass using fresh blooms, wax paper, and crayon shavings. Full tutorial, educational tips, and craft ideas included!”
- Alt Tags for Images:
- “pressed flower stained glass hanging on window”
- “child arranging pressed blooms on wax paper”
- Readability: short paragraphs, bullet points, H2/H3 structure
- Internal Links: link to other crafting posts like “Blue Crayon Suncatchers” or “Glittery Ocean in a Bottle”
- Content Length: 2,600+ words with depth and variety
Frequently Asked Questions
Can I use dried flowers instead?
Yes—but fresh, recently pressed blooms tend to retain better color.
Do I need to use crayons?
Crayons add color and help seal. Without them, wax paper may de-laminate.
Will the artwork fade?
Pressed flowers last indefinitely when protected from direct UV. Wax paper adds light exposure protection.
Is iron the only sealing method?
A hot laminator can work. Avoid using heat guns or microwaves.
Conclusion
Make DIY Pressed Flower Stained Glass to transform simple elements of nature into luminous, sun-catching works of art. It blends creativity, mindfulness, and botanical learning—ideal for families, educators, or therapeutic environments. Craft memorable gifts or displays, and celebrate the beauty of blooms long after they’ve been picked.
Leave a Reply