


Introduction
Looking for a fun and vibrant way to add some sunshine to your windows? Say hello to Melted Bead Suncatchers—a glowing, easy-to-make DIY craft that brings together color, creativity, and light! Whether you’re crafting with kids, decorating a classroom, or just looking for a rainy-day project, this simple activity is the perfect blend of art and science.
Using translucent pony beads and metal baking molds, you can create sparkling window art that reflects sunlight in stunning hues. This activity is budget-friendly, kid-approved, and incredibly satisfying—from designing your patterns to watching the beads melt and fuse into a single piece of art.
In this guide, you’ll learn how to create your own melted bead suncatchers, get tips for safe baking, explore seasonal and themed variations, and understand the developmental benefits of this hands-on craft—all written with SEO best practices to help your blog rank higher using Rank Math.
What Are Melted Bead Suncatchers?
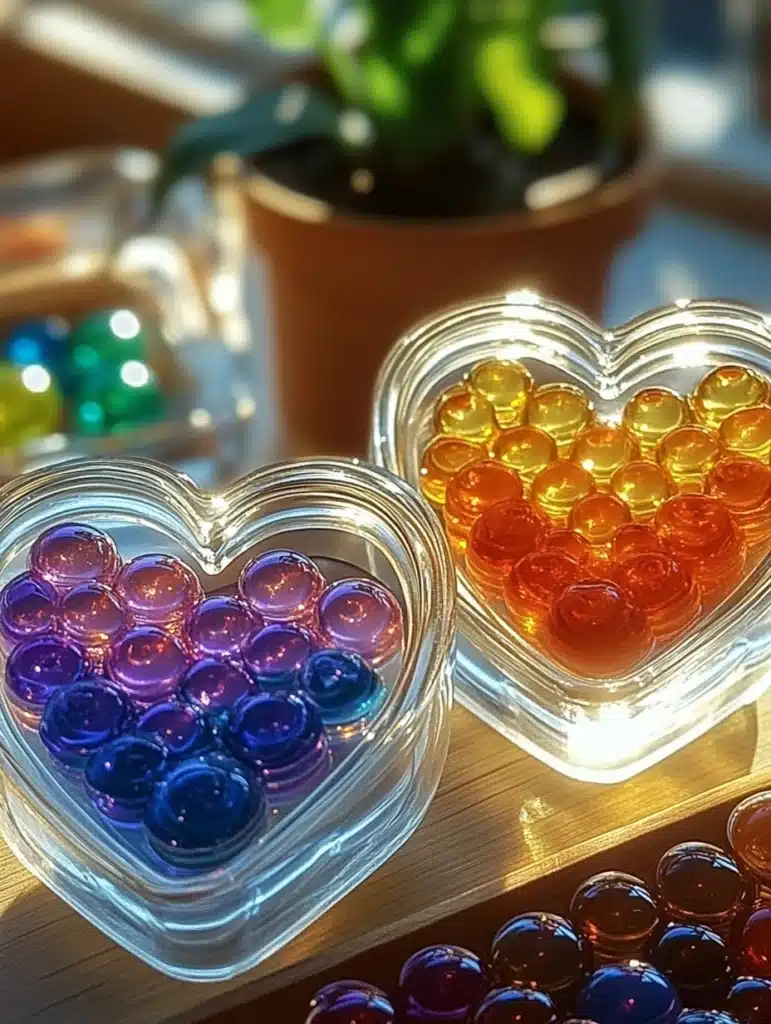
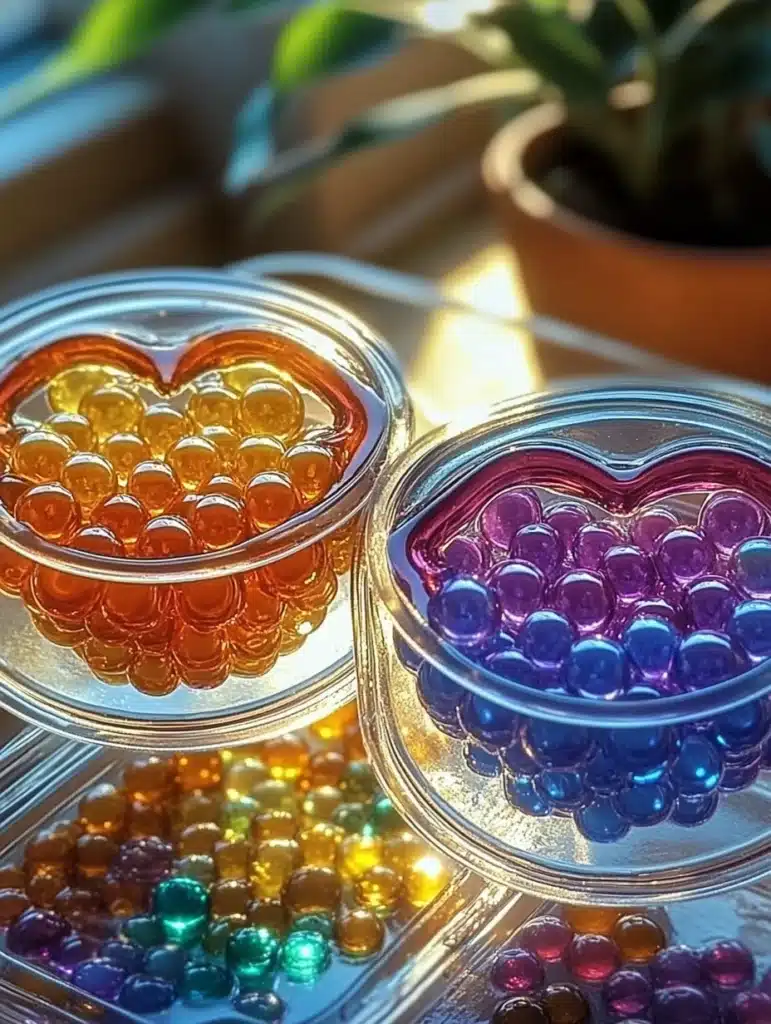
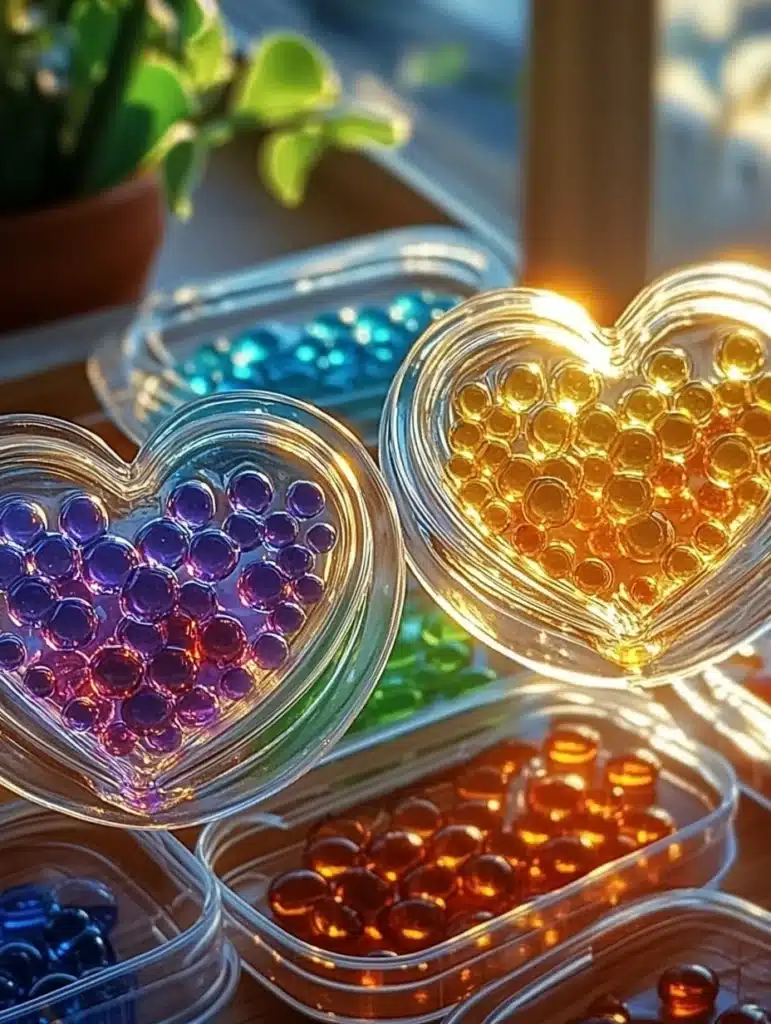
Melted Bead Suncatchers are bright, sun-reflecting ornaments made by melting translucent pony beads inside baking molds in a conventional oven. As the plastic beads heat and melt, they fuse together into a flat, glass-like disc or shape. Once cooled, they can be drilled and hung in windows to catch the light—creating a magical stained-glass effect that kids love.
And the best part? No special tools or materials required. Just some pony beads, metal molds, and your oven!
Why Melted Bead Crafts Are Great for Kids
This creative activity checks so many boxes:
✅ Easy and Engaging
Even young kids can help arrange beads and choose colors.
✅ Great for All Ages
Perfect for preschoolers through tweens—and even adults enjoy it!
✅ Supports Learning
It’s a STEAM craft that touches on art, heat science, and even pattern recognition.
✅ Stunning Results
These suncatchers look like stained glass and make excellent gifts, window decor, or ornaments.
Supplies You’ll Need
Here’s what you need to create your own beautiful melted bead suncatchers:
Crafting Materials:
- Translucent plastic pony beads (avoid opaque ones)
- Metal baking molds, cookie cutters, or muffin tins
- Aluminum foil or a metal baking sheet
Tools:
- Oven (preheated to 400°F / 204°C)
- Drill or small nail (for making hanging holes)
- Fishing line, ribbon, or twine (for hanging)
🔥 Important: Work in a well-ventilated area while baking plastic. Open windows or use a fan to reduce fumes.

Step-by-Step Guide: How to Make Melted Bead Suncatchers
Step 1: Preheat the Oven
Preheat your oven to 400°F (204°C). Turn on fans or open a few windows for good ventilation.
Step 2: Prepare Your Workspace
Line a metal baking sheet with aluminum foil to protect your tray from melted plastic. If you’re using cookie cutters, place them on the lined tray. Muffin tins or silicone molds can go straight on the baking sheet.
Step 3: Add the Beads
Let your child choose their favorite colors and patterns. Fill each mold or cutter with a single layer of beads, making sure they touch each other. The tighter the beads are packed, the better they’ll melt together.
🎨 Pro Tip: Try color themes like rainbow, ocean (blues & greens), or sunset (oranges & pinks) for striking effects.
Step 4: Bake the Beads
Place the tray in the oven and bake for 20–25 minutes, or until the beads have melted flat and fused. Watch carefully after the 15-minute mark.
👃 If you smell strong plastic fumes, step away and check your ventilation. It’s normal, but safety comes first.
Step 5: Let Cool
Remove the tray carefully (use oven mitts!) and place it on a heat-safe surface. Let the molds cool completely for 30–60 minutes. Do not remove the suncatchers until they’re fully cooled and hardened.
Step 6: Add Hanging Holes
Once cooled, use a drill with a small bit or a hammer and nail to create a hole near the top of your suncatcher.
Step 7: Hang & Enjoy
Thread fishing line, twine, or ribbon through the hole. Hang your masterpiece in a sunny window and watch the light shine through!
Creative Variations & Theme Ideas
Get inspired by these fun and festive variations:
🌈 Rainbow Suncatcher
Use one color per layer in a muffin tin to make a bold rainbow circle.
❄️ Winter Wonderland
Use all clear, blue, and silver beads for a snowy, icy effect. Add white glitter beads for sparkle!
🎃 Halloween Jack-o’-Lantern
Use orange beads in a circle mold, then black beads for eyes and a mouth.
🌸 Spring Flowers
Use cookie cutter flower shapes and fill them with pastels and green “leaf” beads.
🎄 Holiday Ornaments
Use red and green beads in star molds for DIY Christmas ornaments.
Pro Tips for the Best Results
- Use only translucent beads for light to shine through.
- Don’t overfill your molds—just a single layer!
- Try layering colors in spirals or gradients.
- Use metal molds over silicone for more defined edges.
- Let younger kids sort colors or design patterns—great for learning!
Learning Through Play: Educational Benefits
🔢 Math & Patterning
Arranging beads into color sequences or geometric shapes strengthens pattern recognition.
✋ Fine Motor Skills
Picking up and placing beads helps with pincer grasp and hand-eye coordination.
🔬 Science in Action
Melting plastic shows heat transformation and material properties, great for STEAM lessons.
🧠 Focus & Patience
Kids practice patience waiting for their art to cool and build attention span through intricate design work.
Safety Notes
- Only adults should handle the oven, drilling, and sharp tools.
- Always work in a ventilated area—plastic fumes are not harmful in small quantities but best minimized.
- Never leave the oven unattended while baking the beads.
- Store unused beads safely out of reach of small children.
SEO Optimization Summary for Rank Math
✅ Focus Keyword: Melted Bead Suncatchers
Used in:
- Page Title (H1)
- URL slug
- Meta description
- First 100 words
- Several subheadings and body content
✅ Related Long-Tail Keywords:
- melted pony bead crafts
- DIY suncatcher for windows
- bead sun catcher tutorial
- oven bead projects
- sun-catching window crafts
✅ Optimized Meta Description:
Brighten your windows with these beautiful melted bead suncatchers! This easy DIY craft for kids uses pony beads and baking molds to create colorful, light-catching art pieces.
✅ Internal Linking Suggestions:
- Link to related posts like “Pringle Lids Suncatchers” or “Rainbow Lava Lamp DIY”
- Add to a category page like “Window Crafts,” “Recycled Crafts,” or “Kids Art Projects”
Cleanup & Storage Tips
- Let pans cool completely before removing molds or cutters.
- Store finished suncatchers in a flat box with wax paper between layers.
- Clean metal molds with warm soapy water; avoid abrasive scrubbers that could scratch.
Frequently Asked Questions (FAQ)
Can I use silicone molds?
Yes, but results may vary. Silicone tends to curve slightly with the heat, so metal molds are better for crisp shapes.
Is it safe to melt plastic beads in the oven?
Yes, in small batches and with good ventilation. Always use translucent craft beads and avoid opaque beads or any marked non-oven-safe.
What if the suncatchers don’t melt evenly?
Make sure beads are in a single, even layer and touching. Larger beads may need a few extra minutes in the oven.
Final Thoughts: Let the Sunshine Sparkle In!
Melted Bead Suncatchers are more than just a craft—they’re a hands-on science lesson, a creative outlet, and a beautiful way to decorate your home with love and color. Whether you’re making them as gifts, holiday decorations, or just for fun, each suncatcher brings a burst of light and joy to any space.
So gather your beads, preheat your oven, and get ready to create some sunlit magic with your kids—one melted bead at a time! 🌞🌈✨
Leave a Reply