


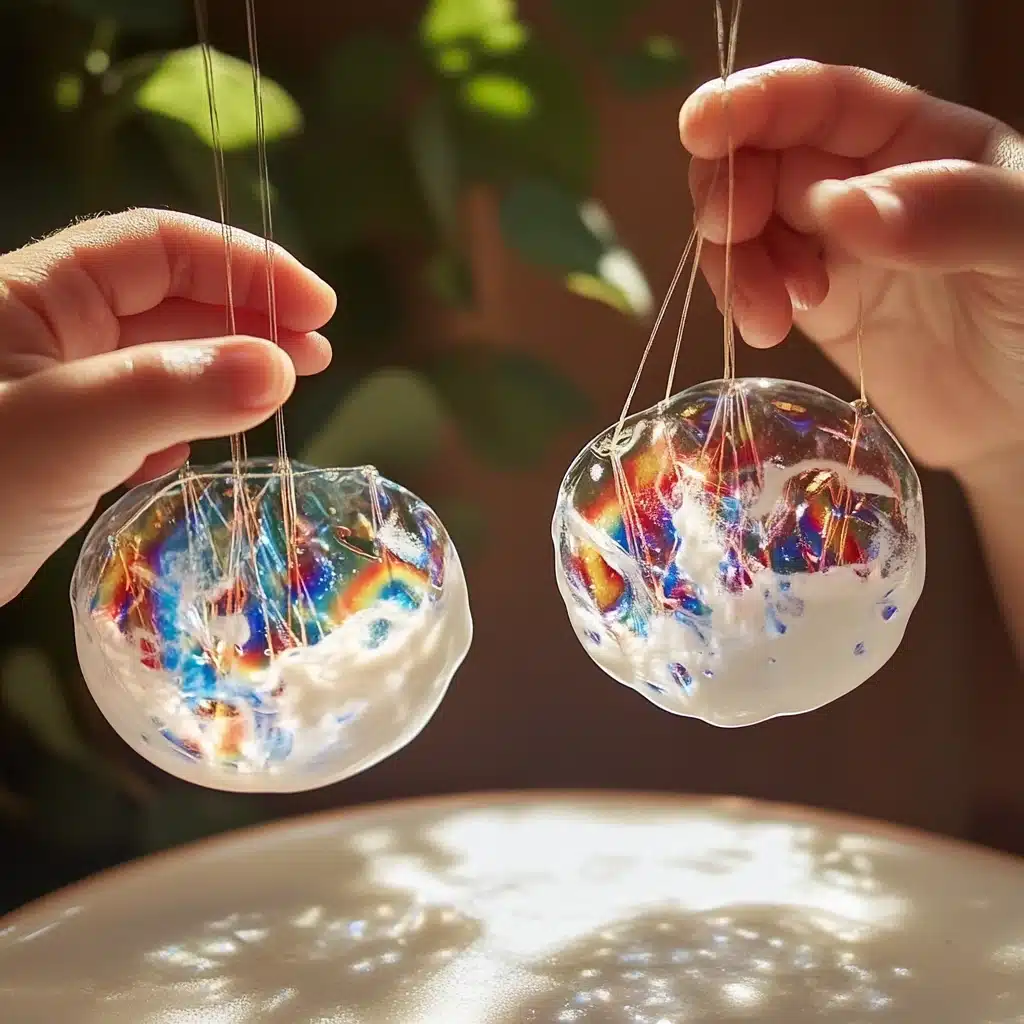
Looking for a fun, hands-on craft that combines vibrant color with messy play? Say hello to Shaving Cream Fireworks! This DIY art project is perfect for kids and adults alike, offering a delightful blend of sensory exploration and artistic expression. Whether you’re prepping for a summer celebration, hosting a craft day, or simply looking to inspire some creative joy, this activity is a showstopper.
In this guide, we’ll walk you through every step to create your very own shaving cream fireworks, along with tips, variations, and ideas for turning this playful project into something truly spectacular.
Why You’ll Love This Shaving Cream Fireworks Craft
This activity isn’t just fun—it’s packed with benefits and possibilities:
- Kid-Friendly and Safe: Uses non-toxic, easily available materials.
- Perfect for All Ages: Little ones can play with textures, while older kids and adults can focus on artistic detail.
- Sensory-Rich: Engages touch, sight, and even smell (thanks to scented shaving cream!).
- Messy in a Good Way: Easy to clean up and more fun the messier it gets.
- Holiday Ready: Perfect for 4th of July, New Year’s Eve, birthdays, or any celebration.
This is a craft that you can enjoy again and again, each time with a unique outcome.
Ingredients & Supplies
Before diving in, gather the following materials:
Ingredients:
- Shaving cream (preferably white foam, not gel)
- Red paint or food coloring
- Blue paint or food coloring
Supplies:
- Toothpicks or skewers
- Baking tray or shallow pan with low sides
- Stiff paper or cardboard (e.g., cardstock, watercolor paper)
- Small cups or spoons for paint
- Paper towels or scraper (for cleanup)
Optional: Try glitter paint, neon colors, or scented shaving cream for extra fun!
Step-by-Step Instructions
Step 1: Create Your Base
Fill your tray with a generous layer of shaving cream. Use your hand or a flat edge (like a spatula or a ruler) to smooth it out into an even surface.
Step 2: Add Color
Using a spoon or dropper, add small drops of red and blue paint (or food coloring) on top of the shaving cream. You can mix in other colors as well for a unique effect.
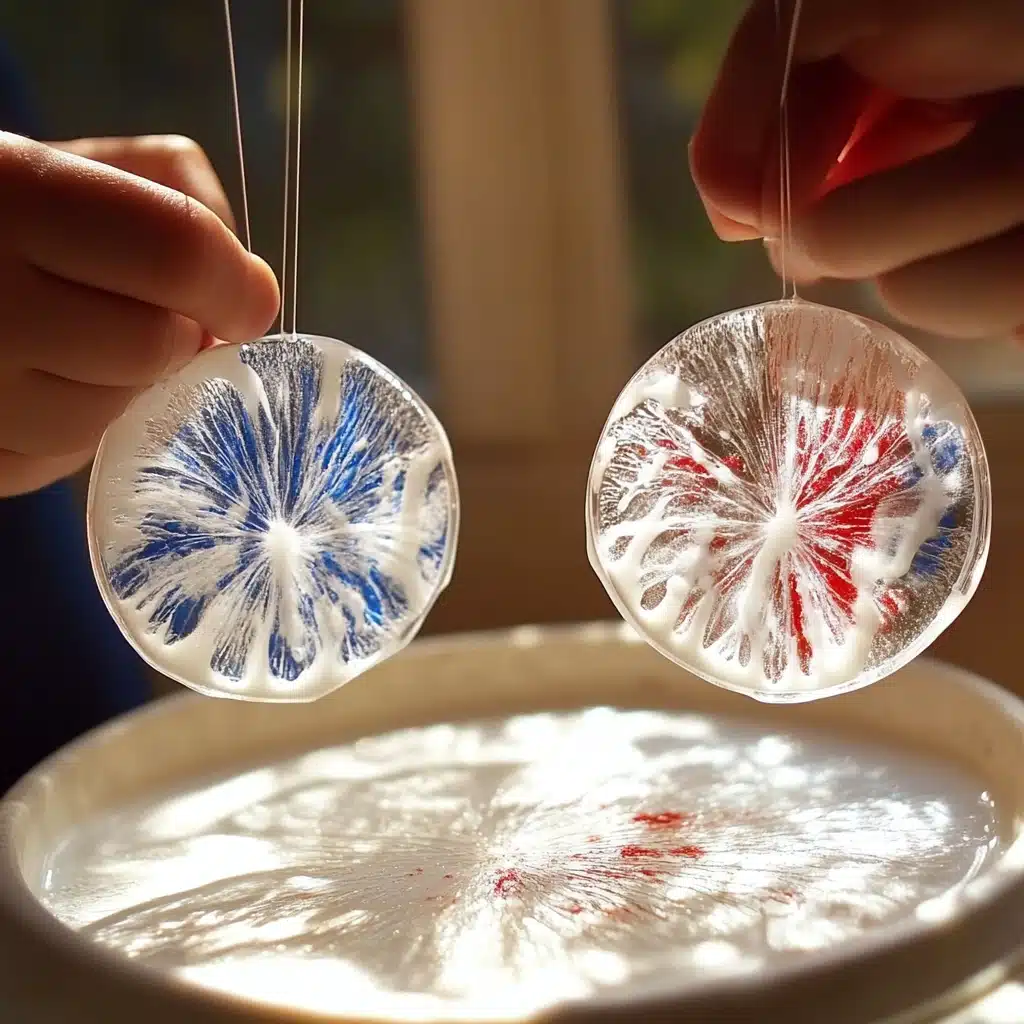
Step 3: Swirl and Design
Take a toothpick and gently drag lines from the center outward, mimicking the burst of a firework. Swirl gently to mix colors without muddying them.
Step 4: Transfer the Design
Gently press your stiff paper onto the shaving cream design. Pat lightly all over to ensure the paper picks up the colors.
Step 5: Lift and Reveal
After about a minute, peel the paper off the shaving cream. Don’t worry if it looks messy—that’s the next step!
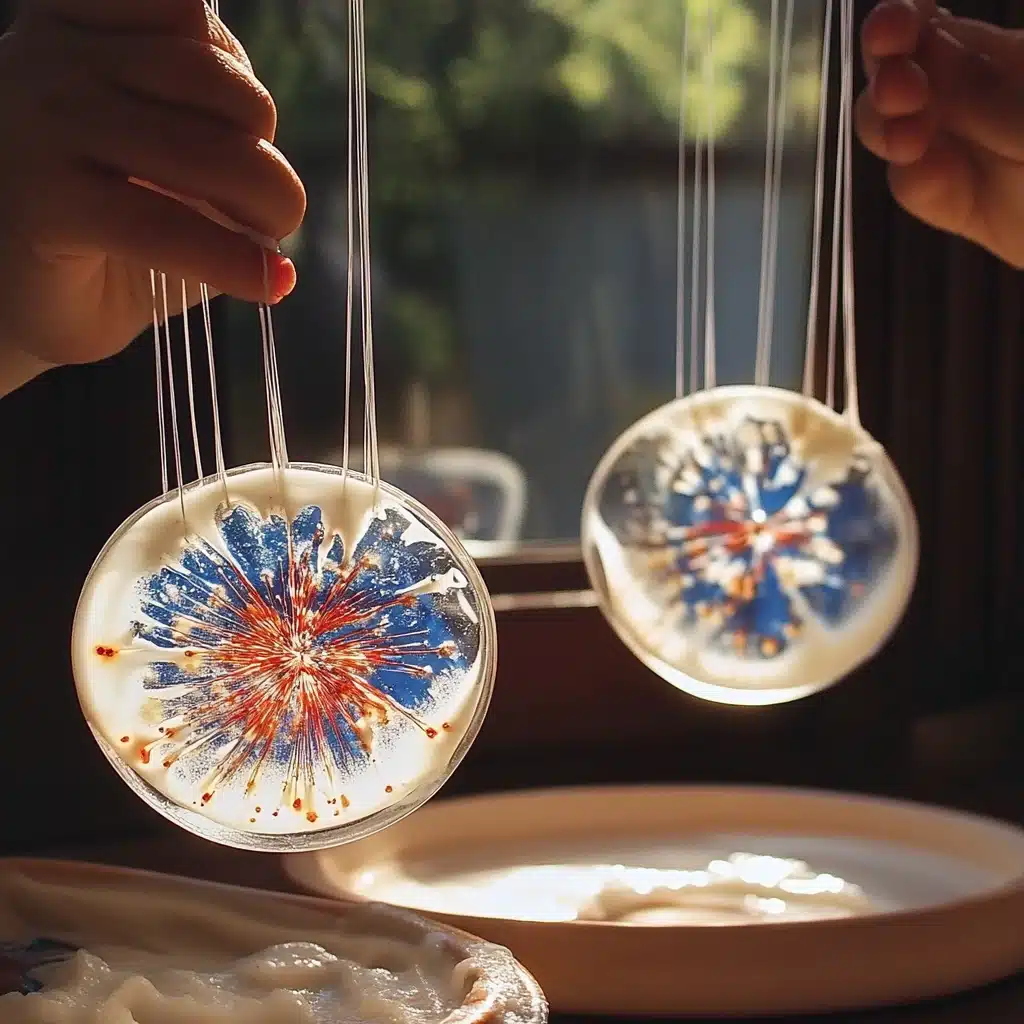
Step 6: Clean the Surface
Use a piece of stiff cardboard or the edge of a ruler to gently scrape off the excess shaving cream. What’s left behind is your stunning firework design!
Step 7: Dry and Display
Let your art dry completely before displaying or framing. Repeat the process as many times as you like, trying new designs and color combinations.
Creative Variations
Want to take it to the next level? Try these variations:
- Neon Fireworks: Use neon paints and black cardstock for a glowing night-sky effect.
- Galaxy Explosion: Add purple, blue, and white to mimic galactic swirls.
- Scented Art: Use scented shaving cream for a multi-sensory experience.
- Gold and Silver: Add metallic paints for elegant, festive artwork.
- Add Glitter: Sprinkle glitter before pressing the paper for added sparkle.
Fun Ways to Use Shaving Cream Fireworks Art
Your colorful creations can be more than just art for the fridge. Here are some fun ideas:
- Greeting Cards: Cut the artwork into smaller pieces and glue to folded cardstock.
- Wall Art: Frame multiple prints for a gallery-style wall.
- Party Decor: Use as colorful table settings or bunting.
- Gift Wrap: Wrap small presents in your custom fireworks paper.
- Scrapbooking: Add a burst of creativity to your photo books.
Tips for Best Results
- Use a firm paper like watercolor or cardstock to avoid tearing.
- Less is more with swirling—too much mixing creates muddy colors.
- Always dry flat to avoid curling edges.
- Prepare for some mess—lay down newspaper or a plastic tablecloth.
- Let kids wear old clothes or aprons to stay worry-free.
Educational Benefits for Kids
This project isn’t just fun—it’s educational too!
- Color Mixing: Watch how red and blue make purple.
- Fine Motor Skills: Using toothpicks and tools improves dexterity.
- Creative Thinking: No two designs are the same, encouraging artistic expression.
- Sensory Development: Engaging smell, sight, and touch makes for rich learning.
Bonus: Combine this with a fireworks-themed storybook or lesson on national holidays for a thematic learning experience.
Frequently Asked Questions
Q: Can I reuse the shaving cream base?
A: Yes! Just scrape off the top layer and smooth out the cream to create a new canvas.
Q: Is it safe for toddlers?
A: With supervision, yes. Make sure they don’t put the cream or paint in their mouth.
Q: What kind of paint works best?
A: Liquid watercolors or acrylics work well. Food coloring is a good non-toxic option for little ones.
Q: Can I use gel shaving cream?
A: Gel won’t fluff up the same way. Stick to traditional white foam for best results.
Q: How do I clean up after?
A: Use a scraper and paper towels for the tray. Any leftover mess washes away with soap and water.
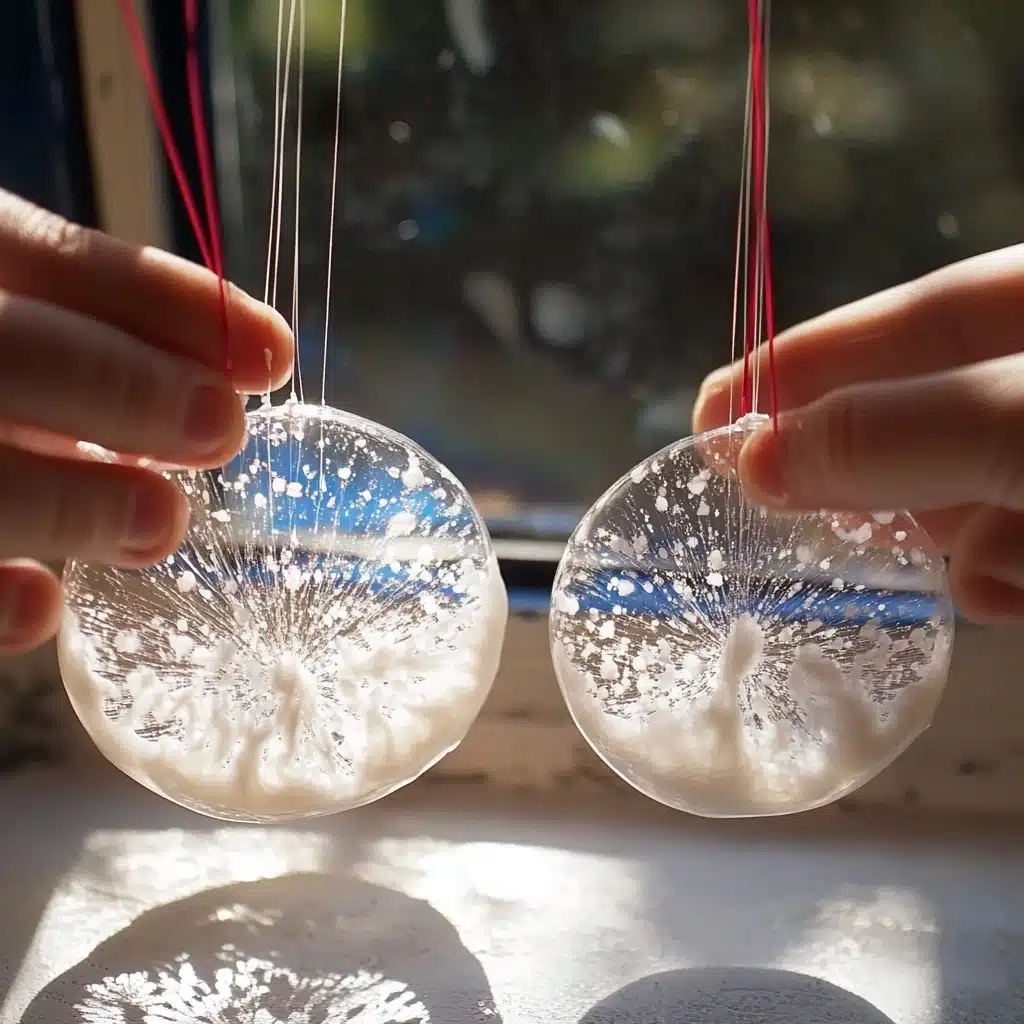
Conclusion: Spark Joy with Every Swirl
Shaving Cream Fireworks are the perfect blend of art, fun, and sensory play. They’re easy to set up, endlessly customizable, and bring a burst of excitement to any craft day. Whether you’re celebrating a holiday or simply enjoying some quality time with your kids, this activity will light up their creativity and leave them smiling.
So go ahead—let the colors fly and create a masterpiece that truly pops!
Leave a Reply