


Introduction
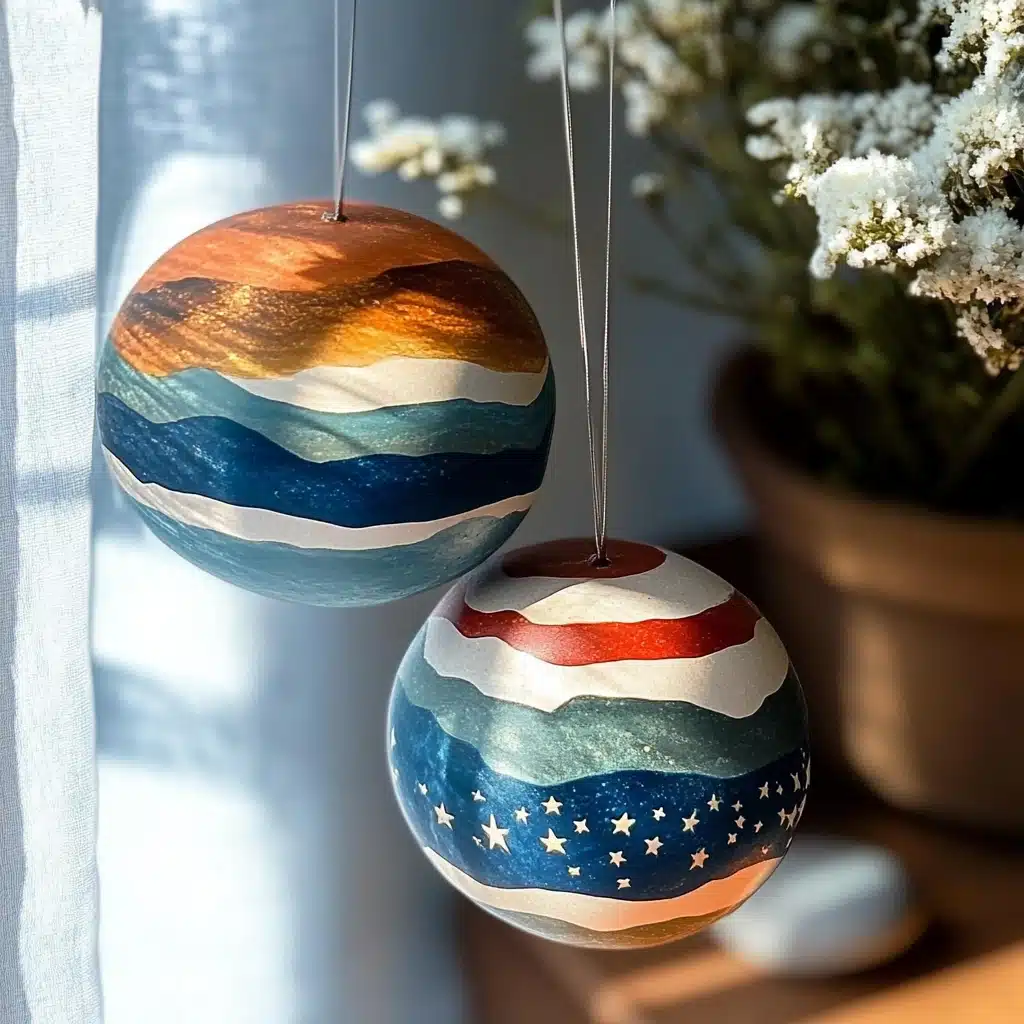
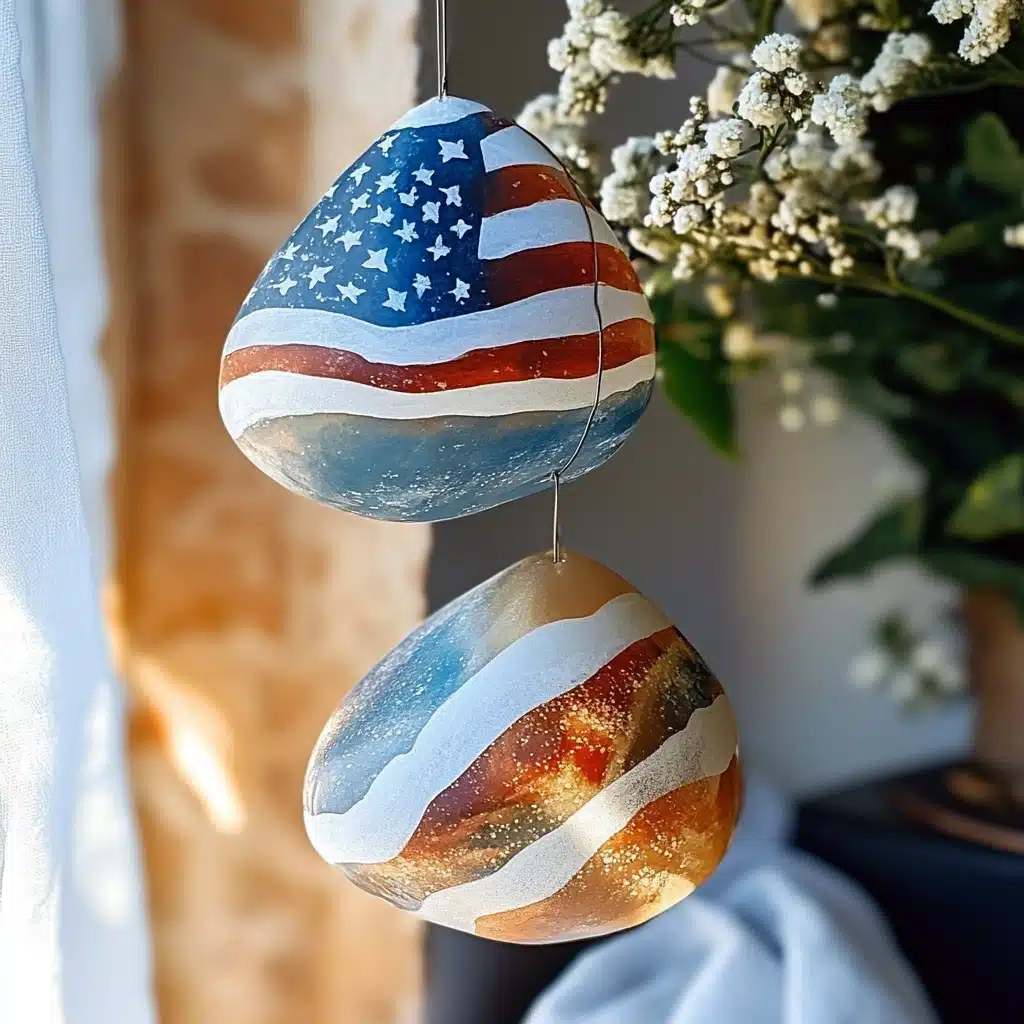
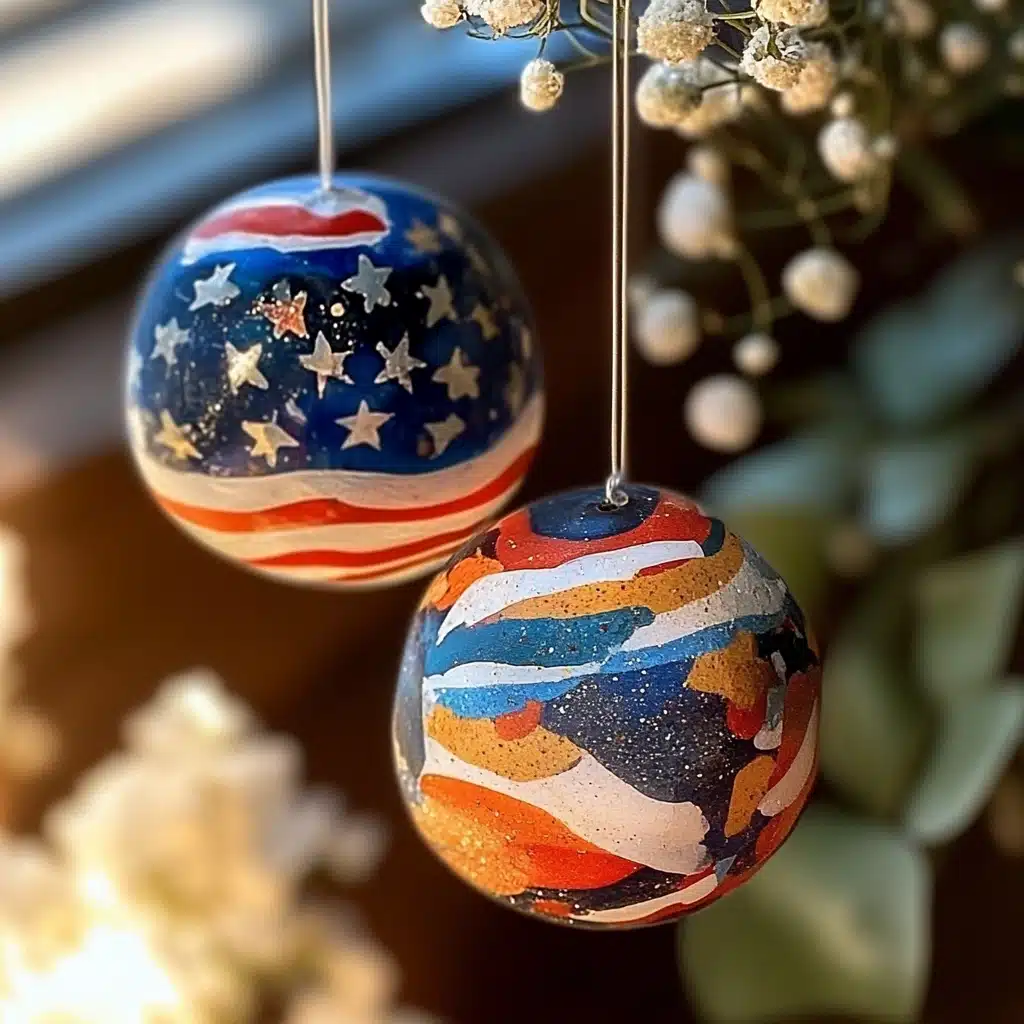
There’s something truly special about adding a personal, handmade touch to your home and garden décor—especially when it celebrates your love for country and community. Patriotic painted rocks are a wonderfully simple craft that can brighten any space with vibrant red, white, and blue hues. Whether you’re gearing up for Fourth of July celebrations, Memorial Day, or just want to show your American pride year-round, these painted rock designs offer a charming and accessible way to do it.
This craft is perfect for crafters of all ages—from kids looking for a fun project to adults who want a quick, satisfying DIY. Plus, it’s a creative way to repurpose smooth stones from your yard or local parks. In this article, you’ll learn everything you need to create stunning patriotic painted rocks, from supplies and step-by-step instructions to tips for perfecting your designs and ideas for displaying your creations.
Why You’ll Love This Craft
Patriotic painted rocks aren’t just festive decorations; they’re an enjoyable, relaxing activity that sparks creativity and pride. Here’s why this project stands out:
- Simple & Inexpensive: You don’t need costly supplies—just some smooth stones, acrylic paints, and a few tools you may already have.
- Family-Friendly: Suitable for all skill levels and ages, making it a fantastic bonding activity.
- Customizable: Paint stars, stripes, swirls, or your own designs—each rock becomes a unique work of art.
- Versatile Decor: Use these rocks indoors, outdoors, as garden markers, or table centerpieces.
- Long-Lasting: When sealed properly, these rocks withstand the elements and can be enjoyed year-round.
By the end of this guide, you’ll be confident in your ability to create these charming crafts that celebrate the colors and symbols of American heritage.
Ingredients (Materials)
- 3 medium-sized smooth stones (clean and dry)
- Acrylic paint:
- DecoArt Americana Multi-Surface Acrylics in:
- Lipstick (red)
- Cotton Ball (white)
- True Blue (blue)
- DecoArt Americana Multi-Surface Acrylics in:
- Paint pens (red, black, and white) for details
- Paintbrushes:
- Fine tip brush for detail work
- Medium flat tip brush for stripes and base coats
- Clear acrylic sealer spray (optional but recommended for durability)
Necessary Tools
- Palette or paper plate for mixing paint
- Water cup for rinsing brushes
- Paper towels or cloth for drying brushes and cleaning spills
- Protective covering for your work surface (newspaper or craft mat)
Ingredient Swaps and Additions
If you want to customize or adapt your painted rocks:
- Paint alternatives: Use any acrylic paint brands available to you; craft or artist-quality will work well.
- Brush substitutes: Small foam brushes can help with even base coats.
- Detail tools: Fine-tip permanent markers or gel pens can replace paint pens for intricate designs.
- Sealants: Use Mod Podge or polyurethane sprays for sealing, especially if rocks will be outdoors.
- Additional decorations: Add glitter, rhinestones, or adhesive stars for extra sparkle.
Step-by-Step Instructions
Step 1: Prepare Your Stones
Start by cleaning your rocks with soap and water, then let them dry thoroughly. A smooth surface makes painting easier and your design pop.
Step 2: Paint the Largest Rock Blue
Use your medium flat brush to cover the largest stone in the vibrant True Blue acrylic. Allow it to dry completely, and apply a second coat if needed for solid coverage.
Step 3: Add White Stars
With your white paint pen, carefully draw 5-6 stars on both sides of the blue rock. Use a steady hand and create different star placements for visual interest.
Step 4: Paint the Medium Rock White
Apply a smooth coat of Cotton Ball white paint with your flat brush. Once dry, paint evenly spaced red stripes across the width using your medium flat brush.
Step 5: Touch Up Edges
Use your red and white paint pens to perfect the stripes and edges for a clean, polished look.
Step 6: Decorate the Smallest Rock Blue
Paint the smallest rock with True Blue paint, allowing full drying. Add a single red star in the center with the red paint pen, then accent with swirls and dots to give it a playful flair.
Step 7: Seal Your Rocks
Once all paint is dry, spray your rocks with a clear acrylic sealer to protect your masterpiece from weather and wear.
Step 8: Display Your Creation
Stack the rocks largest to smallest, or arrange them individually in your garden, porch, or as part of your holiday décor.
Pro Tips for Success
- Always allow each paint layer to fully dry before applying the next to avoid smudging.
- Use a light touch when drawing stars and details with paint pens to keep shapes crisp.
- If mistakes happen, wait for paint to dry and gently scrape off with a toothpick or repaint the area.
- Practice stars and stripes on paper before painting your rocks for confidence.
- Seal your rocks indoors in a well-ventilated area.
Serving Suggestions (Creative Display Ideas)
- Use as festive paperweights on your porch or indoors.
- Place in flower beds or pots to add pops of patriotic color.
- Incorporate into table centerpieces for holiday BBQs or family dinners.
- Gift to neighbors or friends as charming handmade tokens.
- Arrange as part of a larger patriotic-themed garden or mantel display.
Storing and Caring for Painted Rocks
Patriotic rocks can last outdoors if sealed well. To prolong their life:
- Store indoors during harsh winter months or heavy rain.
- Wipe gently with a damp cloth to clean.
- Reapply clear sealer every year for maximum protection.
Nutritional Information
Note: Since this is a craft project, nutritional information does not apply.

FAQs
Q1: Can I use regular rocks from outside?
A: Yes, just make sure to wash and dry them thoroughly before painting.
Q2: How long does the paint take to dry?
A: Acrylic paint typically dries in 15-30 minutes, but allow 1 hour for best layering.
Q3: Can kids safely do this craft?
A: Absolutely! Use non-toxic paints and supervise young children with paint pens.
Q4: How do I seal the rocks for outdoor use?
A: Use a clear acrylic spray sealer in a well-ventilated area and apply multiple coats.
Q5: What if I want to make more detailed designs?
A: Fine paintbrushes, stencils, and paint pens help create intricate patterns and text.
Conclusion
Patriotic painted rocks are a delightful, budget-friendly craft that transforms simple stones into vibrant expressions of national pride. Whether for holidays or everyday décor, these DIY creations bring a personal touch and creative spark to any setting. With just a few supplies, anyone can create a beautiful set of red, white, and blue rocks to cherish, share, and proudly display. Get your brushes ready and start painting your way to a festive, colorful home today!
Leave a Reply