


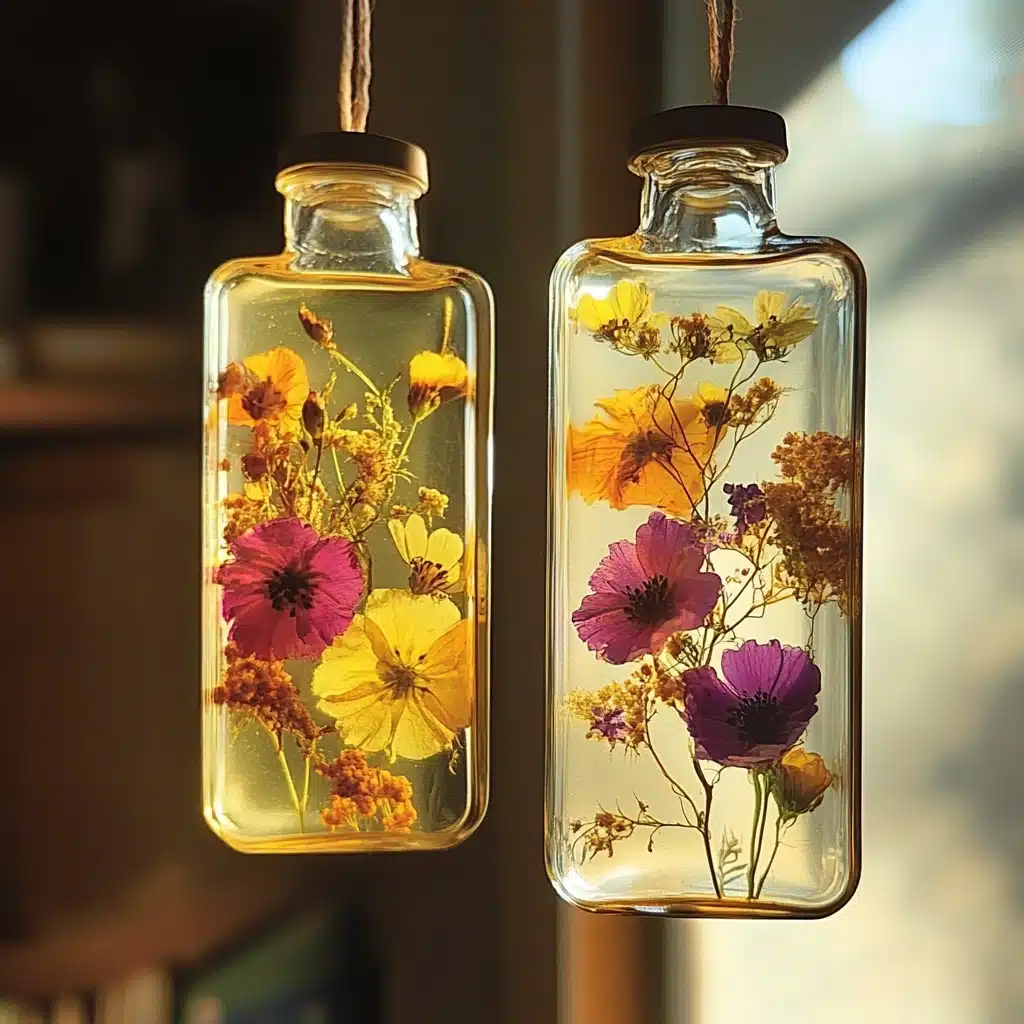
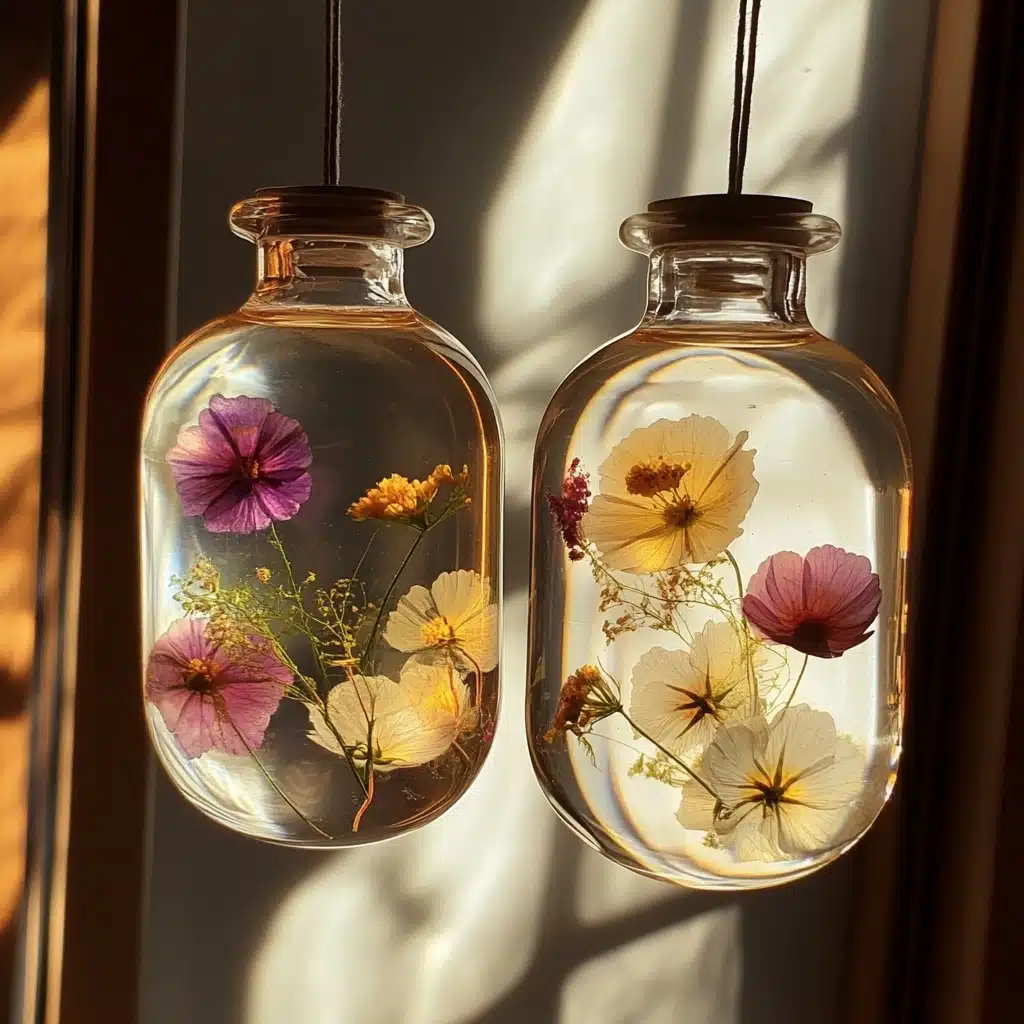
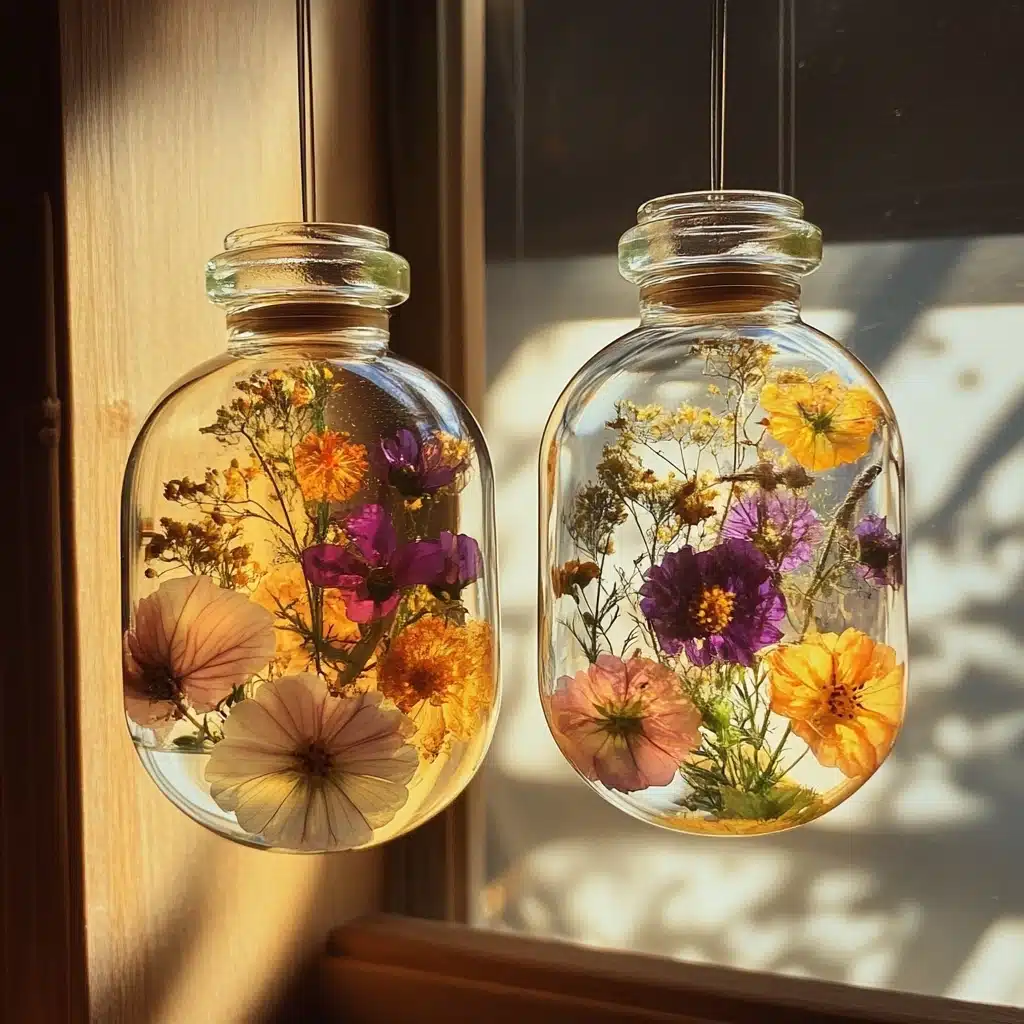
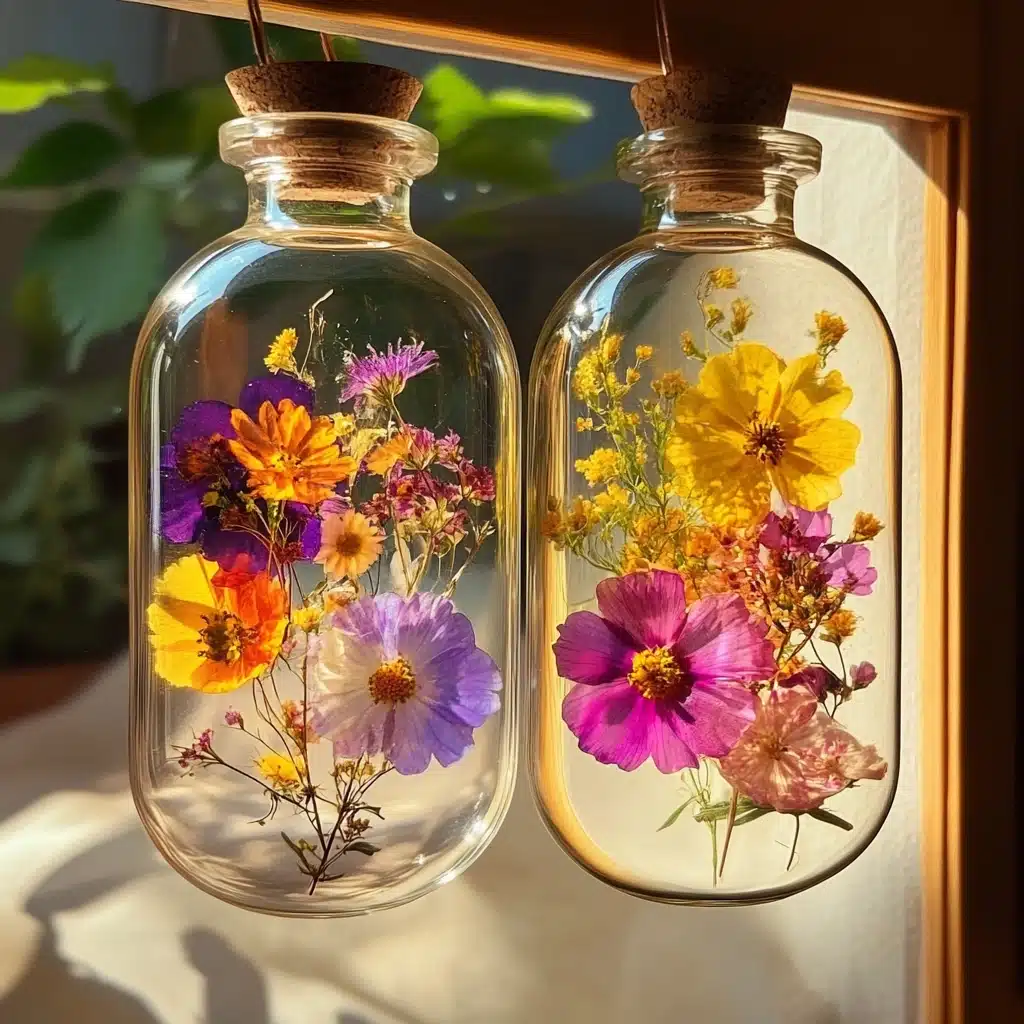
Introduction: Nature’s Elegance in a Bottle
Imagine capturing the gentle curve of a dried lavender stem, the faded blush of a rose petal, or the snowy texture of baby’s breath—and preserving that quiet beauty forever in a delicate glass jar. 🌸 Whether you’re a gardener, a flower lover, or a DIY enthusiast, learning how to preserve flowers in oil is an enchanting craft that brings nature indoors in the most timeless way.
This stunning DIY is more than just a craft—it’s a calming, mindful process. The act of selecting blooms, trimming them with care, and bottling them like botanical treasures is deeply satisfying. With just a few simple materials and a little patience, you can create long-lasting floral keepsakes that brighten bookshelves, windowsills, or gift baskets. Ready to bottle up a bloom in time? Let’s dive into this nature-loving, joy-giving project.
Why You’ll Love This Project
Preserving flowers in oil isn’t just a creative hobby—it’s an experience that blends calm, creativity, and connection to the natural world. Here’s why you’ll fall in love with this DIY:
- 🌼 Minimal, Elegant Decor: A flower in oil becomes a stunning home accent—perfect for rustic, minimalist, or cottagecore styles.
- 🎁 Thoughtful Gift Idea: A handmade flower bottle says, “I took the time to make something just for you.”
- 🧘♀️ Mindful and Relaxing: This slow, intentional process feels meditative and grounding.
- ♻️ Eco-Friendly Crafting: Use flowers you’ve grown, pressed, or dried yourself for an even more sustainable project.
- 🧪 No Special Skills Required: If you can drop a flower into a jar, you can do this DIY!
Whether you’re capturing a flower from a special day or simply turning your garden trimmings into something magical, this project will become a favorite for both its ease and elegance.
Ingredients: What You’ll Need
Keep it simple. This project only requires a few materials you likely have or can easily find online or at a craft store:
- Dried flowers (roses, lavender, baby’s breath, daisies, statice)
- Small glass bottles (clear with cork or screw-top)
- Baby oil or plant-based mineral oil (clear and lightweight)
- Plastic pipette or syringe for pouring oil
- Toothpick or skewer for positioning
💡 Tip: Choose flowers with small, sturdy petals for the best visual effect and oil clarity.
Necessary Tools
Make sure you have these on hand before you start:
- Glass bottles with narrow necks or display jars
- Sharp scissors or floral shears
- Clean workspace with good lighting
- Funnel (optional for larger jars)
- Tissue or cloth to wipe excess oil
Ingredient Swaps and Additions
Want to customize your preserved floral jars? Here are some ideas:
- 🌿 Scented Oil: Use scented baby oil or add a drop of essential oil like lavender or rose for a subtle fragrance.
- 🌟 Glitter or Dried Herbs: Add gold flakes, mica shimmer, or dried rosemary for a magical twist.
- 🌈 Colored Oil: Gently tint your oil with oil-safe colorants to match seasonal or event themes (only a drop!).
- 🌼 Wildflowers or Herbs: Try chamomile, thyme, or mint for a more rustic, garden-inspired look.
Avoid fresh flowers or moisture-based items—they can cloud the oil or lead to decay over time.
Step-by-Step Instructions: Preserve Flowers in Oil Like a Pro
Step 1: Select and Dry Your Flowers
Use pre-dried flowers or dry them yourself:
- Air-drying: Tie small bundles and hang upside down for 1–2 weeks in a dark, dry place.
- Pressing: Use heavy books to press flowers flat between parchment paper.
Make sure the flowers are fully dry to prevent mold or clouding.
Step 2: Trim and Arrange
Snip stems to the desired length—usually around 1 to 2 inches for bottles.
- Start with a few flowers at the base.
- Use tweezers or a toothpick to nudge flowers into place.
- Build your arrangement slowly for best results.
Step 3: Add the Oil
- Use a plastic pipette or syringe to gently fill the jar with baby oil.
- Pour slowly to prevent air bubbles.
- Fill to just below the top if using a cork, or to the rim if using a screw cap.
✨ Pro Tip: Tap the bottle gently to release trapped air and reposition any flowers.
Step 4: Seal and Display
- Wipe the bottle’s neck with a cloth before sealing.
- Insert cork tightly or screw on the cap.
- Label if gifting, or wrap with twine for a rustic touch.
Pro Tips for Success
- ✅ Dry is Best: Even slight moisture can cloud the oil over time.
- ✅ Clear Oil Only: Avoid yellow-tinted oils like olive or coconut—they distort the view.
- ✅ No Direct Sunlight: Keep jars out of sunlight to avoid discoloration.
- ✅ Bubbles Be Gone: Tilt the bottle and pour slowly to reduce air bubbles.
- ✅ Batch Crafting: Make several at once for gifts or party favors.
Serving Suggestions: Ways to Use Your Preserved Flowers
Okay, you’re not eating this—but here’s how to “serve” your beautiful bottles:
- 🎁 Gift It: Wrap it in a kraft box with a handwritten tag.
- 🌿 Home Decor: Line up several bottles on a windowsill or floating shelf.
- 📚 Book Nook Accent: Pair it with your favorite reads or poetry books.
- 🕯 Spa Basket Addition: Include it in a DIY self-care kit with candles and bath salts.
- 🥂 Wedding Keepsakes: Preserve flowers from your bouquet or centerpieces.
Storing and Longevity
Properly sealed and stored, your preserved flower bottle can last years! Here’s how to keep it looking lovely:
- Store at room temperature away from heat and direct sunlight.
- Keep bottles upright to avoid leaks.
- Wipe occasionally to keep the glass clear and dust-free.
No need for reheating or replacing—just display and enjoy!
Nutritional Information
While this isn’t a recipe for eating, here’s a quick look at its “craft nutrition” benefits:
- 🌸 Creativity Boost: 100%
- 🧘 Mindfulness Factor: 95%
- 🎁 Gift-Worthy Score: 100%
- 🧼 Cleanup Level: Low
- 🌿 Eco-Friendly Quotient: High
FAQs
1. Can I use fresh flowers instead of dried?
No. Fresh flowers can rot or cloud the oil. Always use dried or pressed blooms.
2. What oil is best for preserving flowers?
Clear baby oil or plant-based mineral oil works best—lightweight, non-yellowing, and long-lasting.
3. How long will the preserved flowers last?
With proper storage, the flowers and oil can remain beautiful for years without fading or breaking down.
4. Can I add scent or glitter to the bottle?
Yes! Just one drop of essential oil or a pinch of cosmetic-grade glitter adds a personal touch.
5. Are these bottles safe to open and reuse?
They’re best sealed permanently. If reopened, oil can spill or introduce moisture that shortens shelf life.
Conclusion
Crafting your own preserved flower oil bottles is more than a DIY—it’s a way to pause, reflect, and connect with nature. With just a few supplies, you can transform everyday blooms into something elegant and everlasting. Whether you’re creating heartfelt gifts, decorating your home, or simply slowing down for a creative afternoon, this gentle craft brings joy with every petal preserved.
Take a deep breath, open your crafting drawer, and give it a try—you might just find your new favorite hobby. 🌷
Leave a Reply