


Introduction
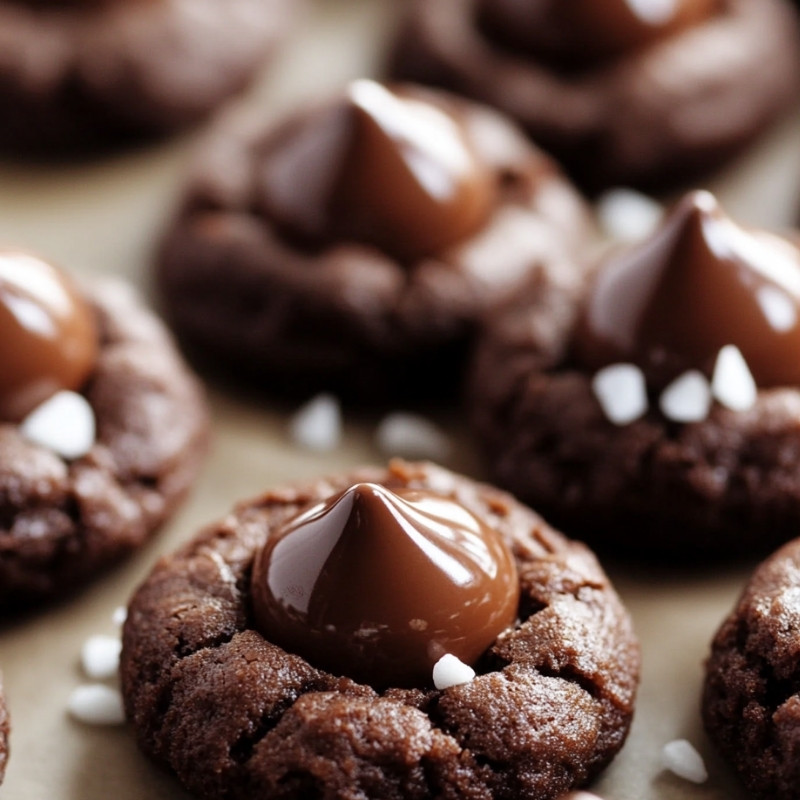
Soft, chewy, and topped with a chocolate kiss, these cookies are a delightful treat for any occasion. Perfectly sweet and simple to make, they will quickly become a household favorite.
Ingredients
200g all-purpose flour
100g unsalted butter, softened
150g granulated sugar
1 egg
30ml milk
5g vanilla extract
3g baking soda
2g salt
20 chocolate kisses
Prep Time
10 minutes
Cook Time, Total Time, Yield
Cook Time: 10 minutes
Total Time: 20 minutes
Yield: 20 cookies
Directions
1. Preheat the oven to 175°C. Line a baking sheet with parchment paper.
2. In a bowl, cream together the butter and sugar until light and fluffy.
3. Add the egg, milk, and vanilla extract, mixing until combined.
4. In a separate bowl, whisk together the flour, baking soda, and salt.
5. Gradually add the dry ingredients to the wet ingredients, mixing until a dough forms.
6. Roll the dough into small balls and place them on the prepared baking sheet.
7. Bake for 8-10 minutes or until the edges are lightly golden.
8. Immediately press a chocolate kiss into the center of each cookie while they are still warm.
9. Allow the cookies to cool on the baking sheet for a few minutes before transferring them to a wire rack.
10. Enjoy your freshly baked chocolate kiss cookies!
Detailed Directions and Instructions
Step 1: Preheat the Oven
Preheat the oven to 175°C. Prepare a baking sheet by lining it with parchment paper to prevent the cookies from sticking.
Step 2: Cream Butter and Sugar
In a mixing bowl, combine the softened unsalted butter and granulated sugar. Use a hand mixer or a spatula to cream them together until the mixture is light and fluffy.
Step 3: Add Wet Ingredients
Crack the egg into the butter and sugar mixture. Then, add the milk and vanilla extract. Mix these ingredients until they are well combined and smooth.
Step 4: Mix Dry Ingredients
In a separate bowl, whisk together the all-purpose flour, baking soda, and salt. This ensures that the baking soda is evenly distributed throughout the flour.
Step 5: Combine Wet and Dry Ingredients
Gradually add the dry ingredients to the wet mixture. Mix until a cohesive dough forms. Be careful not to overmix; stop as soon as there are no dry patches.
Step 6: Shape the Cookies
Take portions of the dough and roll them into small balls about 2.5 cm in diameter. Place the dough balls on the prepared baking sheet, leaving some space between each one.
Step 7: Bake the Cookies
Place the baking sheet in the preheated oven and bake for 8-10 minutes. Keep an eye on the cookies; they are ready when the edges are lightly golden.
Step 8: Add Chocolate Kisses
As soon as the cookies come out of the oven, immediately press a chocolate kiss into the center of each cookie while they are still warm.
Step 9: Cool the Cookies
Allow the cookies to cool on the baking sheet for a few minutes. Afterward, carefully transfer them to a wire rack to cool completely.
Step 10: Serve and Enjoy
Once cooled, your chocolate kiss cookies are ready to be enjoyed! Serve them fresh or store them in an airtight container.
Notes
Note 1: Cookie Size
For consistent baking, ensure that all dough balls are similar in size. This helps achieve even baking across all cookies.
Note 2: Chocolate Kisses
Feel free to use different flavored chocolate kisses for a variety of tastes, such as peanut butter or caramel.
Note 3: Storage
To keep the cookies soft and chewy, store them in an airtight container at room temperature. They should be good for up to one week.
Note 4: Melting Chocolate
If the chocolate kisses melt too much while baking, let them cool slightly before transferring to a wire rack to maintain the kiss shape.
Storage Instructions
Room Temperature
Store the chocolate kiss cookies in an airtight container at room temperature for up to 5 days. This will help maintain their soft and chewy texture.
Refrigerator
If you want to keep them for a longer period, you can refrigerate the cookies for up to 2 weeks. Ensure they are well-wrapped to prevent them from drying out.
Freezer
For even longer storage, the cookies can be frozen. Place them in a freezer-safe container or bag, separating layers with parchment paper, and freeze for up to 3 months. Thaw at room temperature before serving.
Serving Suggestions
With Milk or Coffee
Serve the chocolate kiss cookies with a glass of cold milk or a warm cup of coffee for an indulgent treat.
As a Dessert Platter
Arrange the cookies on a platter alongside other desserts like brownies, cupcakes, or fruit for a delightful dessert spread at gatherings or parties.
Gifting Options
These cookies make a wonderful gift. Package them in a decorative box or jar, and tie with a ribbon for a heartfelt homemade gift for friends and family.
Nutritional Information
Per Cookie (estimated)
Calories: 120
Total Fat: 6g
Saturated Fat: 3.5g
Cholesterol: 15mg
Sodium: 50mg
Total Carbohydrates: 16g
Dietary Fiber: 0g
Sugars: 8g
Protein: 1g
Please note that nutritional values may vary based on ingredient brands and measurements.
Ingredient Substitutions
Butter
You can substitute unsalted butter with an equal amount of coconut oil or margarine for a dairy-free option.
Sugar
For a healthier alternative, use coconut sugar or a sugar substitute such as Stevia. Adjust the quantity based on the sweetness level desired.
Egg
If you need a vegan option, replace the egg with a flaxseed meal or chia seed gel (1 tablespoon flaxseed meal or chia seeds mixed with 3 tablespoons water, let sit for 5 minutes).
Milk
Use almond milk, soy milk, or any other non-dairy milk as a substitute for regular milk to accommodate dietary restrictions.
Chocolate Kisses
If you prefer a different chocolate, feel free to use chocolate chips, caramel candies, or other chocolate varieties to suit your taste preferences.
Cook Techniques
Creaming Butter and Sugar
Creaming the softened butter and granulated sugar together until light and fluffy is crucial for incorporating air into the dough, which helps achieve a soft texture.
Measuring Ingredients
Ensure to properly measure all ingredients using a kitchen scale or measuring cups for accuracy. This is essential for the right cookie consistency.
Mixing Wet and Dry Ingredients
When combining the wet and dry mixtures, mix until just combined. Overmixing can lead to tough cookies.
Rolling Dough
Roll the dough into uniform small balls to ensure even baking. This helps in achieving consistent size and texture.
Baking Time
Keep a close eye on the baking time. Cookies should be removed from the oven when the edges are lightly golden while the centers remain soft.
Pressing Chocolate Kisses
Press the chocolate kisses into the center of each cookie while still warm for the best melting effect. This makes them more visually appealing and adds a delicious chocolatey flavor.
Cooling Cookies
Allow the cookies to cool on the baking sheet for a few minutes before transferring them to a wire rack. This helps them maintain their shape and prevents them from breaking.
FAQ
Can I use margarine instead of butter?
Yes, margarine can be used, but for the best flavor and texture, butter is recommended.
What can I substitute for chocolate kisses?
You can substitute chocolate kisses with chocolate chips, caramel candies, or any candy of your choice.
Can I freeze the cookie dough?
Yes, cookie dough can be frozen. Just roll it into balls and store in an airtight container for up to three months.
How can I make these cookies more festive?
Add colored sprinkles or festive candy on top along with or instead of the chocolate kiss for a more festive touch.
What should I do if my cookies spread too much while baking?
Ensure that your butter is not too soft and that you chill the dough for 30 minutes before baking to help prevent excessive spreading.
Conclusion
Soft, chewy, and delicious, chocolate kiss cookies are the perfect treat for any occasion. Their simplicity in preparation combined with the delightful chocolate center makes them a favorite among cookie lovers. Whether enjoyed at home or shared with friends, these cookies are sure to bring smiles all around.
Chocolate Chip Variation
Mix in semi-sweet chocolate chips to the dough for an extra chocolatey experience.
Peanut Butter Swirl
Add a tablespoon of peanut butter to the dough for a nutty twist or swirl it on top before baking.
Mint Chocolate Kisses
Use mint chocolate kisses instead of regular ones for a refreshing minty flavor.
Nutty Delight
Incorporate chopped nuts, such as walnuts or pecans, into the cookie dough for added crunch.
Oatmeal Chocolate Kiss Cookies
Substitute half of the flour with oats for a chewy texture and a heartier cookie.
Snickerdoodle Kisses
Roll the cookie dough balls in cinnamon sugar before baking for a delicious cinnamon twist.
Caramel Center
Use caramel-filled chocolates instead of kisses for a gooey surprise in the middle of the cookie.
Seasonal Sprinkles
Top the cookies with seasonal sprinkles for holidays or special occasions to brighten up their appearance.
Leave a Reply