


Orange Creamsicle Cheesecake: A Sweet Nostalgic Treat
When it comes to desserts, few things evoke childhood memories quite like the classic Orange Creamsicle. This dreamy treat, with its creamy texture and zesty orange flavor, brings a smile to everyone’s face. And now, you can experience that nostalgic joy in a brand-new form: the Orange Creamsicle Cheesecake! This delightful fusion of tangy sweetness and silky creaminess is perfect for gatherings, celebrations, or simply treating yourself after a long day. I invite you to join me in discovering this delectable recipe and perhaps subscribing for more delightful treats delivered right to your inbox!
Why You’ll Love This Recipe
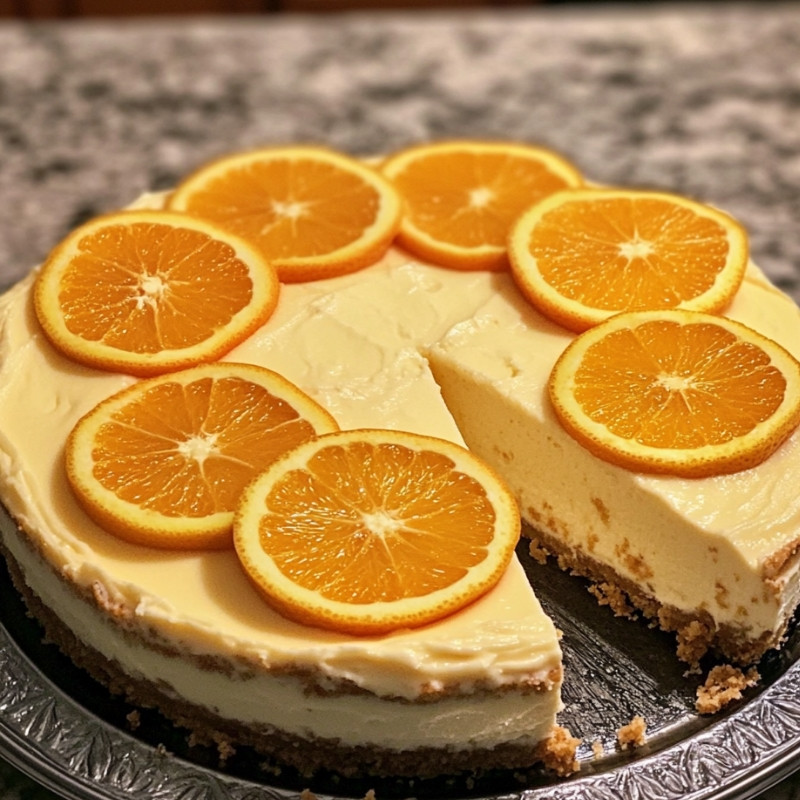
Oh, where do I begin? The Orange Creamsicle Cheesecake is a true showstopper! Imagine sinking your fork into a slice that combines the nostalgic flavors of orange with a luscious cheesecake base. It’s a dessert that’s not only pleasing to the eye but also a delight to the taste buds. With a buttery biscuit base, a rich and creamy filling, and a sweet tangy topping, it’s not just a recipe; it’s an experience! Plus, it’s surprisingly easy to prepare, even for the novice baker, making it a family-friendly project that everyone will adore!
Ingredients
– 200 g digestive biscuits
– 100 g unsalted butter, melted
– 600 g cream cheese
– 150 g caster sugar
– 3 large eggs
– 200 ml heavy cream
– 150 ml fresh orange juice
– Zest of 2 oranges
– 1 tsp vanilla extract
– 50 g sour cream
– 75 g icing sugar
– Orange food coloring (optional)
Necessary Tools
– 23 cm springform pan
– Parchment paper
– Mixing bowls
– Electric mixer
– Rubber spatula
– Measuring cups and spoons
– Whisk
Ingredient Swaps and Additions
Feel free to get creative! If you don’t have digestive biscuits, graham crackers or even crushed vanilla wafers can work beautifully for the crust. Want a twist? Substitute half of the orange juice for a splash of lemon juice for added zest, or for added texture, fold in some mini chocolate chips into the filling. The possibilities are endless!
Step-by-Step Instructions
1. Preheat your oven to 160°C (320°F) and line the base of your springform pan with parchment paper.
2. Crush those digestive biscuits finely, mix with the melted butter, and press the mixture into the base of the pan. It’s a little workout that will pay off with a crunchy crust!
3. In a large bowl, beat together the cream cheese and caster sugar until you achieve a smooth, velvety texture. You might want to taste this mixture—just saying!
4. Add the eggs one by one, mixing well to combine. This is where the creaminess starts to shine!
5. Pour in the heavy cream, fresh orange juice, orange zest, and vanilla extract. Mix until everything is combined beautifully—what a fragrant moment!
6. If you’re feeling particularly innovative and want that pop of color, add a drop or two of orange food coloring to the mixture.
7. Pour this luscious filling over the chilled biscuit base, smoothing the top with a spatula.
8. Bake for 50-60 minutes until the edges set while the center remains delightfully jiggly.
9. After baking, turn off the oven and let the cheesecake cool inside with the door slightly ajar. This gradual cooling helps prevent cracks!
10. Once it reaches room temperature, chill it in the refrigerator for at least 4 hours (or overnight for those with patience).
11. For that finishing touch, mix the sour cream with icing sugar until smooth and spread it over the top. Garnish with additional orange zest or slices for a visually appealing presentation!
Serving Suggestions
This cheesecake is fantastic on its own, but why not elevate your dessert experience by serving it with fresh berries or a drizzle of chocolate sauce? A dollop of whipped cream can also take it to the next level of indulgence!
Pro Tips for Success
– Make sure your cream cheese is at room temperature for the smoothest mixture possible.
– Don’t rush the cooling process; letting it gradually cool in the oven helps maintain that creaminess!
– Consider using a water bath for baking to ensure even cooking.
Storing and Reheating
To store any leftovers (if you can manage to have any!), cover the cheesecake tightly with plastic wrap or place it in an airtight container. It can be stored in the fridge for up to a week. Reheat in the microwave for a few seconds if you prefer it slightly warm.
FAQ Section
Can I freeze this cheesecake?
Yes! Once cooled and set, wrap it tightly and freeze for up to 3 months. Just make sure to thaw in the fridge overnight before serving.
Can I use a different citrus fruit?
Absolutely! Substitute lime or lemon for a different twist on flavors.
Conclusion
The Orange Creamsicle Cheesecake is more than just a dessert; it’s a sweet invitation to relive childhood memories, create new ones, and savor every delicious bite! Its simplicity and vibrant flavors will make it a staple in your recipe collection. Don’t forget to leave a review, share your photos, or tag this recipe on Pinterest or Instagram. Let’s spread the joy of this delightful treat!
Nutritional Information (approximate per serving)
Calories: 320
Fat: 22g
Carbohydrates: 25g
Protein: 6g
Sugar: 14g
Fiber: 1g
Happy baking and enjoy the creamy, citrusy delight of your very own Orange Creamsicle Cheesecake!
Leave a Reply